This post has been 3 years in the making and I couldn't be more excited - this shall be my very own build thread!
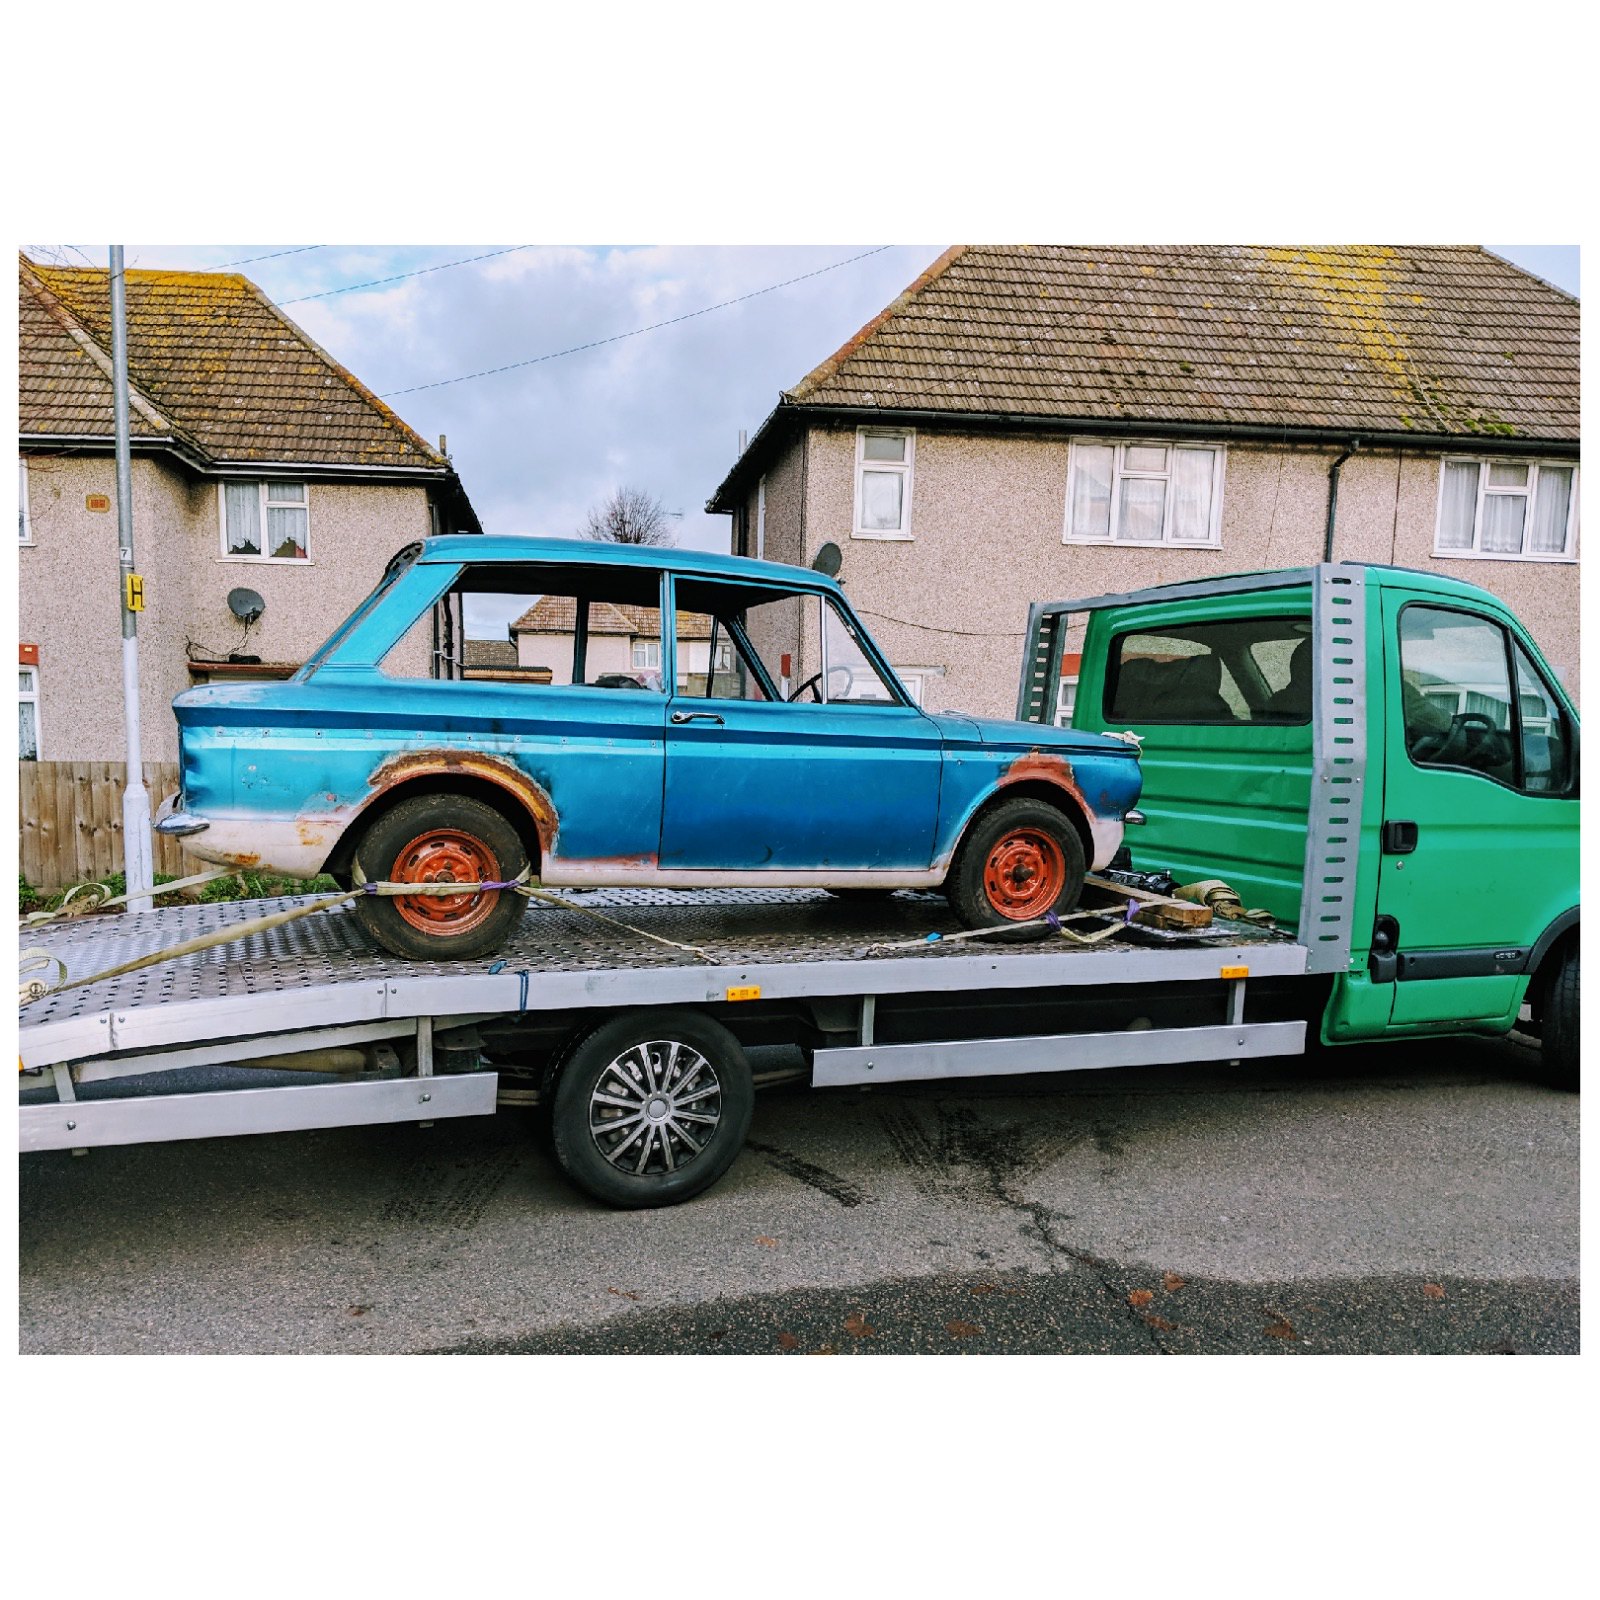
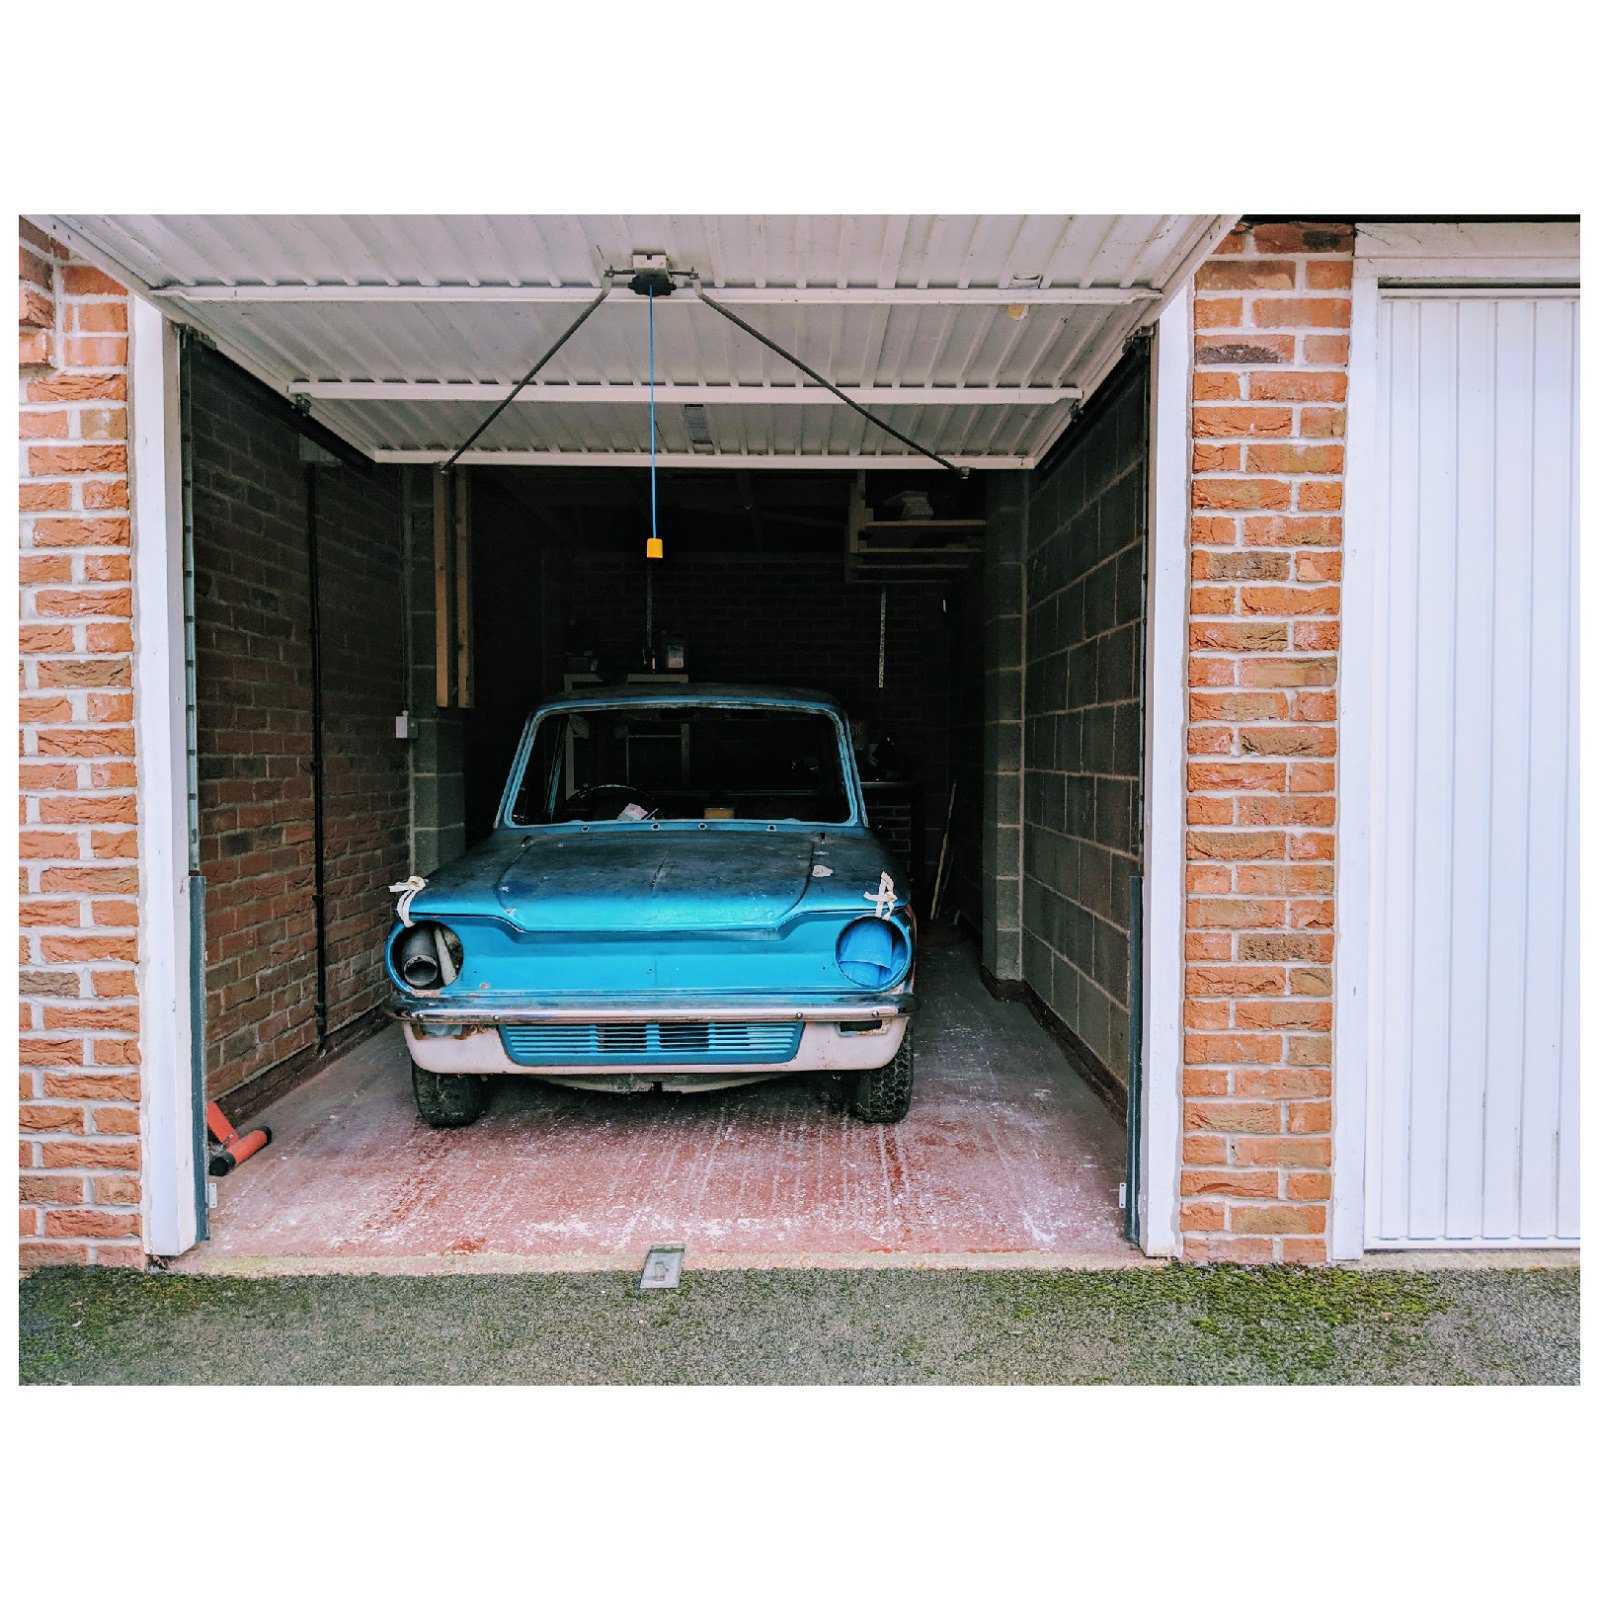
A bit of background - I was never really into cars as a kid, until I started to learn the joys of driving at 17 and it was then I knew that someday I would want a car project of my own. Not being one to follow the usual trend, the usual Beetles and M***s didn't really excite me. And then 1 day I was scrolling through one of the car pages I followed online and saw a rather peculiar boxy little thing and the simple act of not knowing what it was caught my eye. I started to do some research - rear engined, rear wheel drive, all independent suspension... what an interesting car! I knew that this would be the project for me. I joined the club and started to look for a suitable car for sale. Life got in the way, I met a girl, moved into a little flat with no garage and so the project never went any further.
But I did keep searching. And one day I found on the good ol' 'Bay' a listing for an Imp engine which was too good miss, a grand total of £9 and it was mine! Still in a little flat, I didn't exactly have anywhere to store it and so it's been with a good friend of mine in his shed for2 whole years! The girl is now my wife and we have recently moved into a beautiful house, with an all important garage! Which finally brings me to now, the engine is with me at last and the project can begin! So here we go:
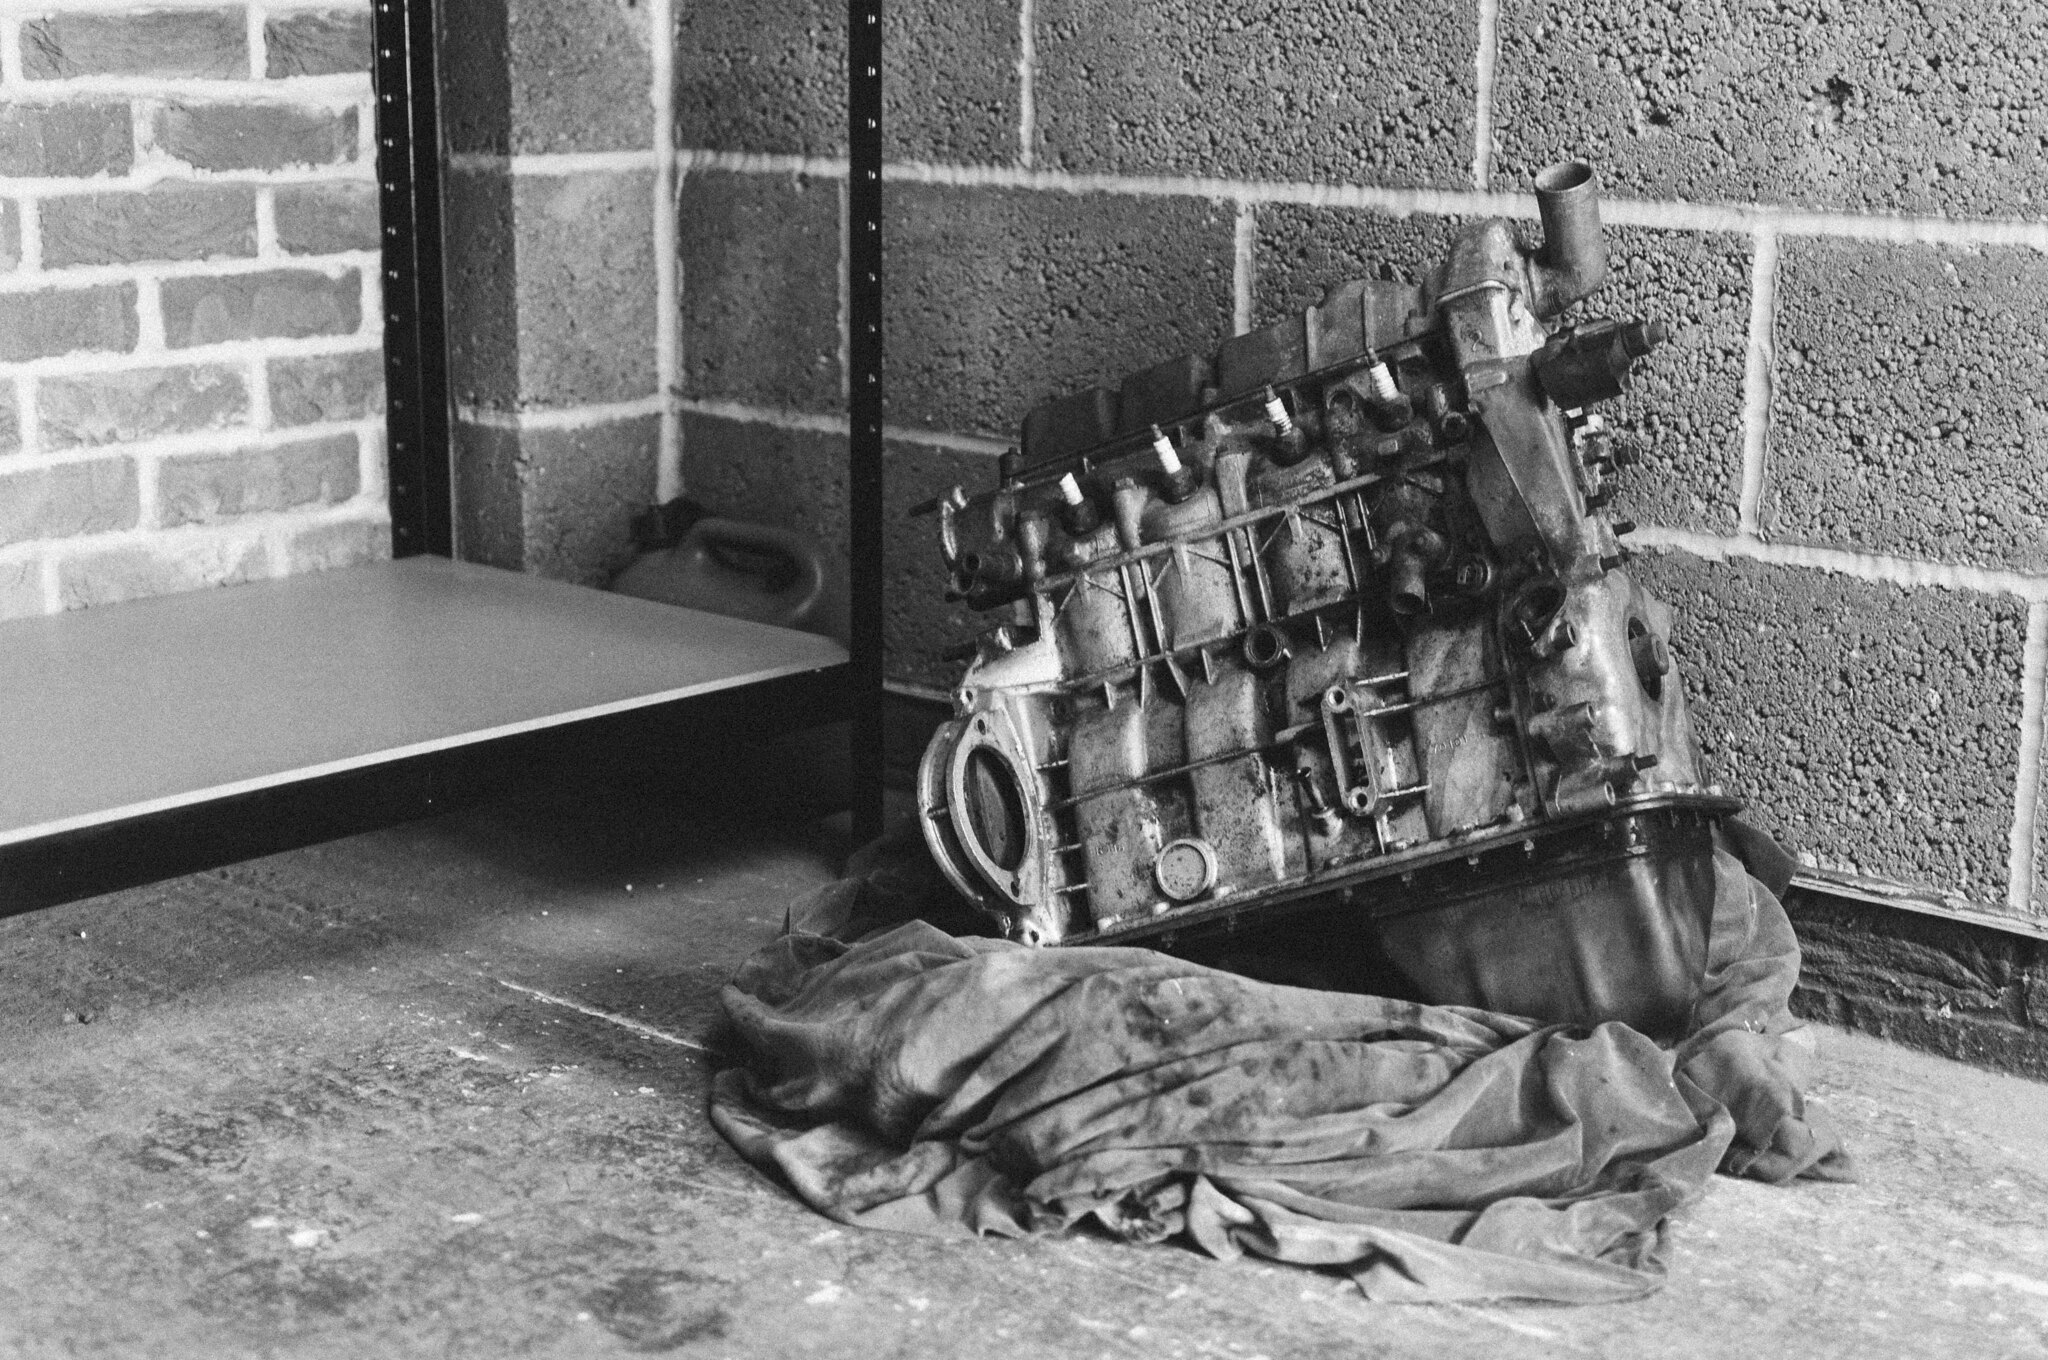 Engine finally home by Godfrey Hatton, on Flickr
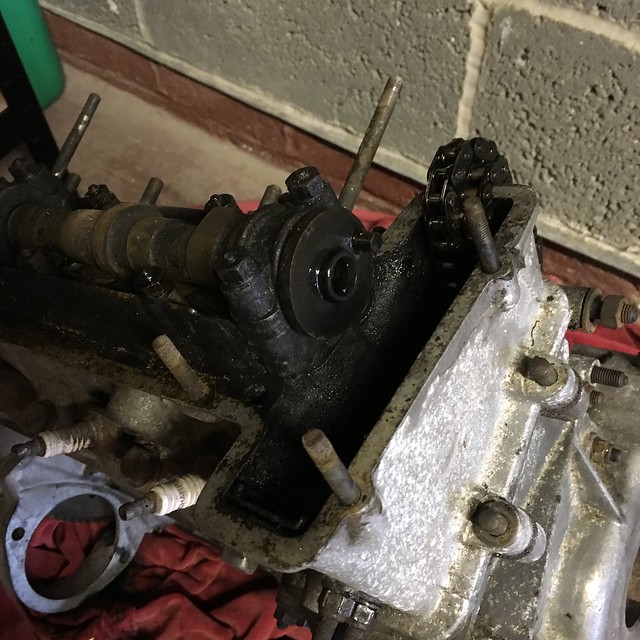
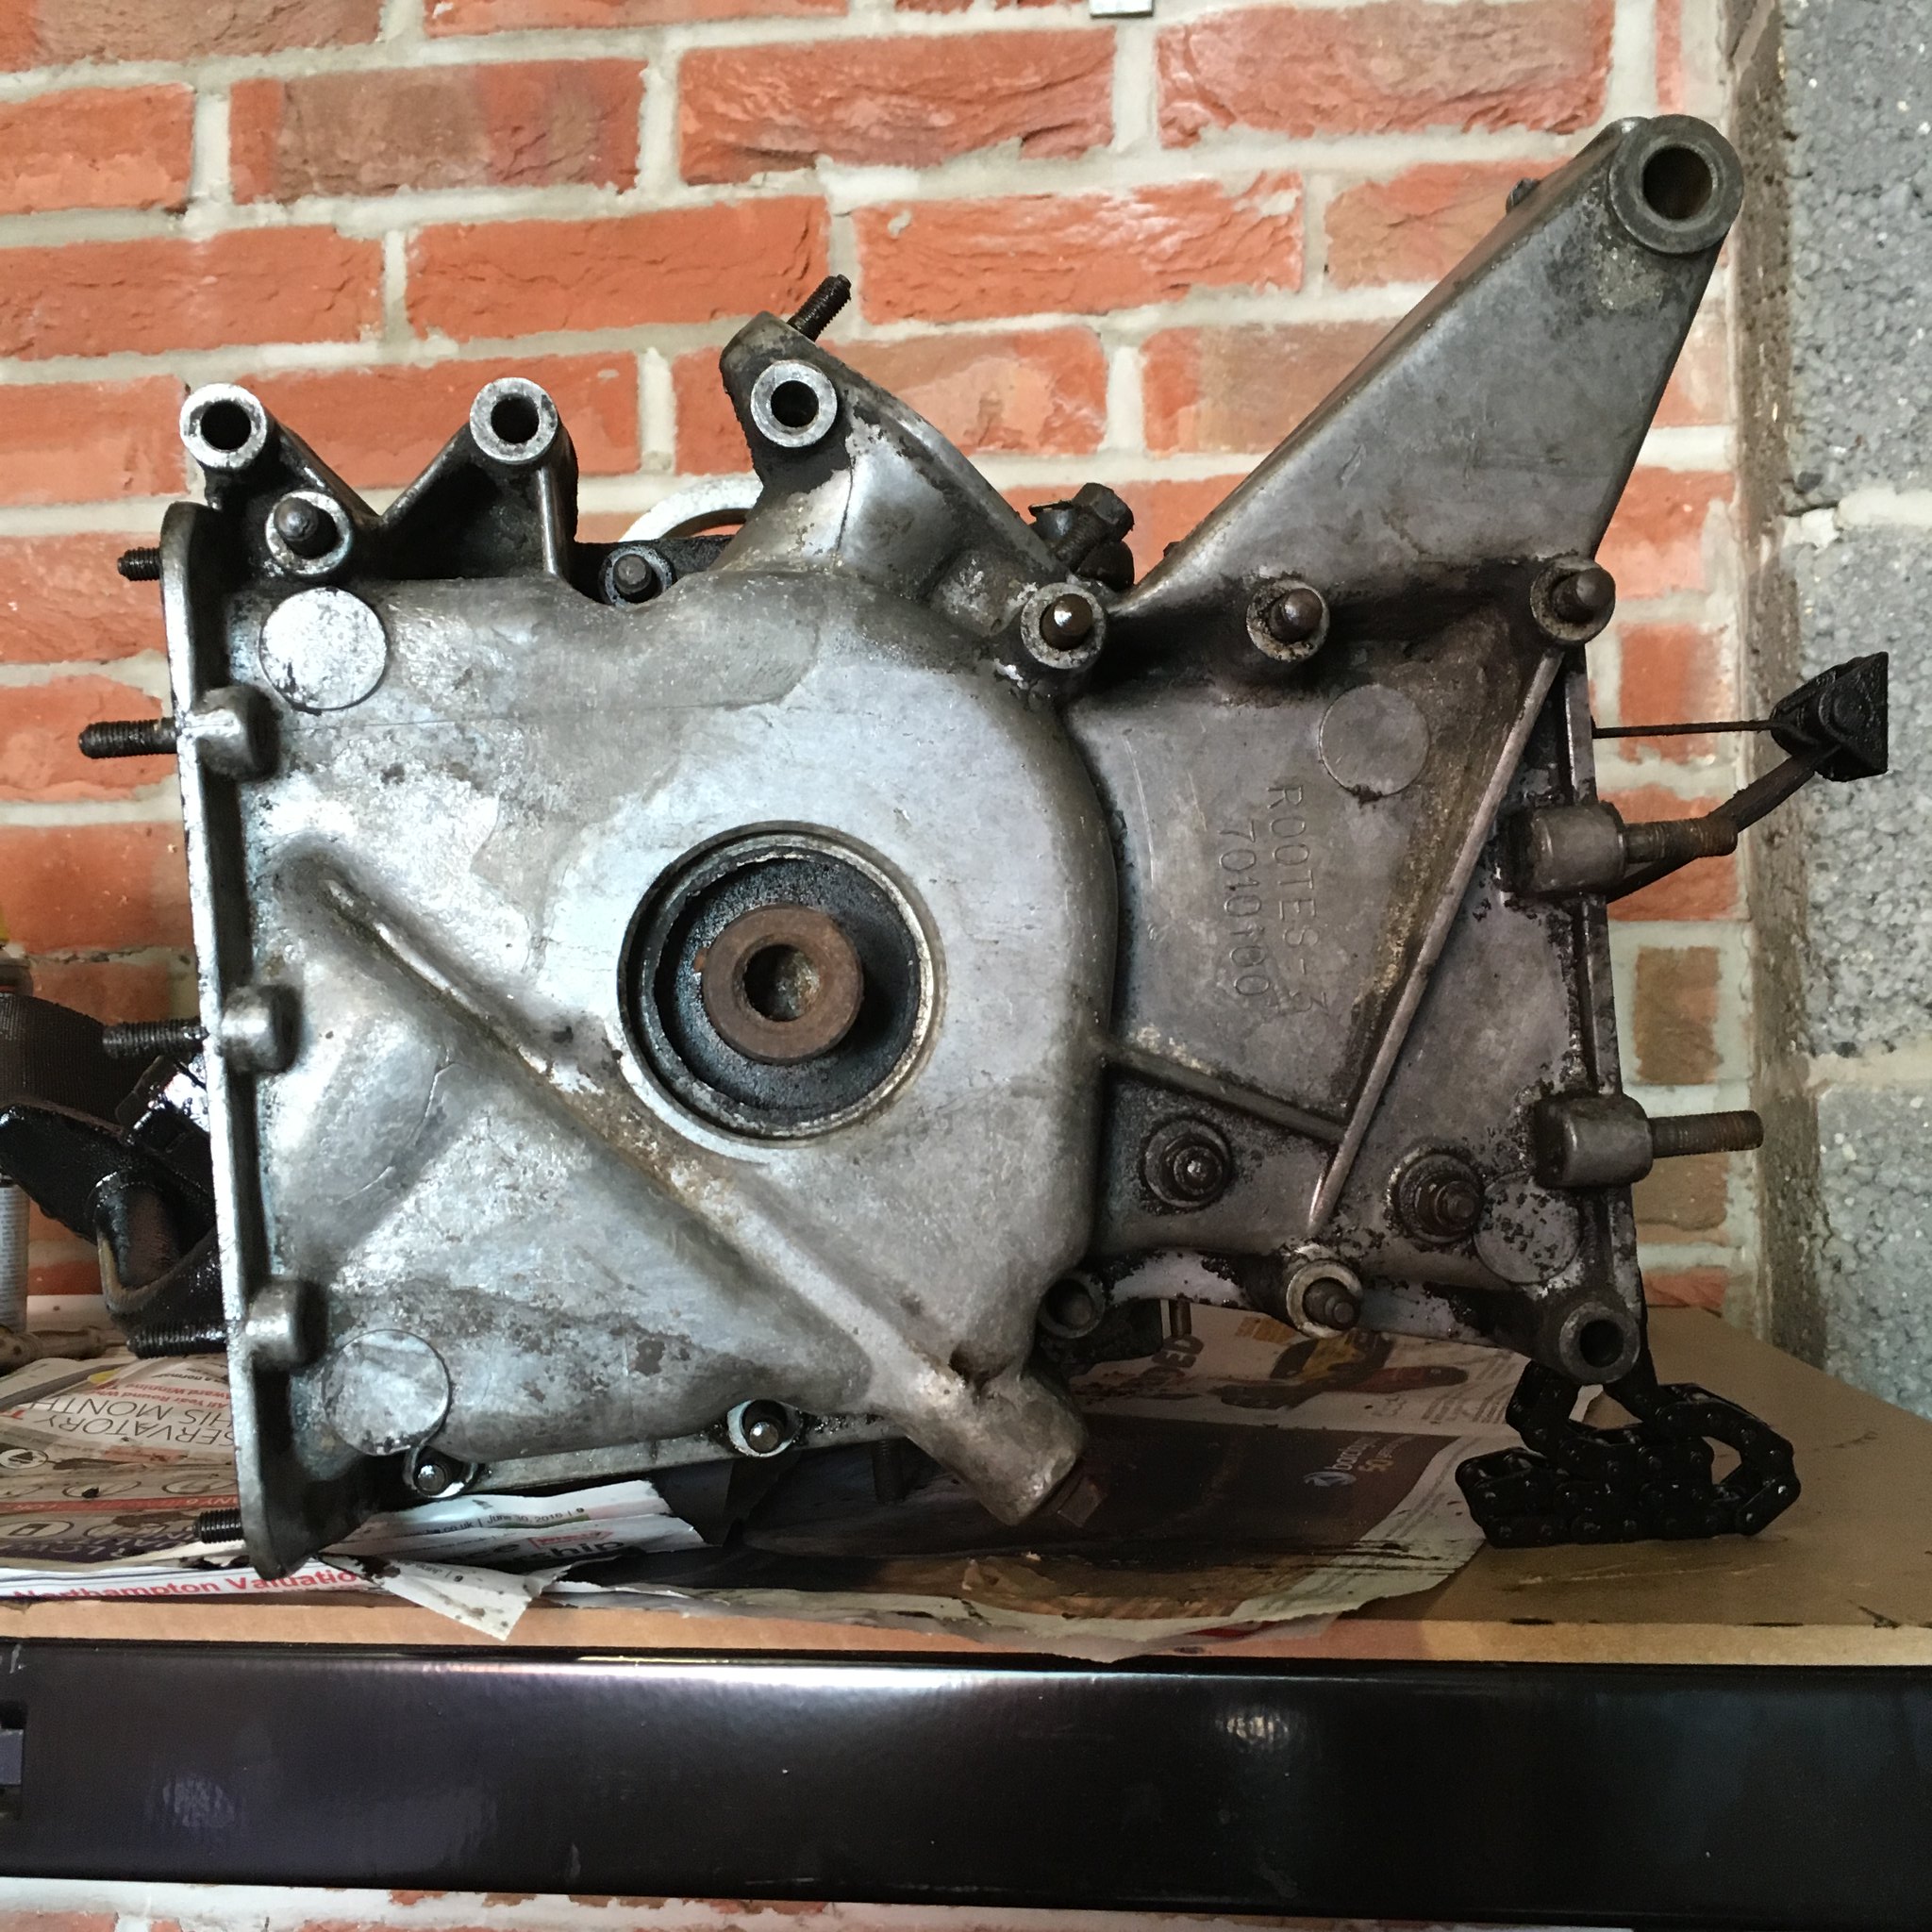
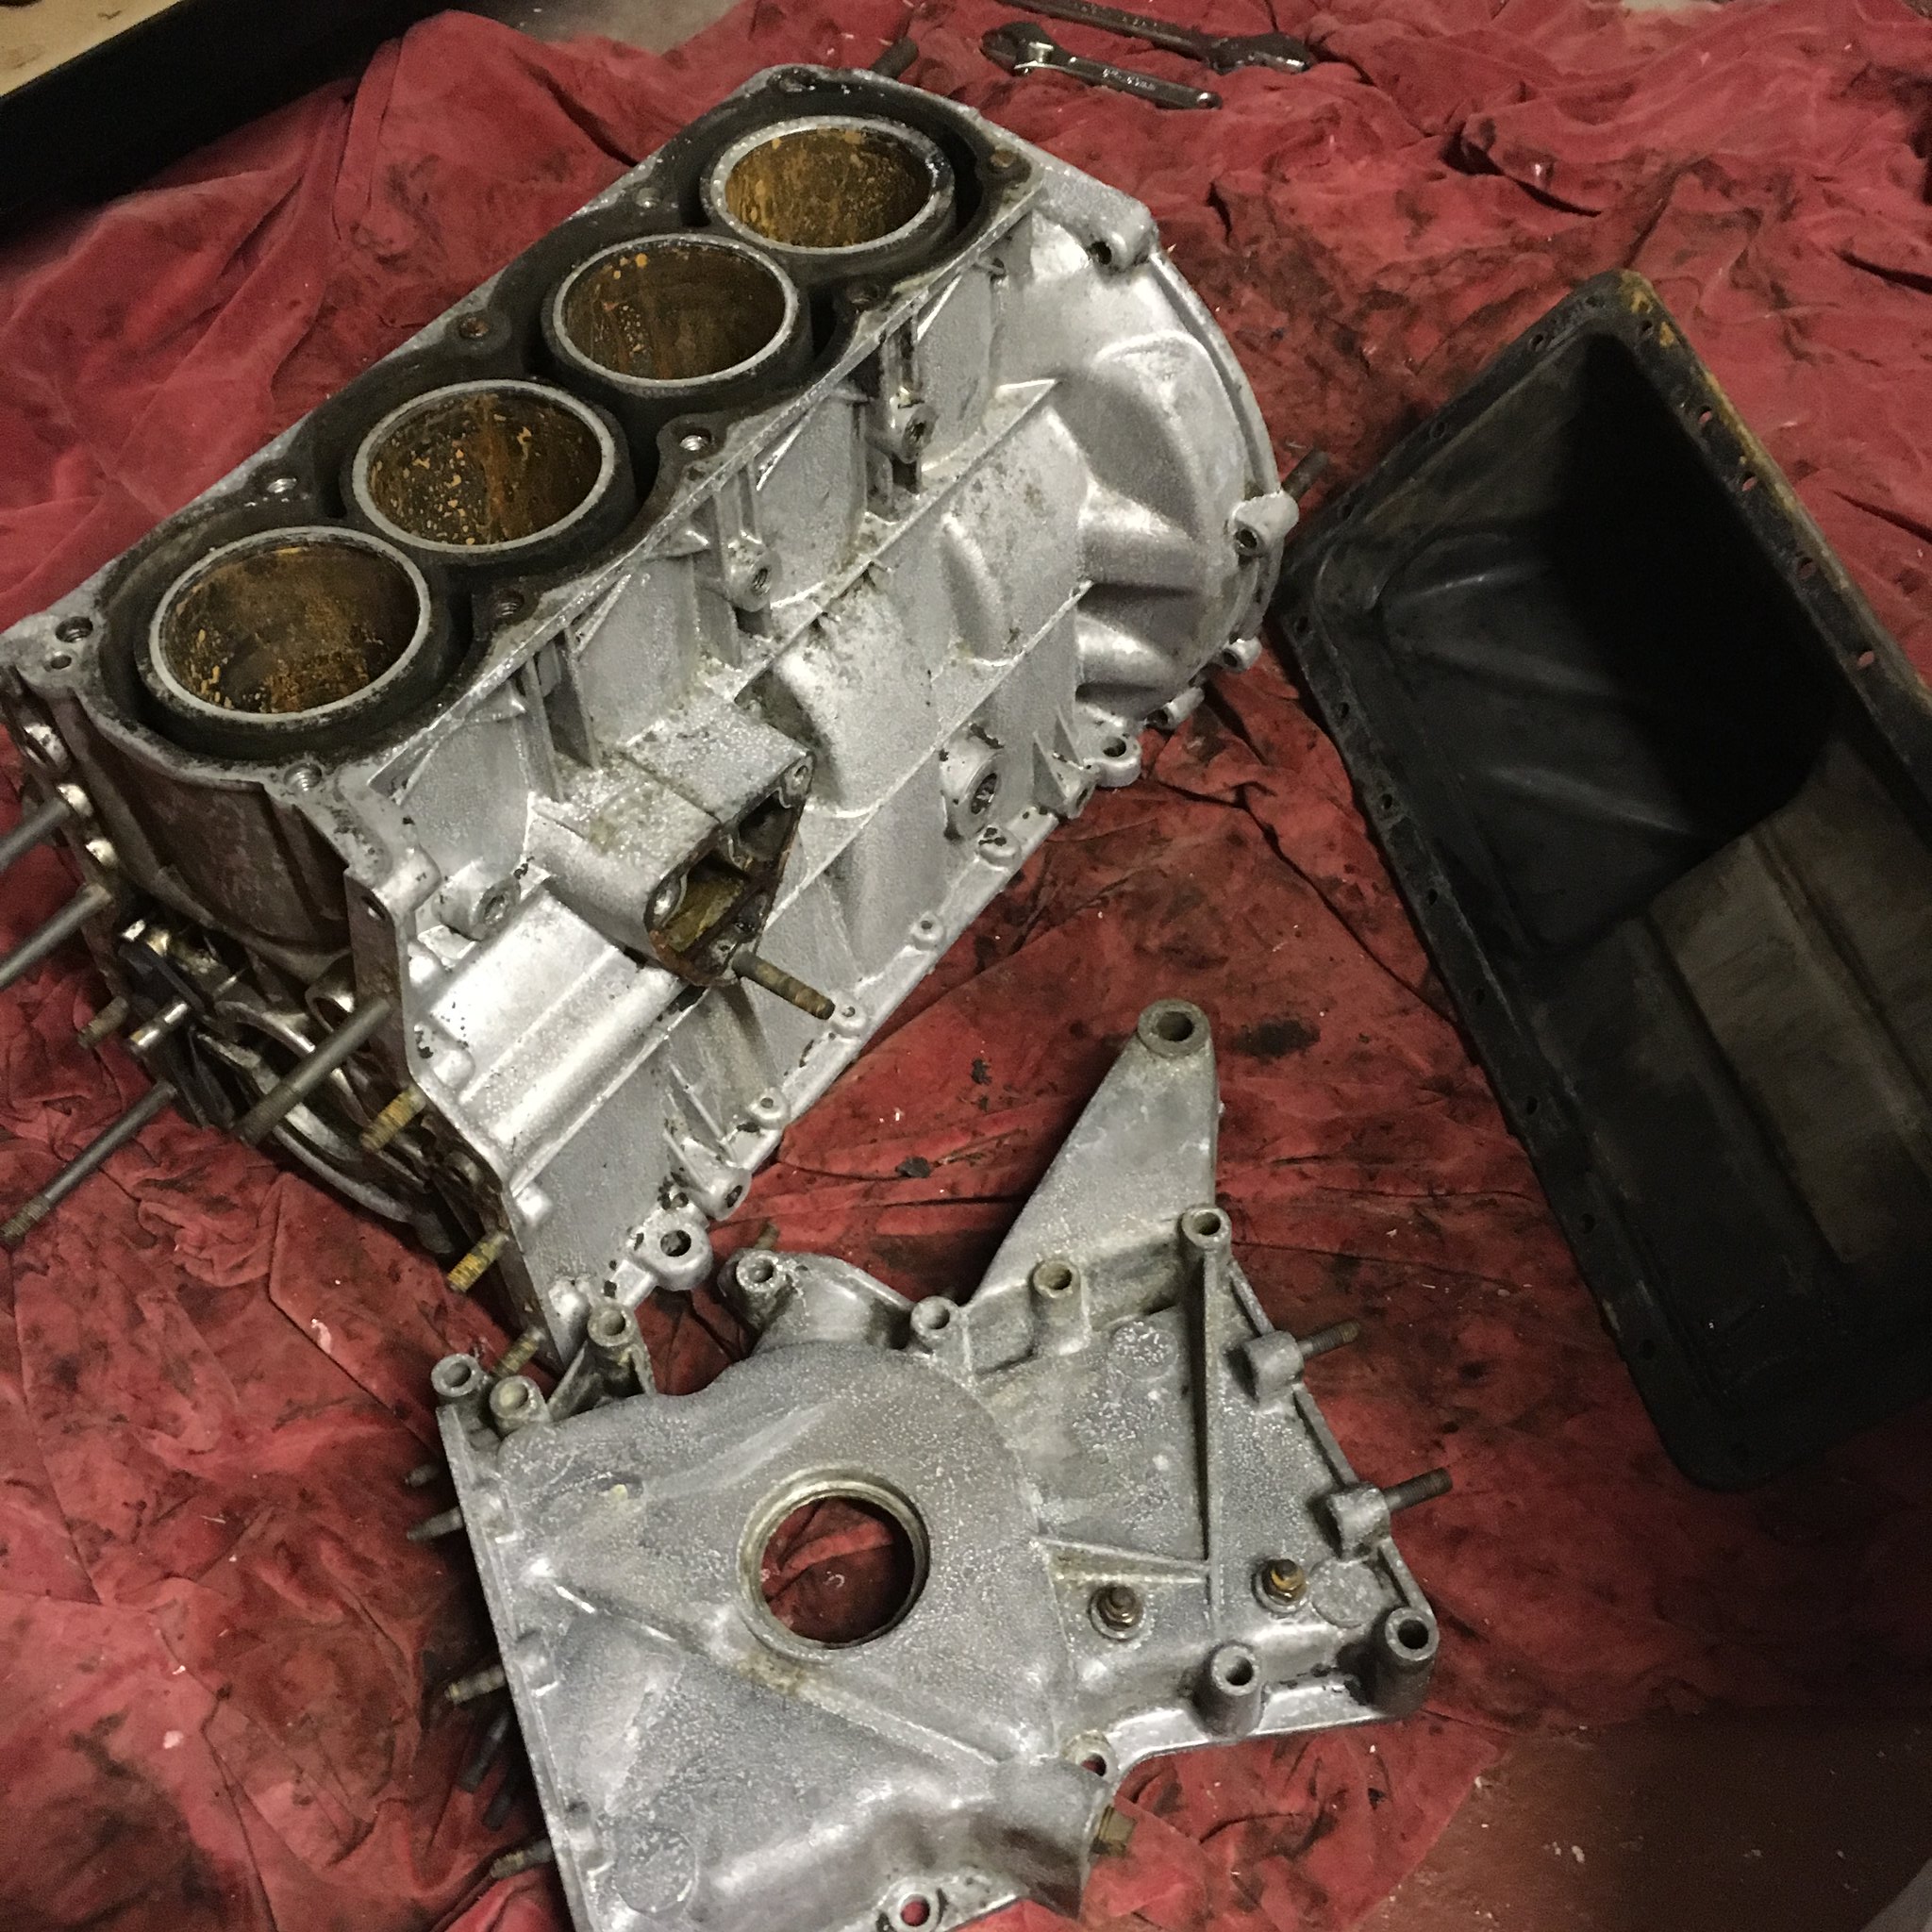
There wasn't any description on the listing and so I have very little knowledge of the engine or its condition. It's seized and as far as I can see, it's an L4:
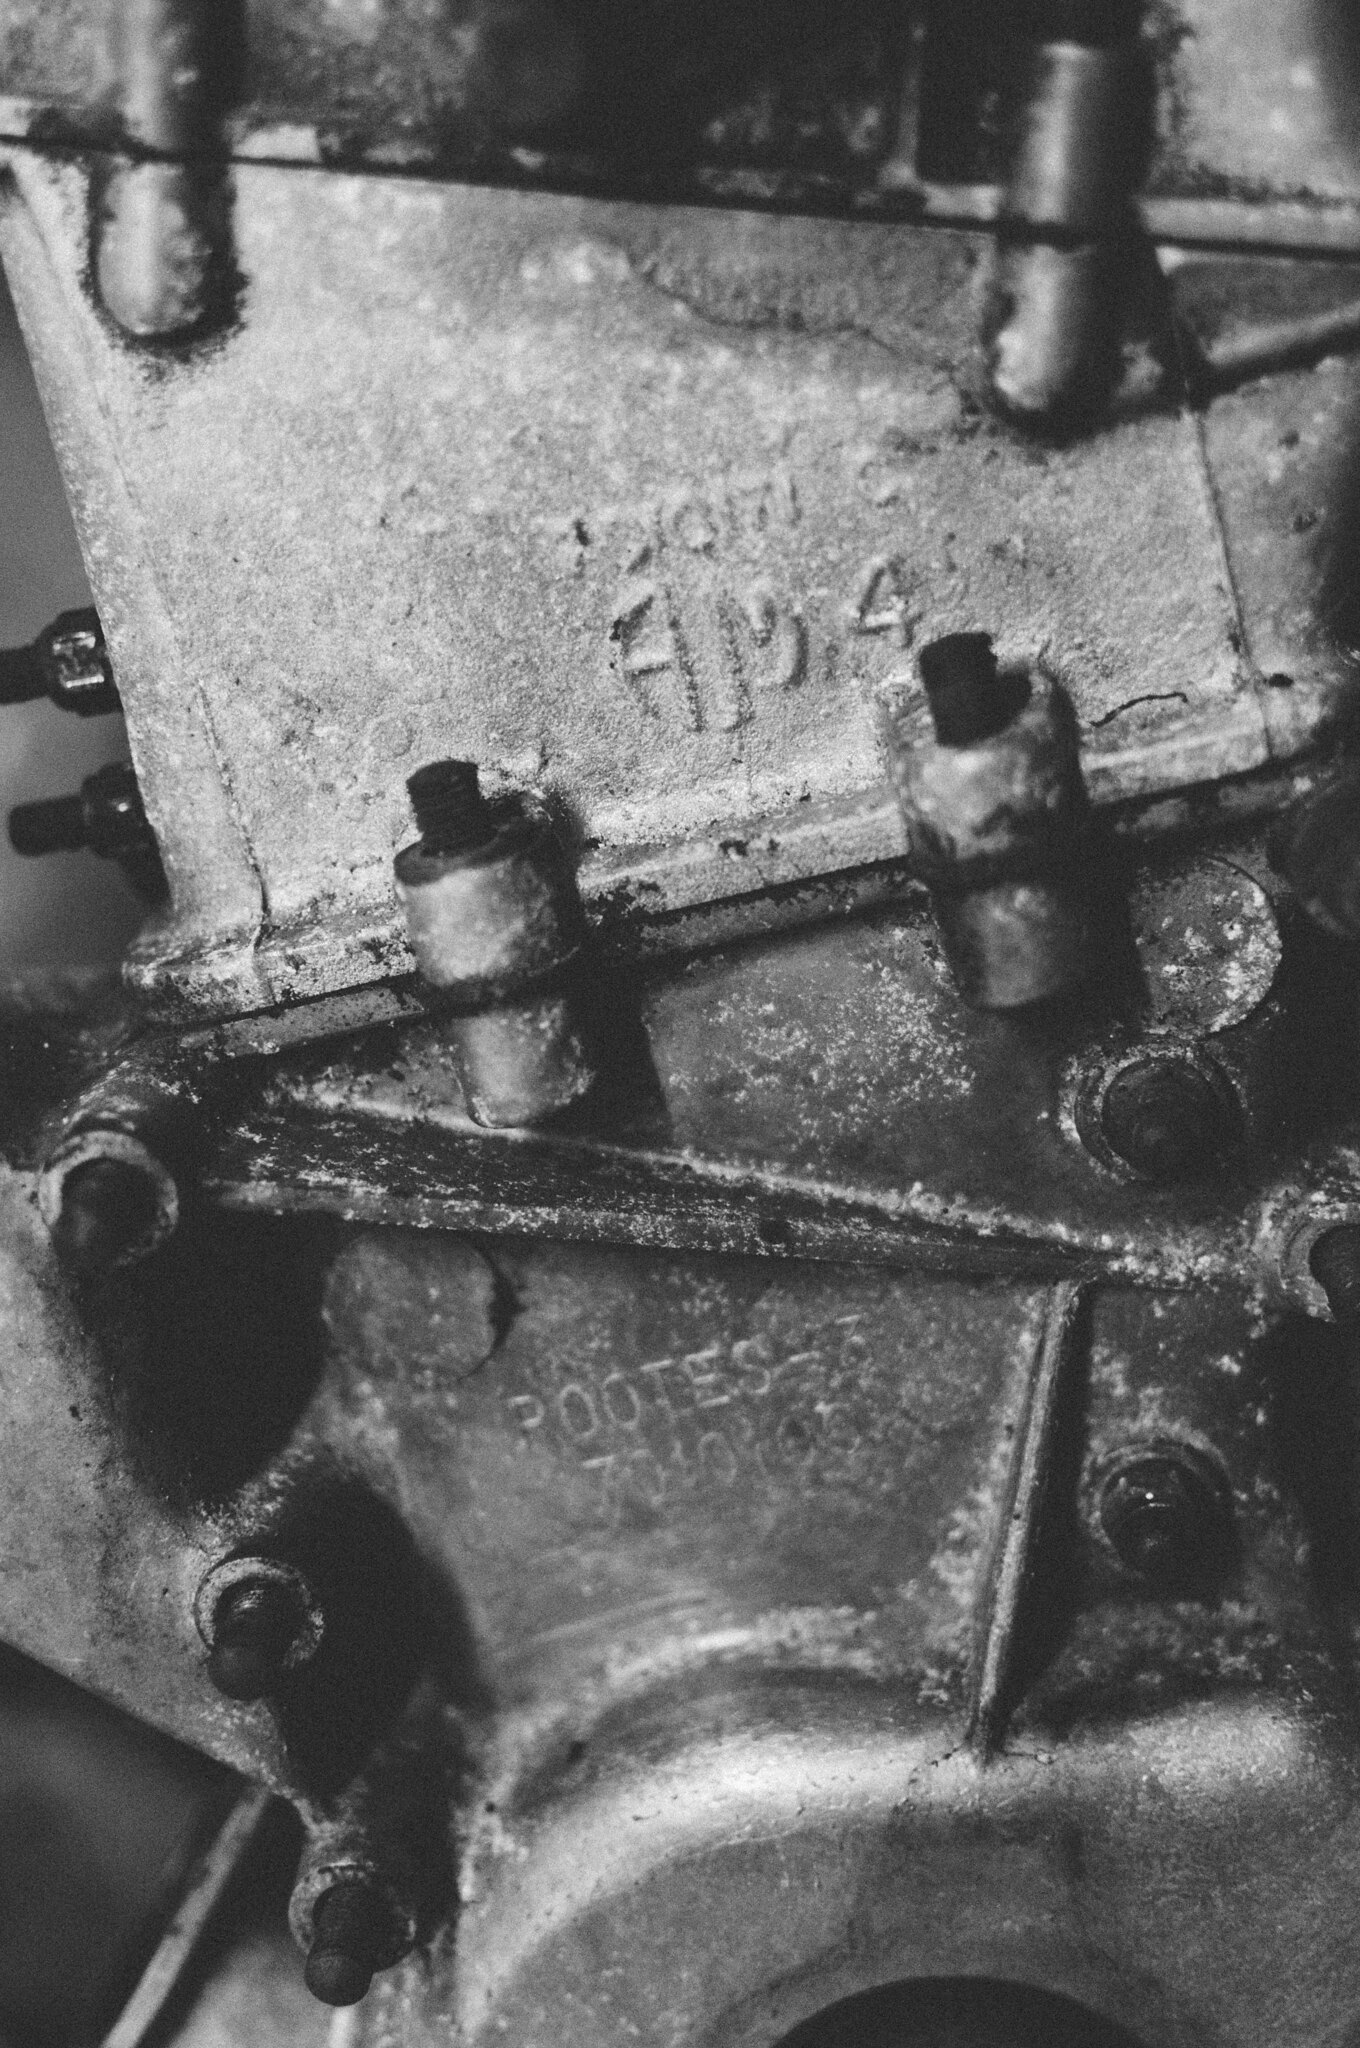 Late model 171 by Godfrey Hatton, on Flickr
Without any prior mechanical knowledge or experience, I just want to start small rather than dive right into an entire shell restoration - so I'll just start with the rebuilding of this and see how I get on. I have a trusty Haynes manual, but no doubt I shall be asking for advice from you lovely people.
Thank you for your time if you've come this far! I am very excited to see how this project unfurls.
Pog