Well its been a while!!
Due to the change of jobs 12 months ago, and all sorts of other things going on I haven't had much time with GLAddis
But as I have a little time over the summer,
I'm trying....... trying to get my garage cleared, the Spring Special sold, various other bits and pieces out of it, so I can build a new garage!!
Then GLAddis can come home and I will be able to do the odd half an hour here and there.
So I haven't really done anything on her since April.
Its amazing how National can inspire you though!
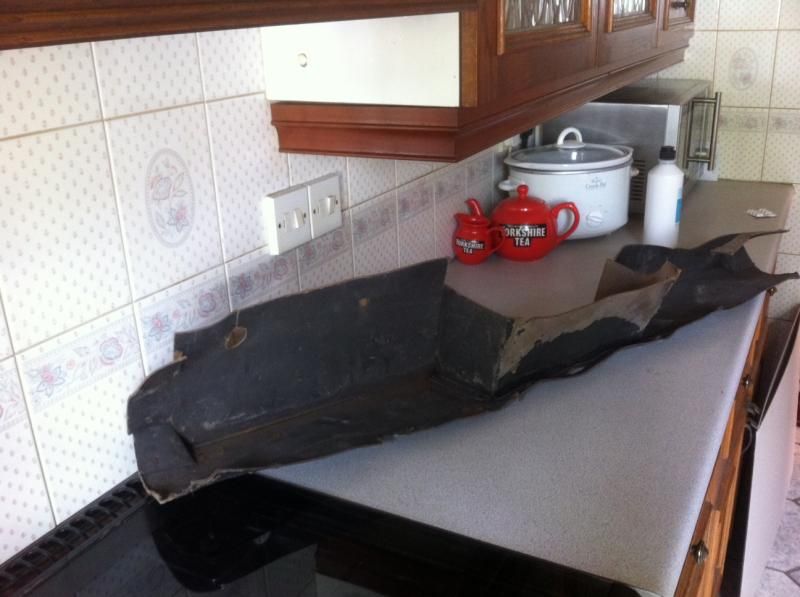
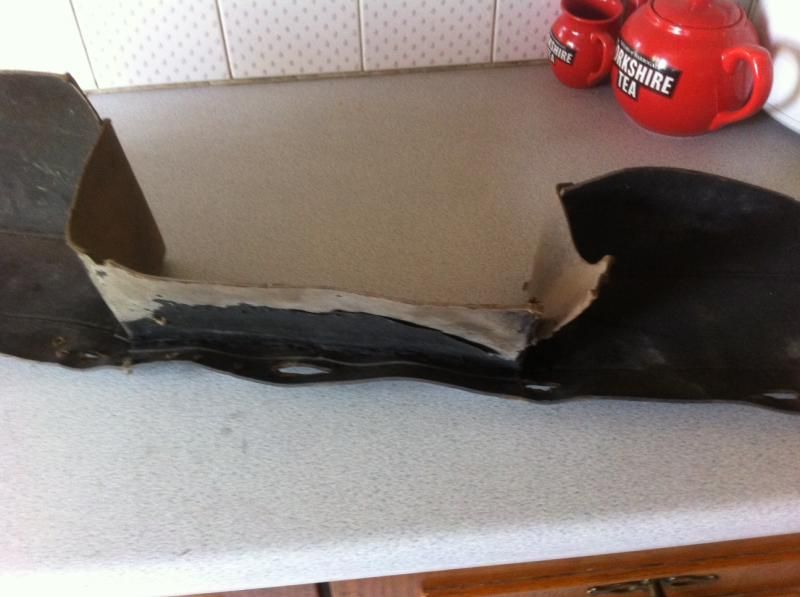
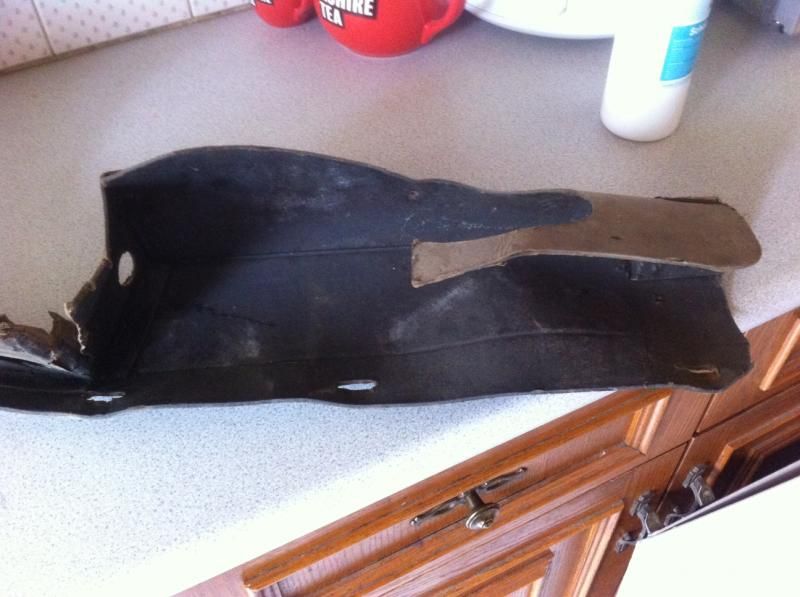
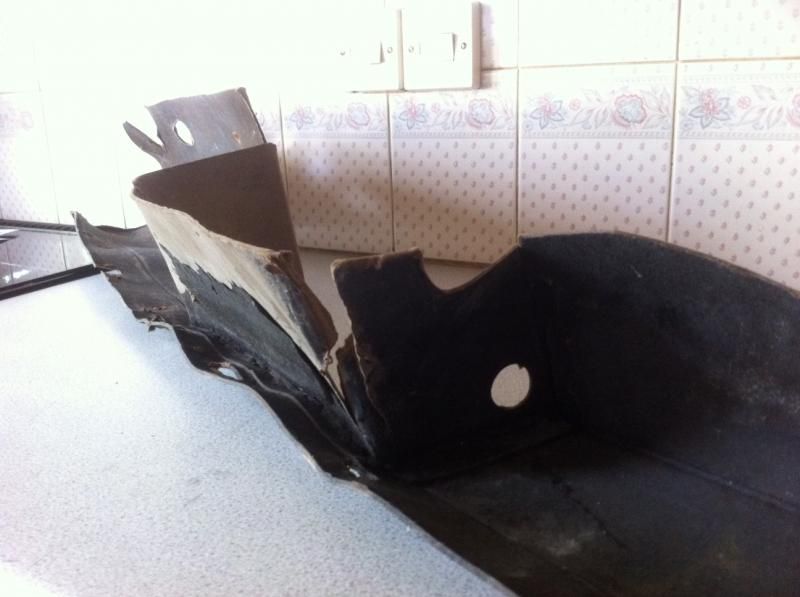
A big thanks has to go to Col Rooney, he donated and brought me an old deformed torn dashboard to use as a tamplate to make a new one
and I took pictures- lots of pictures
So here's how I remade one...........
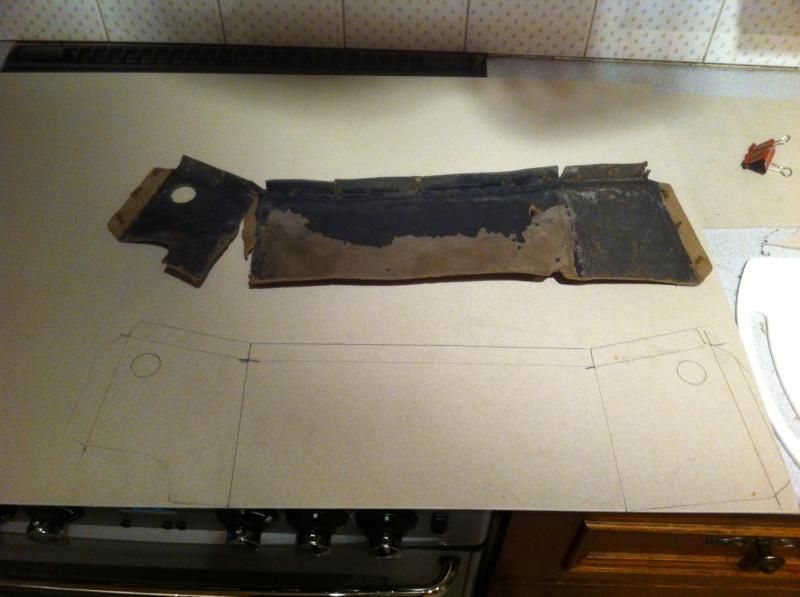
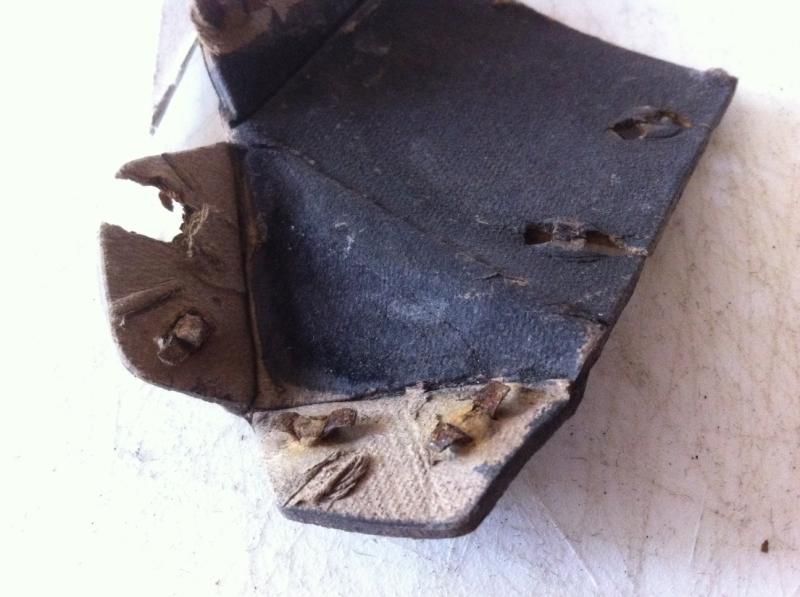
Dash from Col
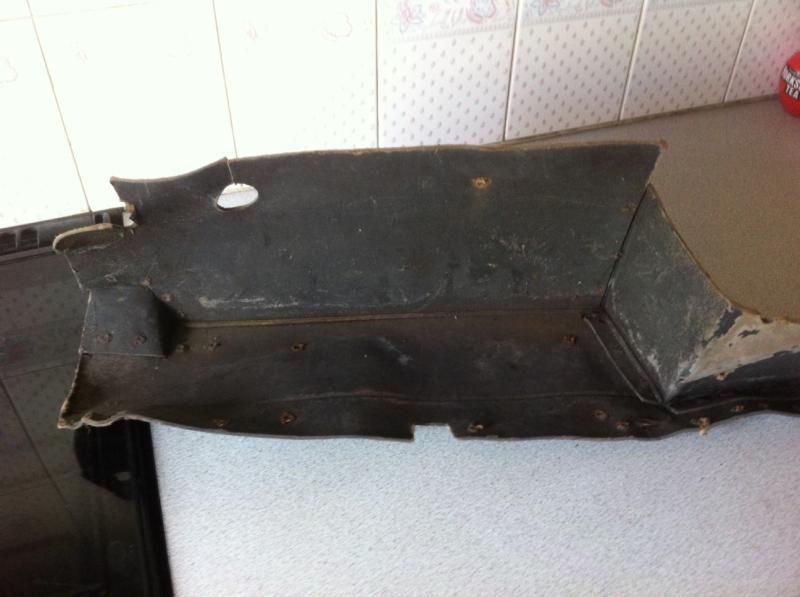
I broke it down into it's component parts. and attached it to some 2.5 mm 'greyboard' from hobbycraft
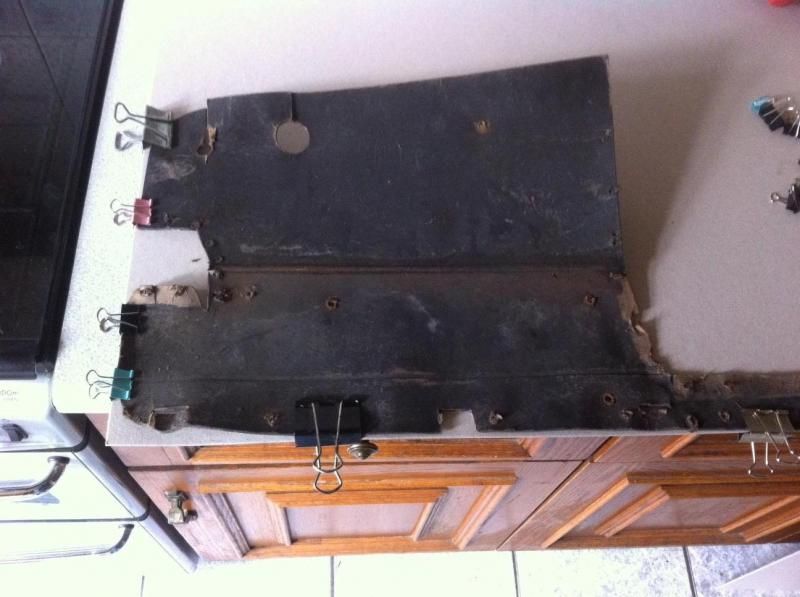
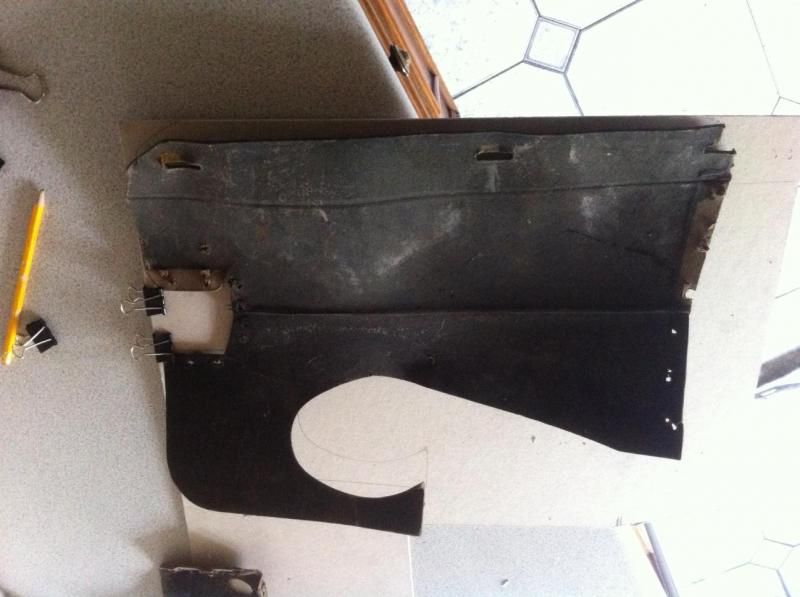
and drew around it. Unfortunately the card isn't big enough to cut it out of one piece so there has to be a join in the front
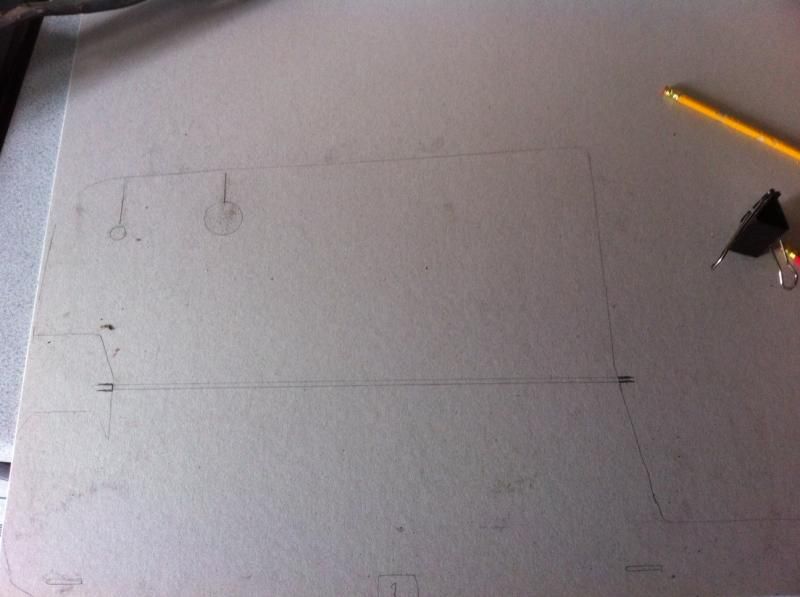
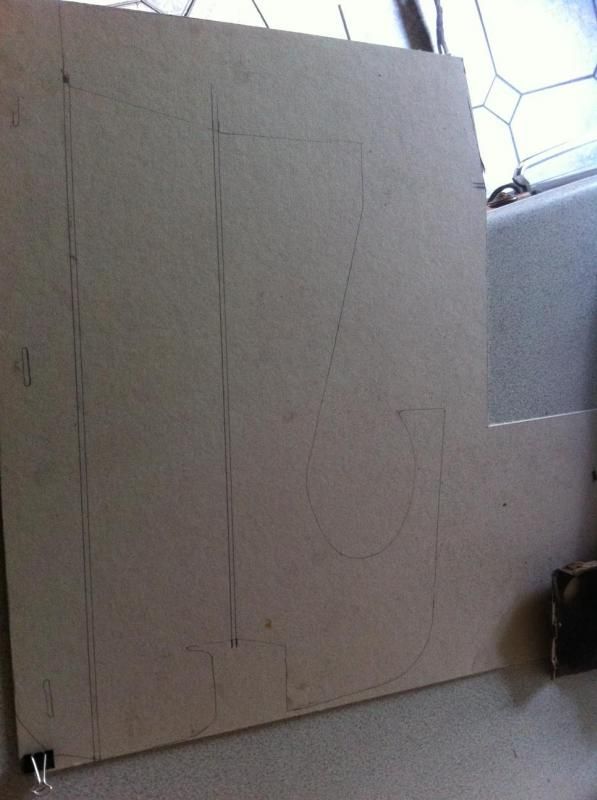
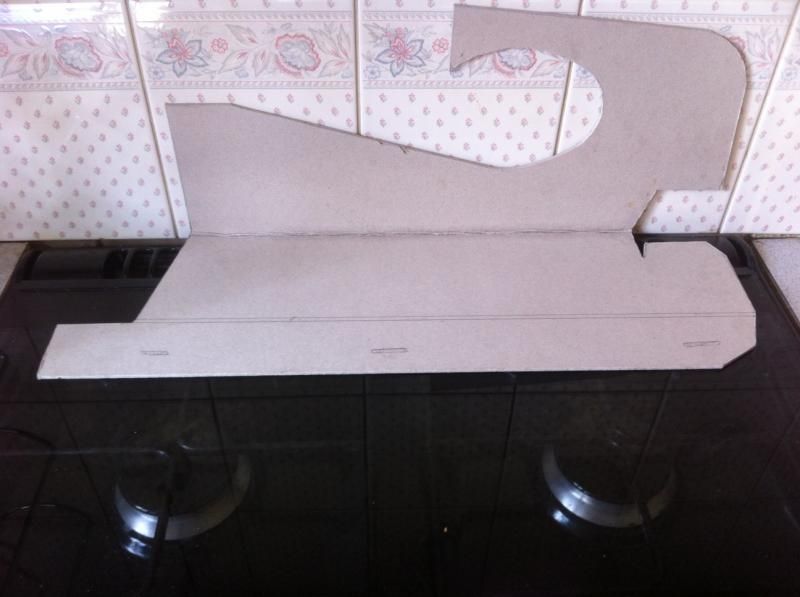
and then carefully cut it out
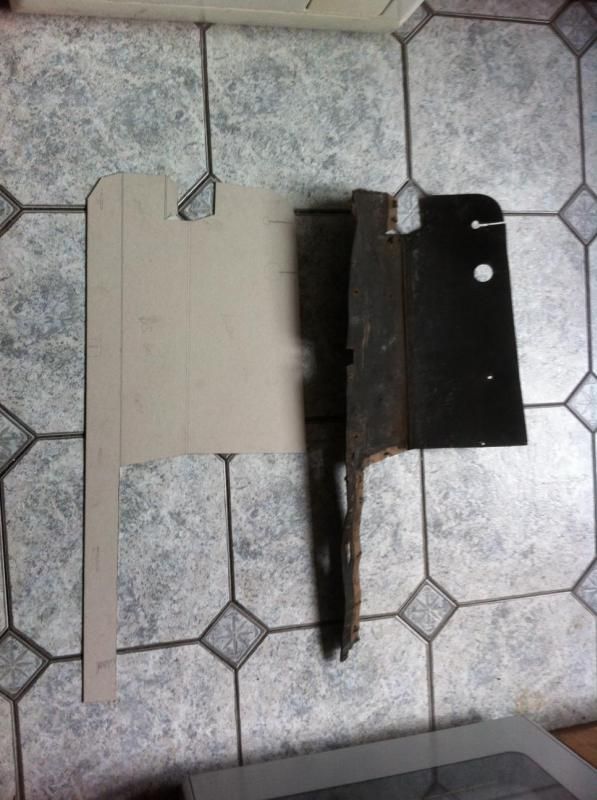
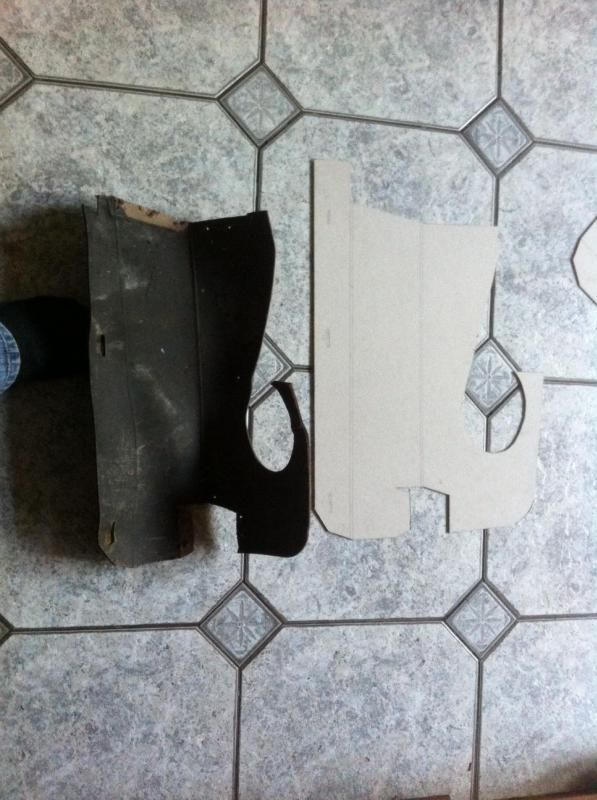
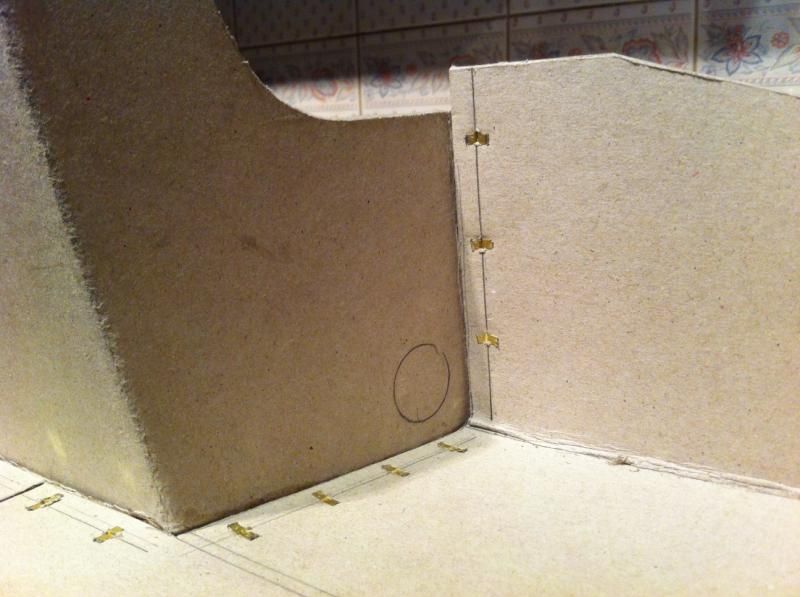
Once it was all cut out my thoughts turned to how to bend the card, i had done some experiments with thinner greyboard ages ago but this is a little thicker so i tried with a spare piece to see what would happen if i cut it half way through and then bent it
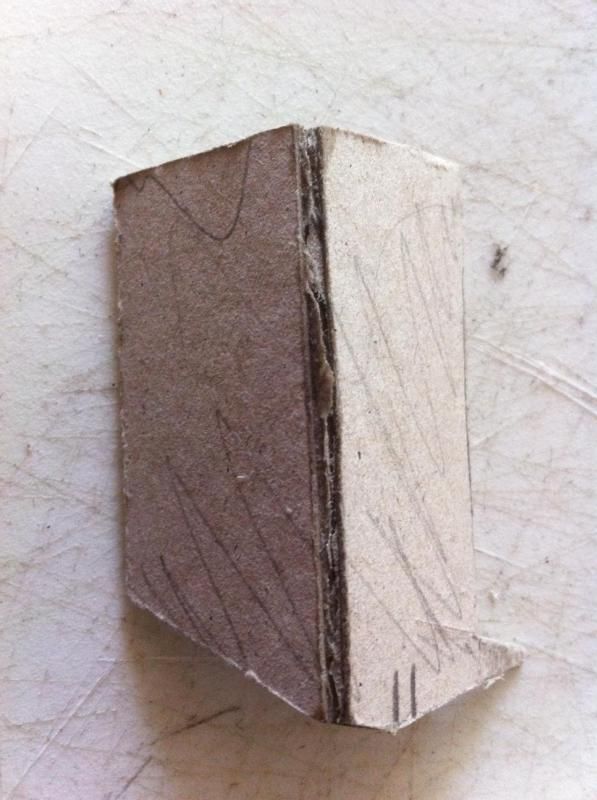
Not a good look so I decided on the time consuming method of wetting the fold lines and letting it soak in and then a little more water along the line (fed to the right place with the use of an old glue bottle with a fine hole, and then applying pressure to hold it in place while the card dried.
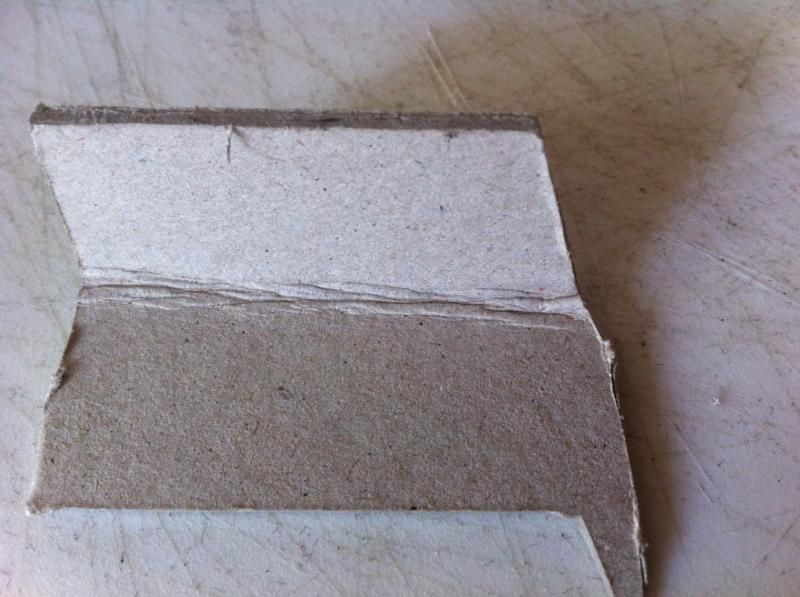
doesn't look different to the original folds......so I continued on.....
You need to apply pressure to it while it dries though!!!
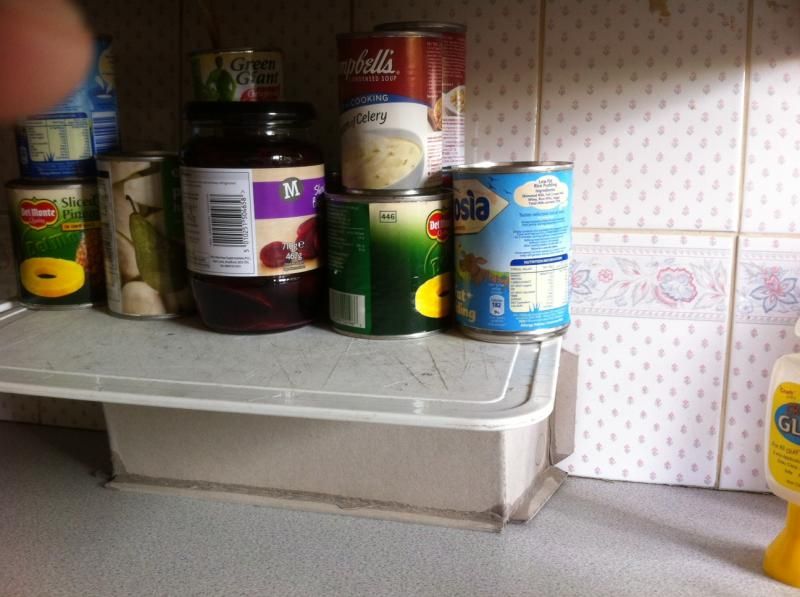
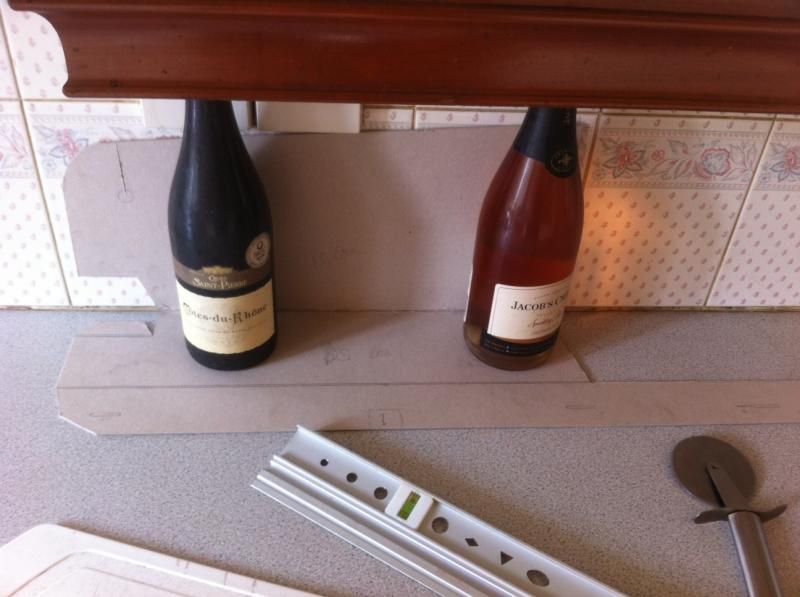
(Some of the more observant will see I'm not a big drinker and some of the bottles of wine are the same ones I used four years ago when I started GLAddis)
Fiddly bits!!!
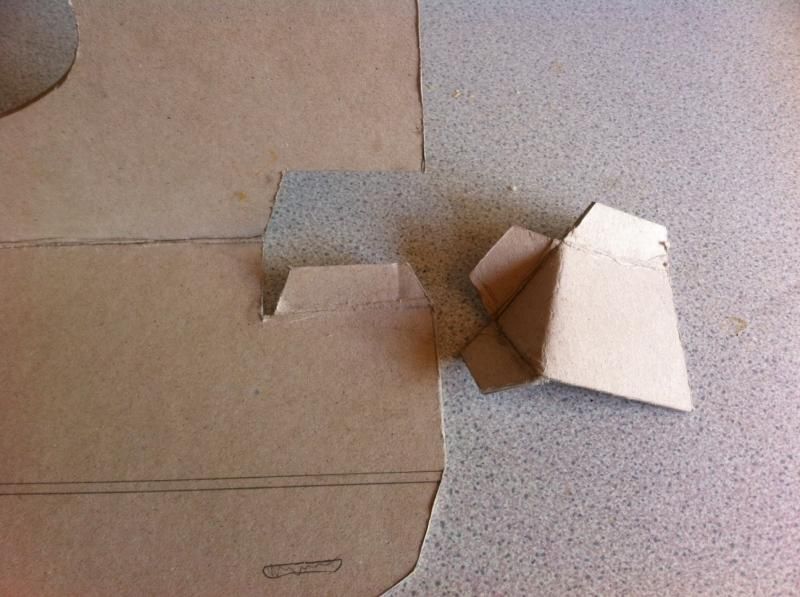
Worth the perseverance though

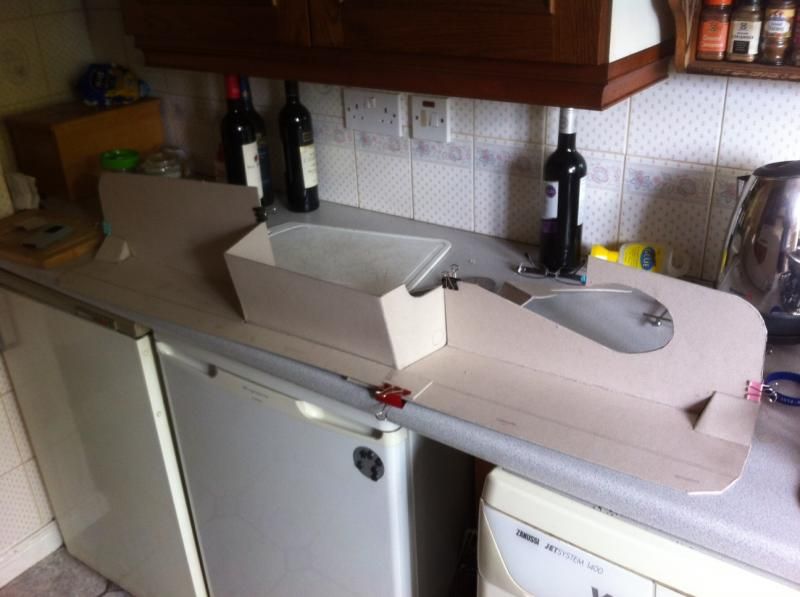
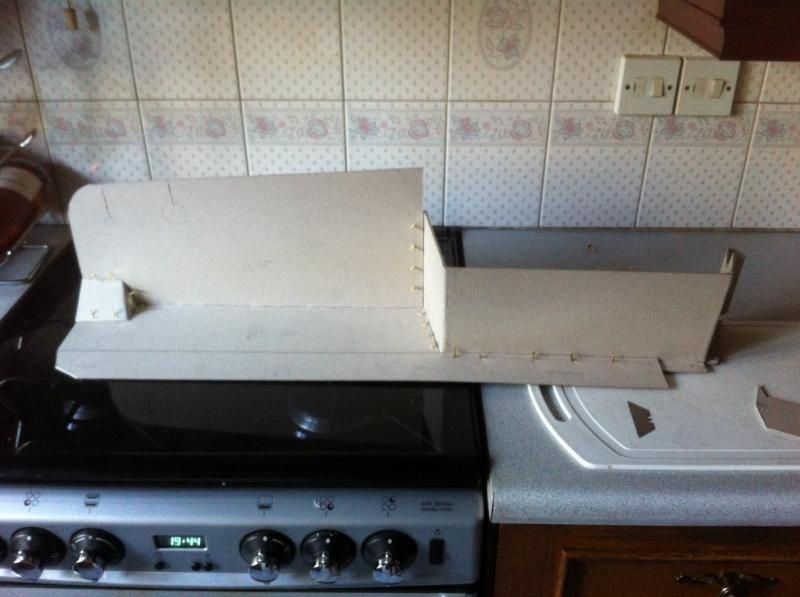
I put it together as a dry mock up to see if it all fitted together
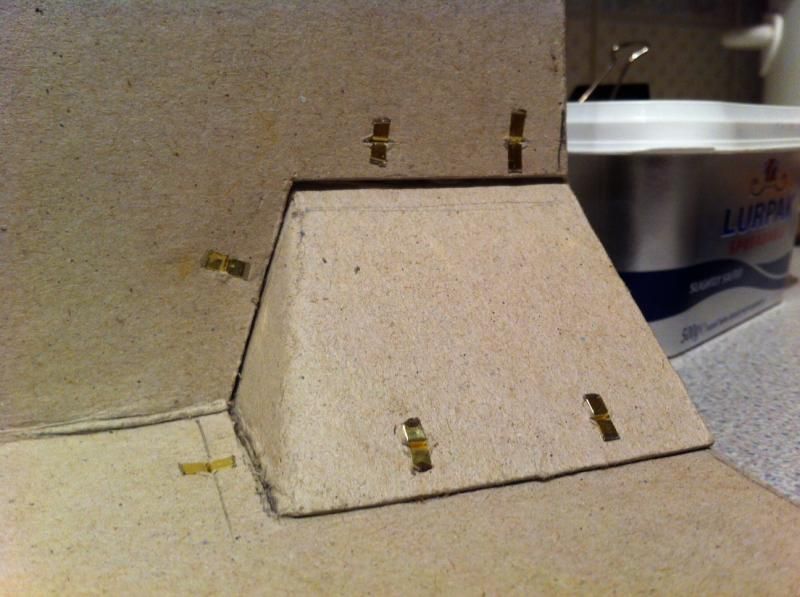
Then I had to think about these ------
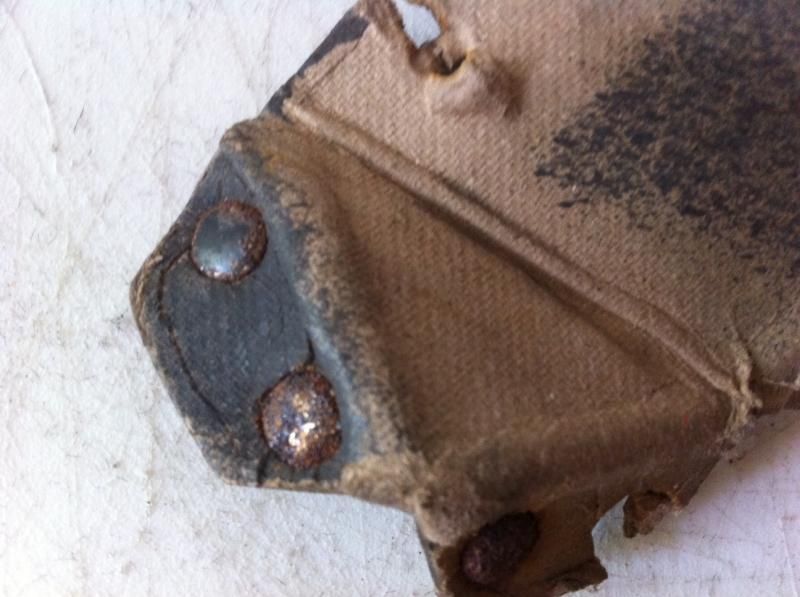
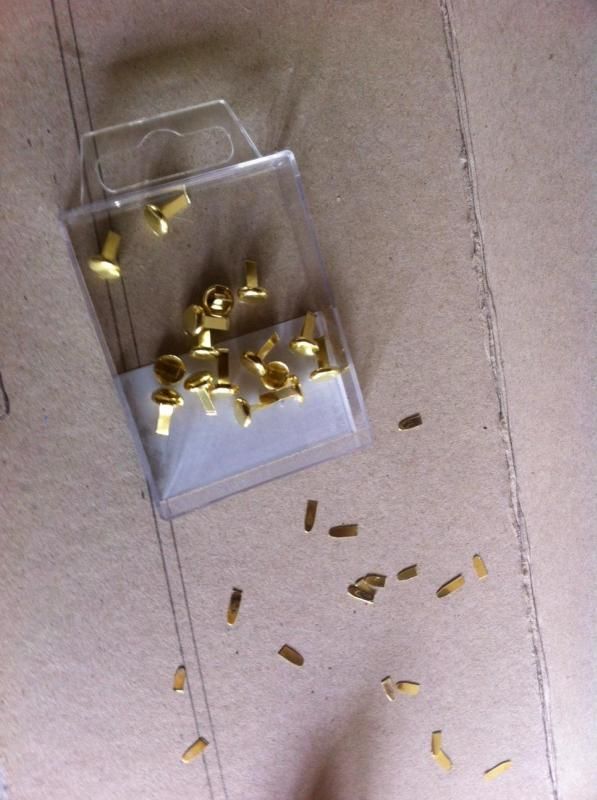
A trip to the stationers to find some paper fastners
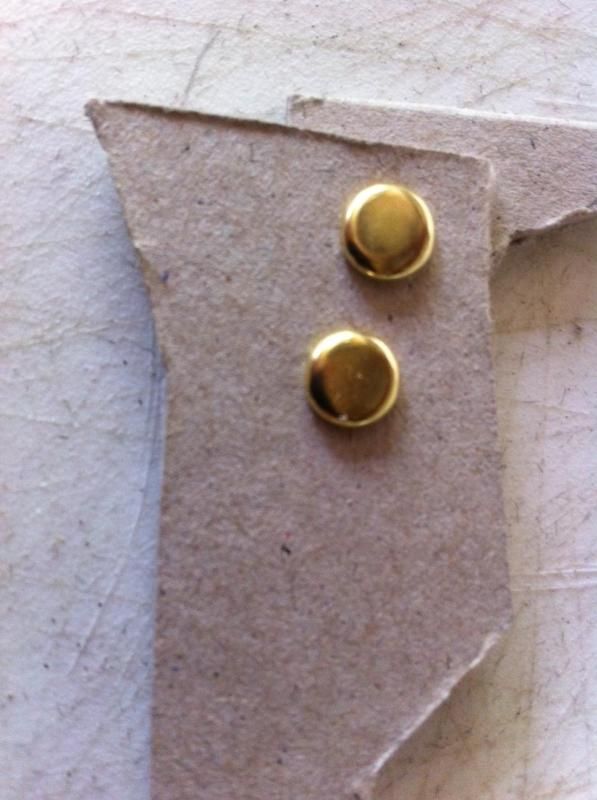
and cut them to length
They aren't strong enough to just push through so you have to cut each hole first in both pieces of card that you are joining. and I played with some scrap to see if they looked right and get the right length.
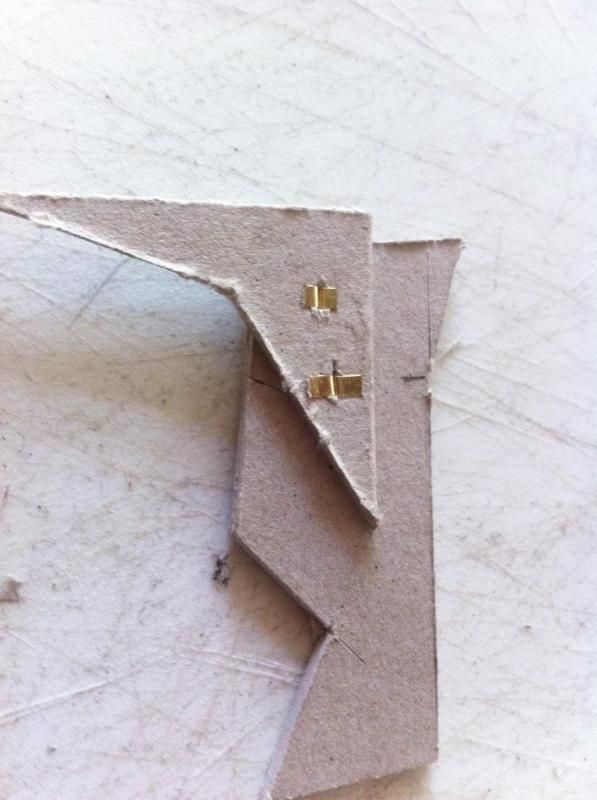
I cut all the holes and used some uncut ones to hold it all together.
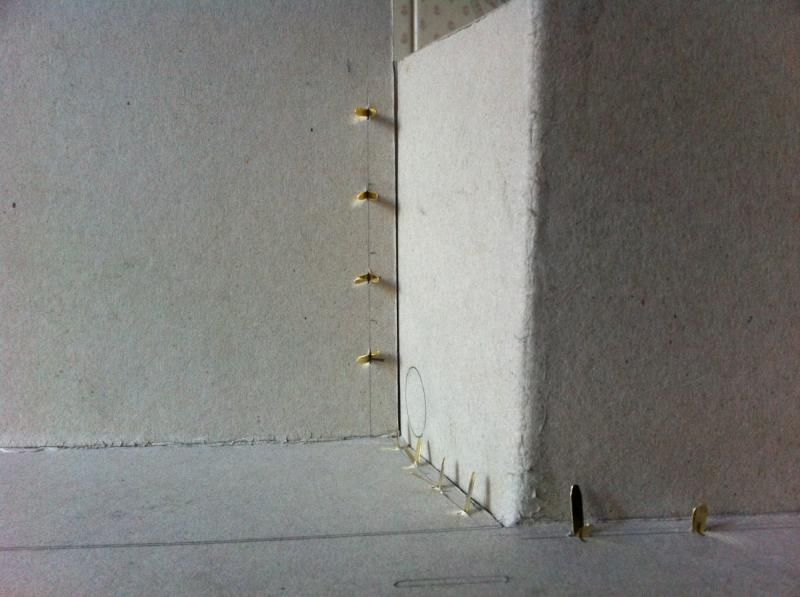
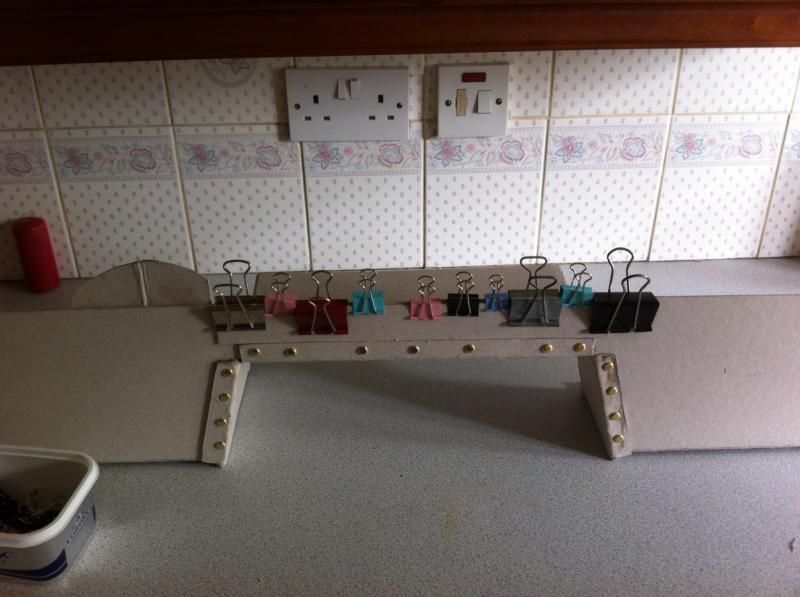
I then took it apart and statrted glueing it all together and using the pins to hold it firm
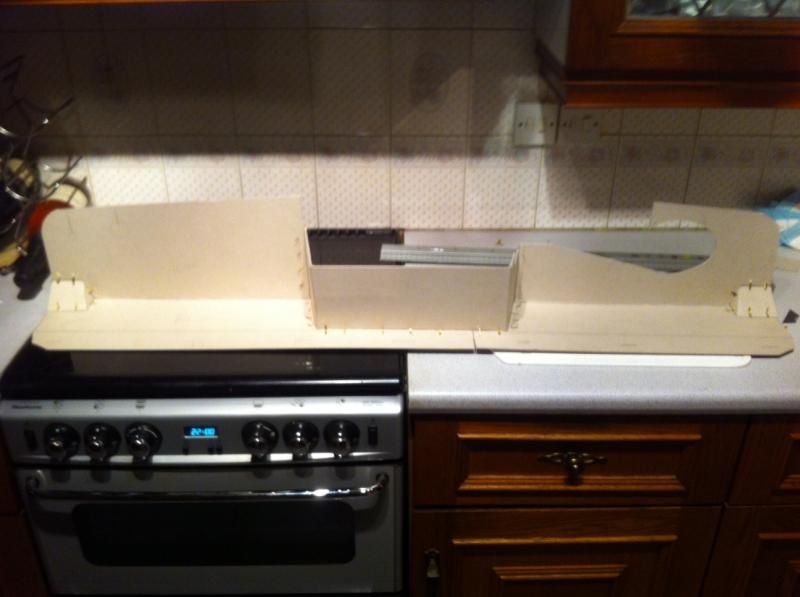
And the end result after three days! (It could have been quicker if I owned a hair dryer to dry the folds, but as anyone who has seen me knows - I have no need to possess one of those!)
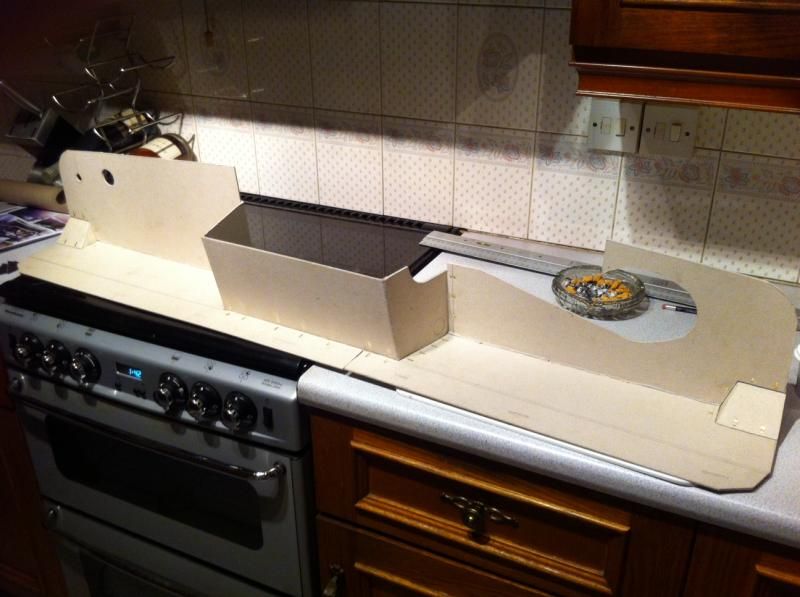
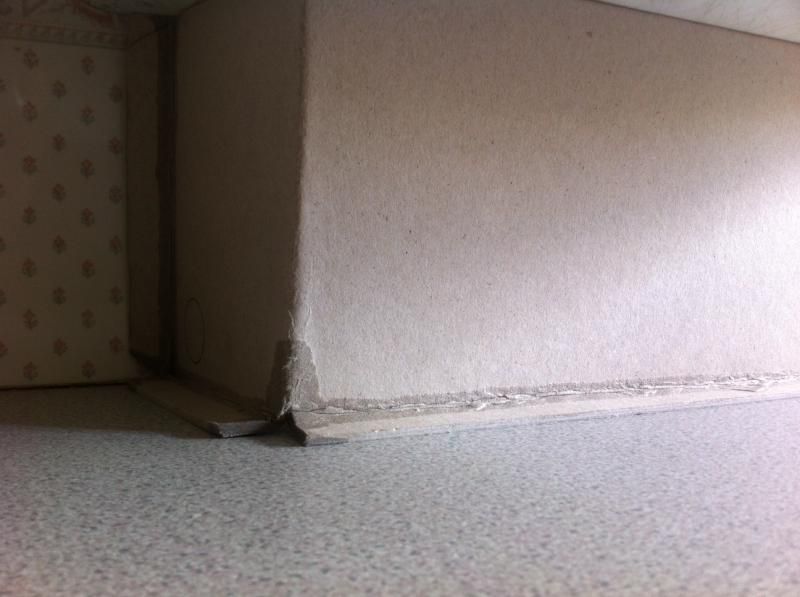
just needs a reinforcement at the front
Thats as it stands at the moment, the front will need an upward curve to meet the dashboard Rail, the slots for the rail securing tabs, a couple of light coats of matt black paint and I may put a few reinforcing 'struts' back to front on it, underneath, to add a little strength to keep it ridgid but I need the dash rail to check on that.
Hopefully this will help some others if they want to make a dashboard, if not they are pretty pictures anyway!


![[img]http://i1269.photobucket.com/album ... .jpg[/img]](%5Bimg%5Dhttp%3A//i1269.photobucket.com/albums/jj584/mrpaulholmes/20130514_151747a.jpg%5B/img%5D)