Hello all

So again for about a year, not allot got done! for various reasons and complications!

But the things that did get done/intrigued me will be listed bellow
Enjoy! (All photos from 2011 and early 2012)
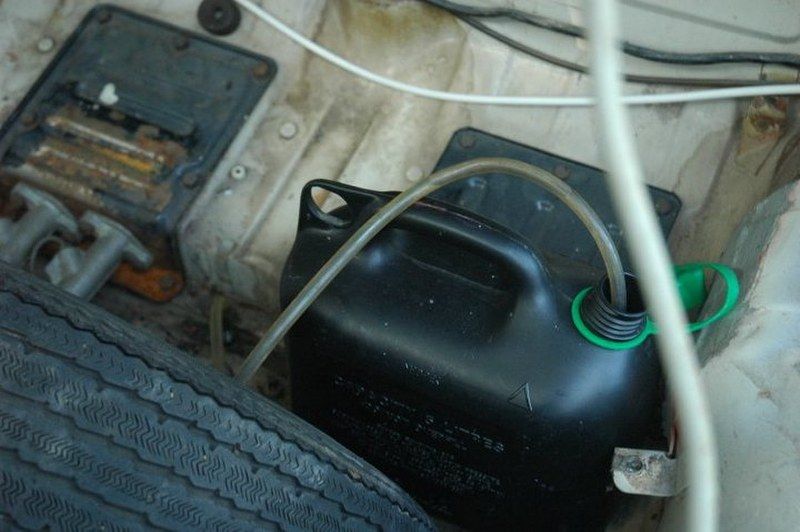
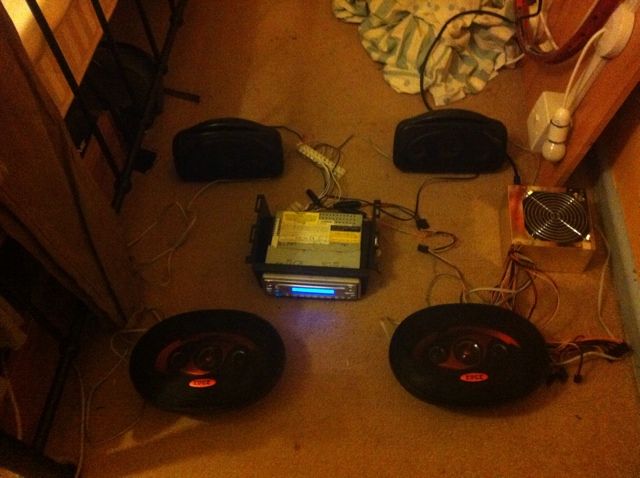
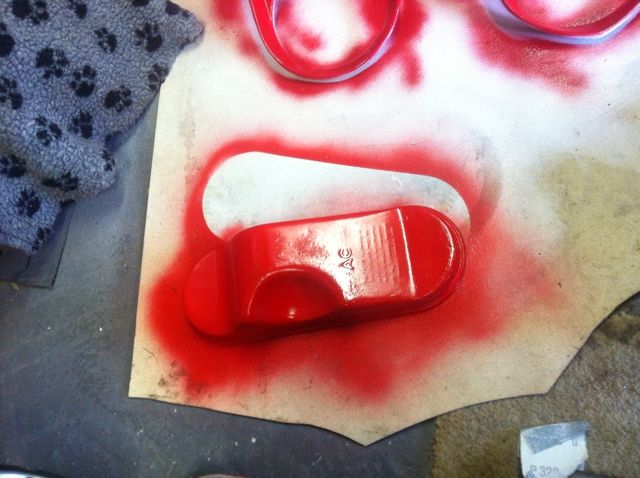
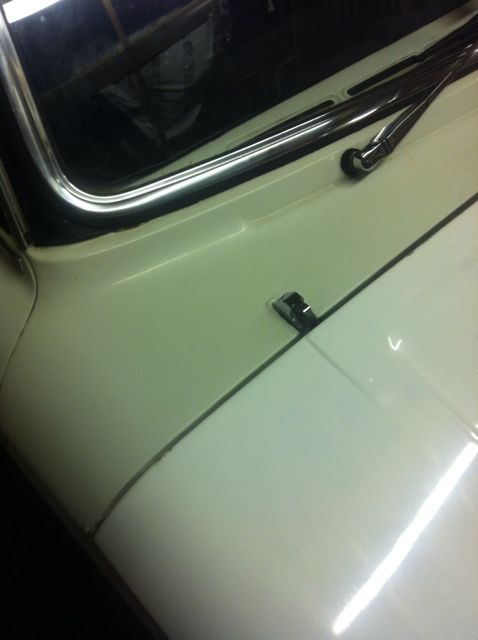
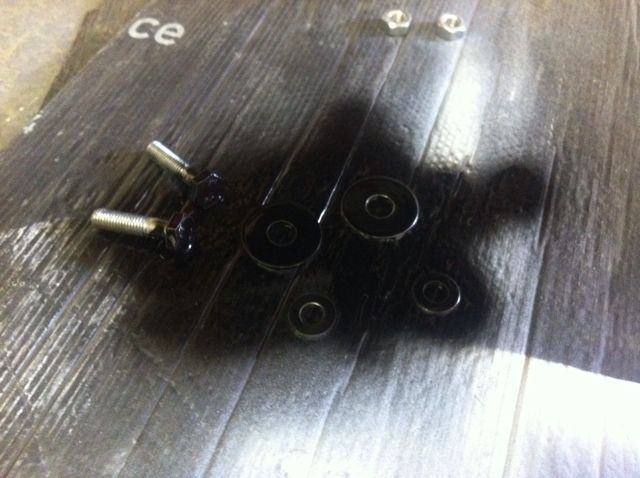
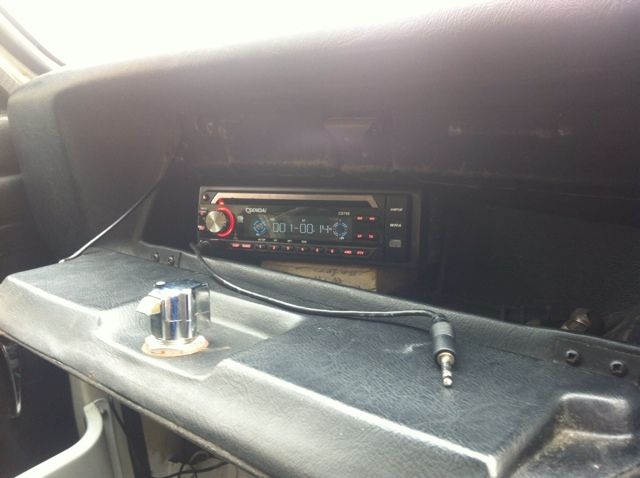
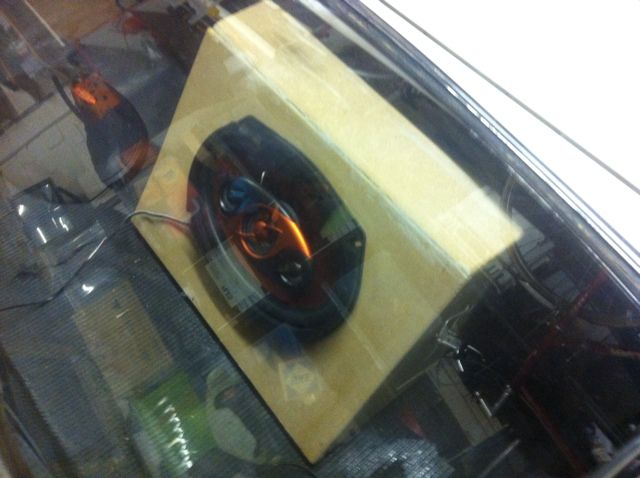
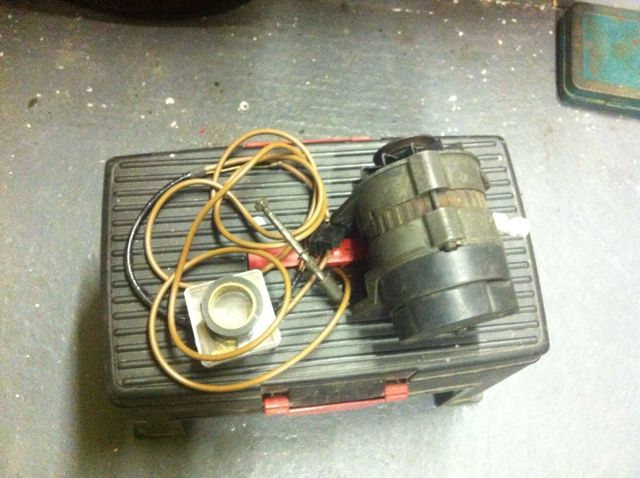
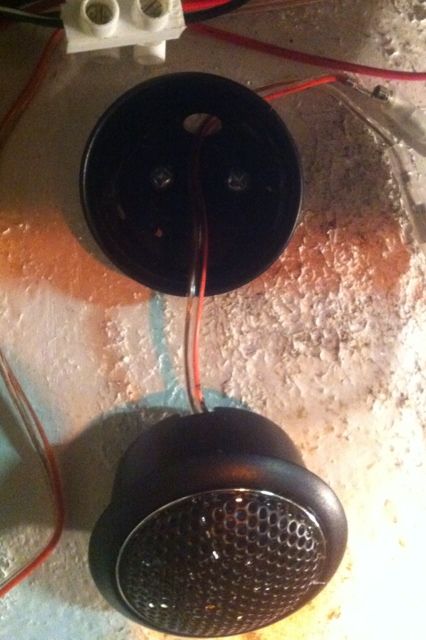
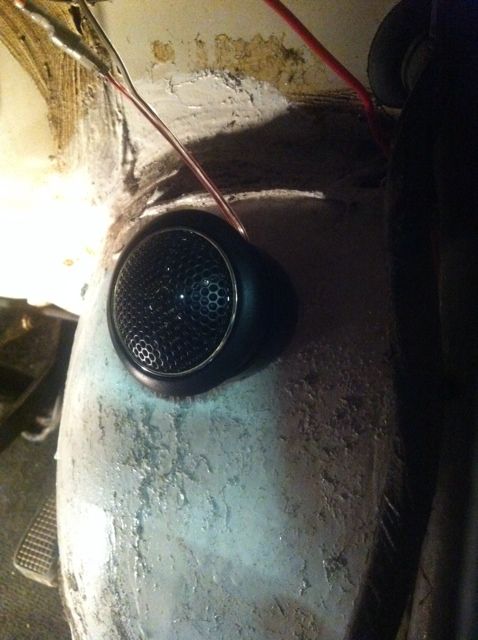
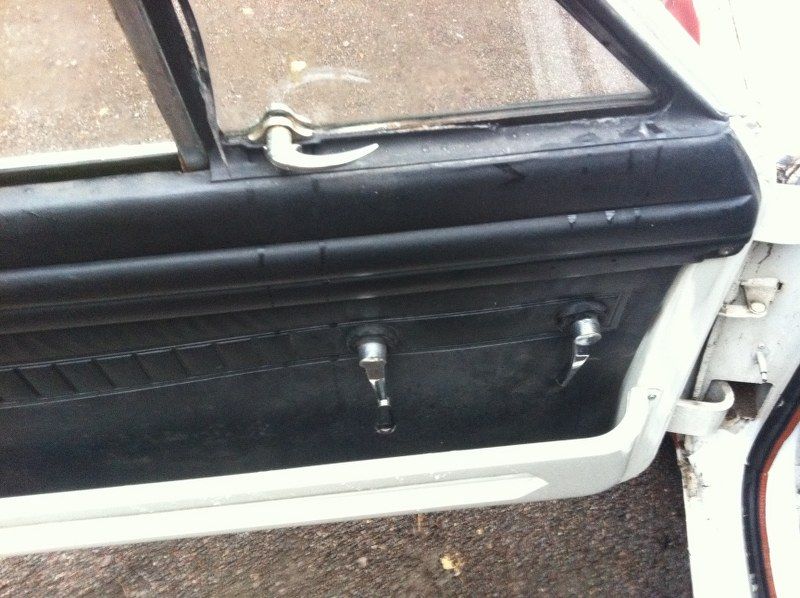
First of, I hated the finger Pump used for washing the wind screen, it was poor, and didn't work well at all! so i bought a washer bottle bag with the built in motor.
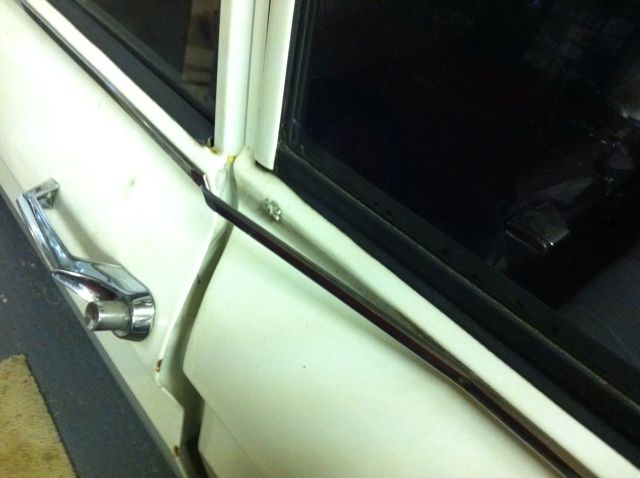
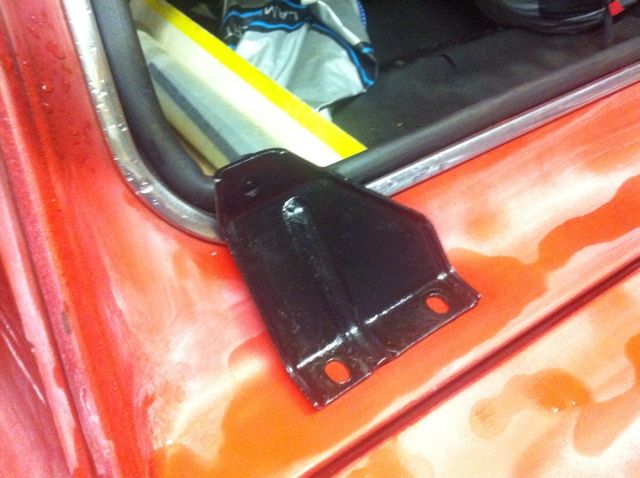
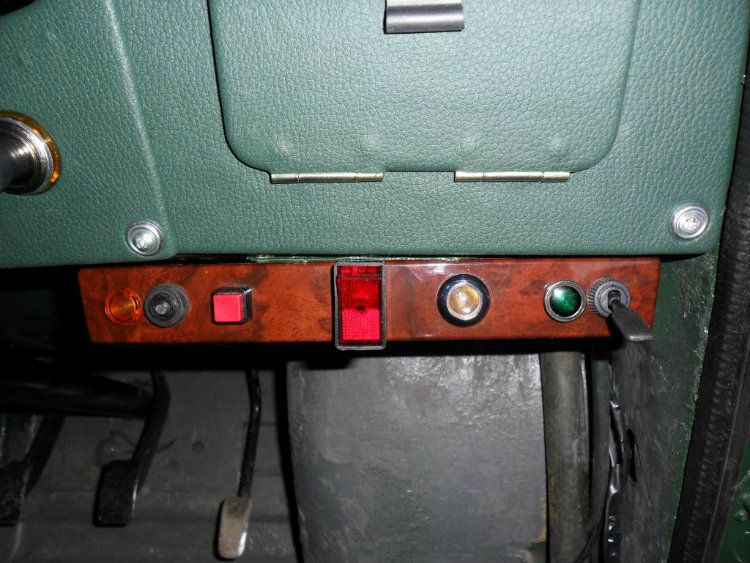
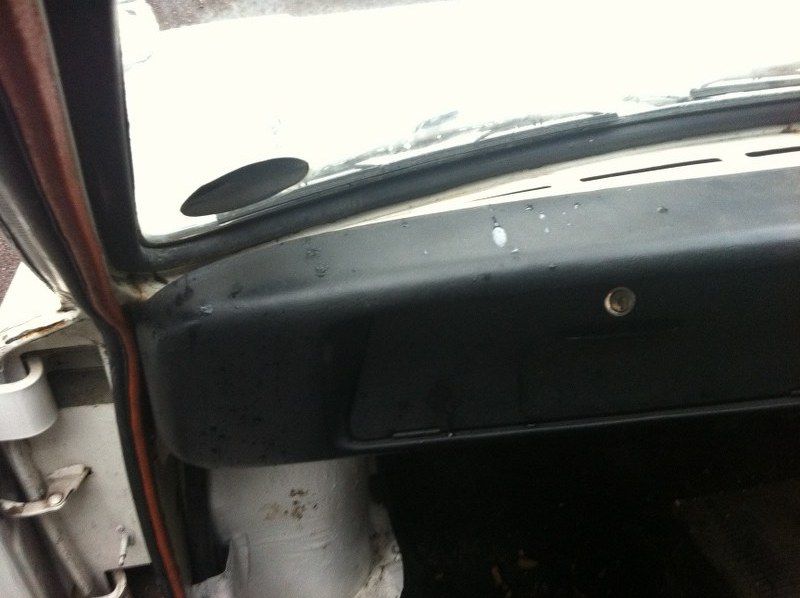
And put a button in-place of ware the original finger pump was. (I didn't leave it hanging there, i moved it up to ware the original one was)
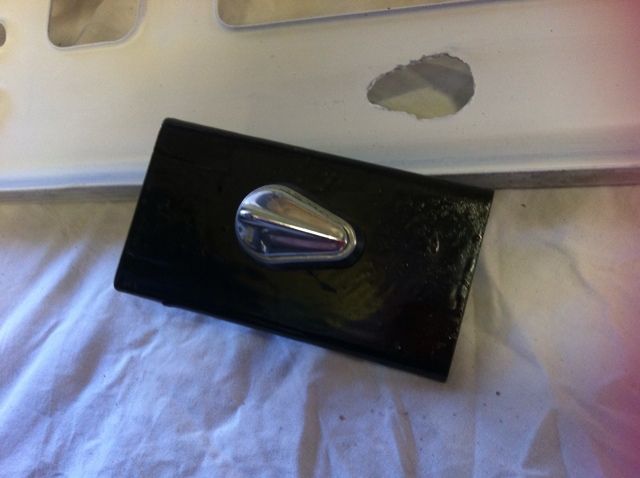
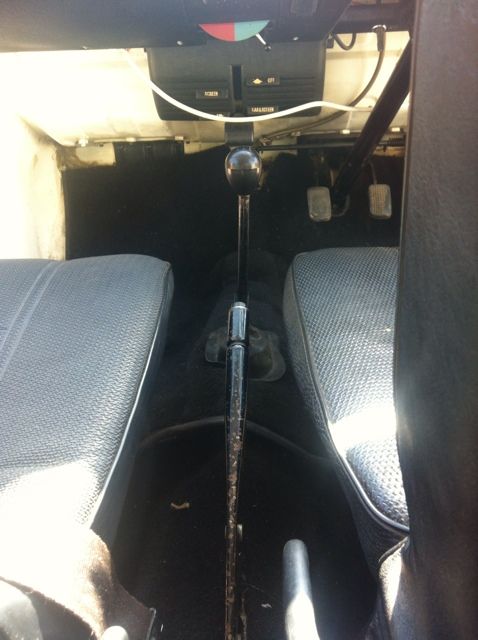
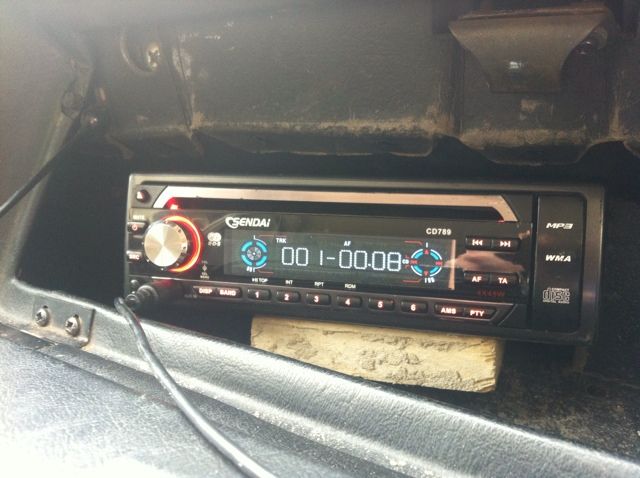
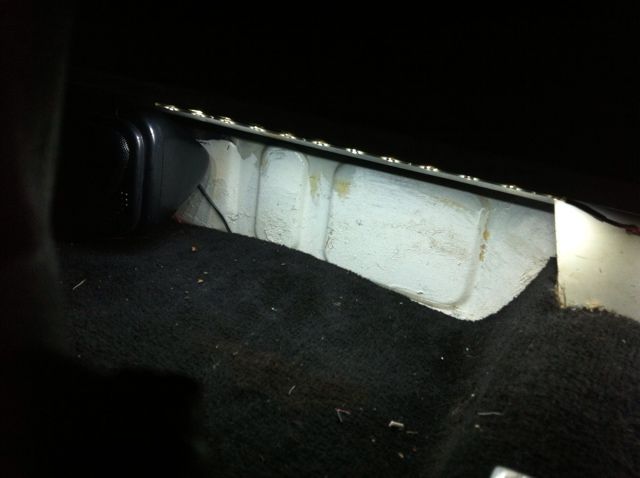
Switch for the washer bottle pump
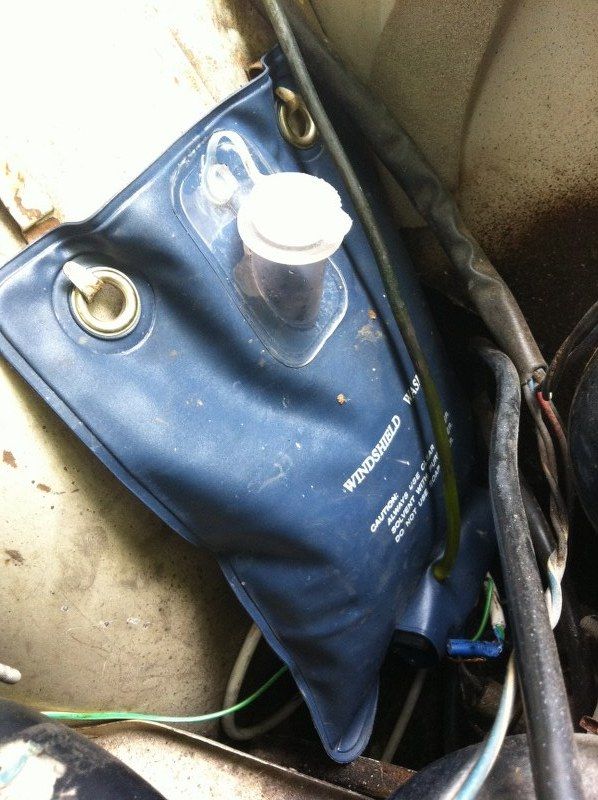
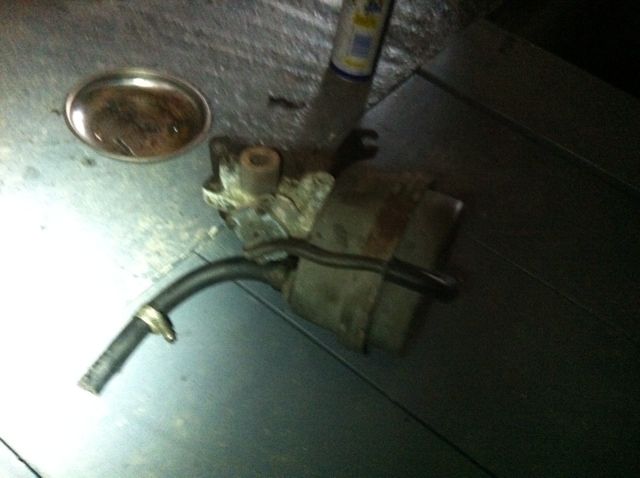
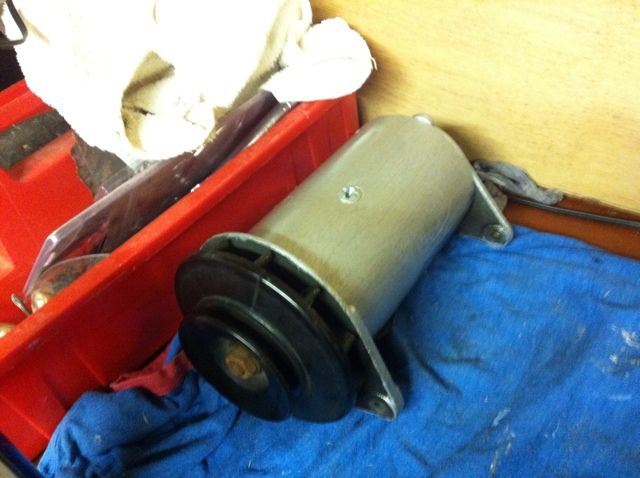
washer bottle bag with built in motor.
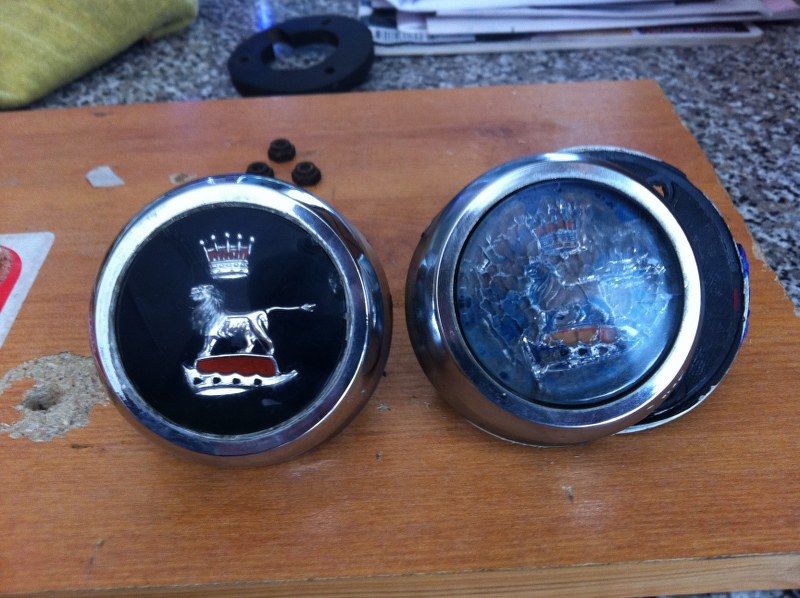
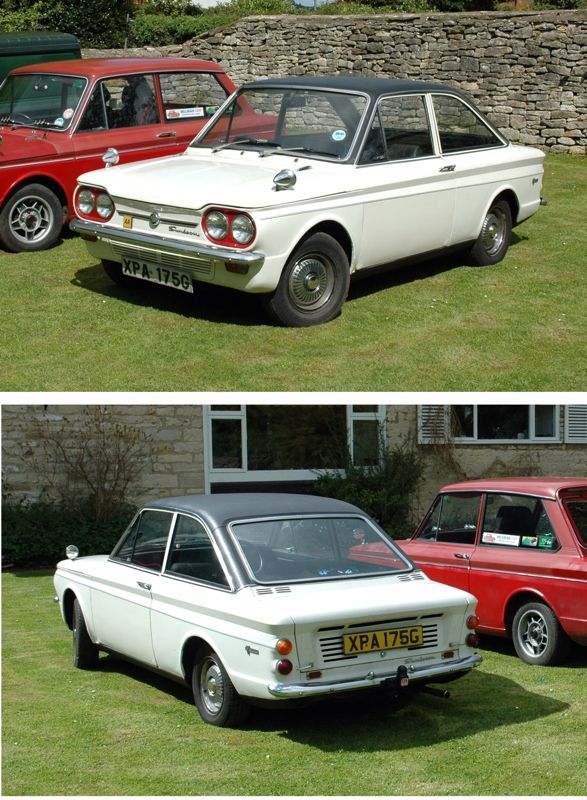
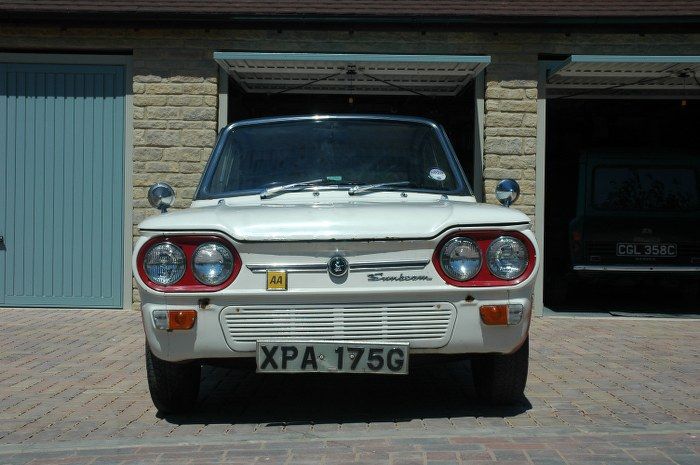
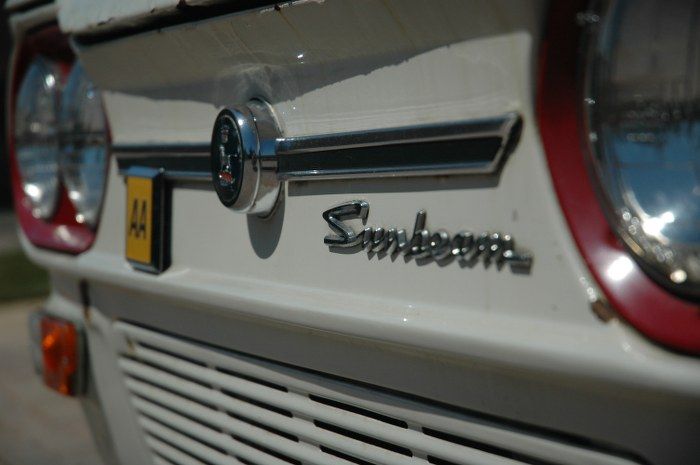
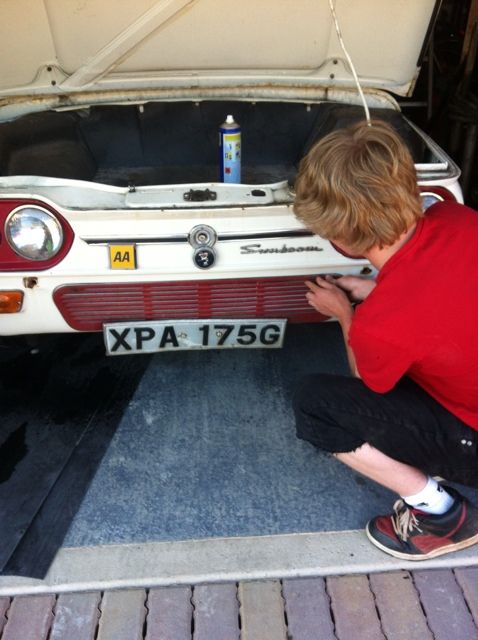
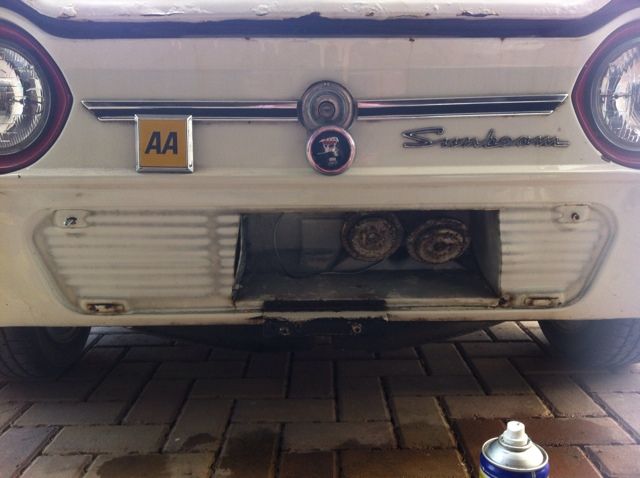
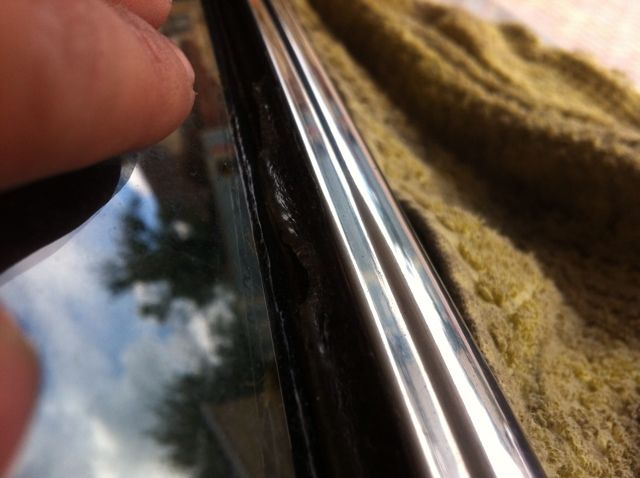
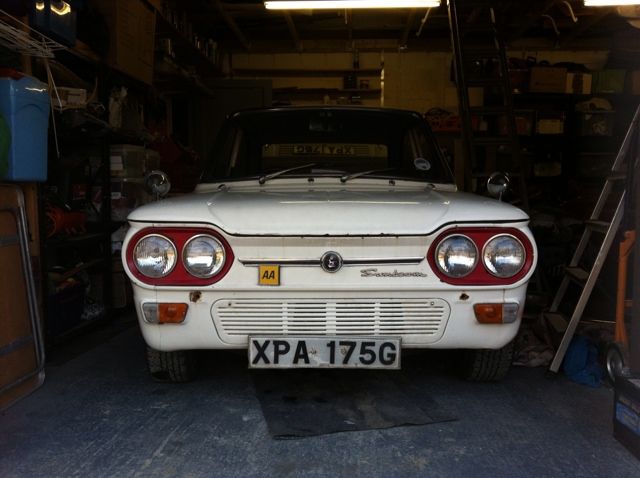
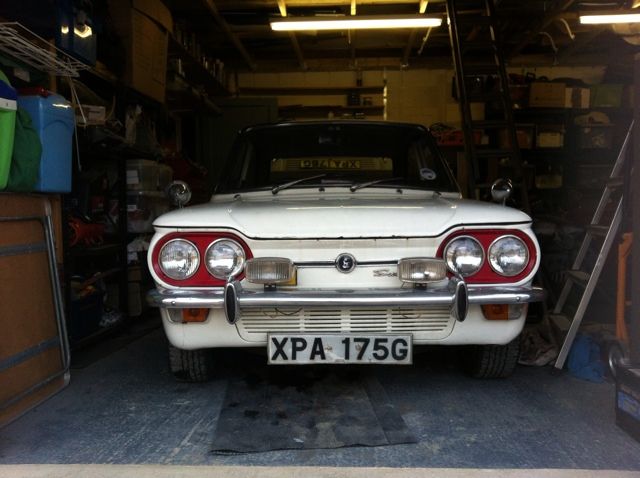
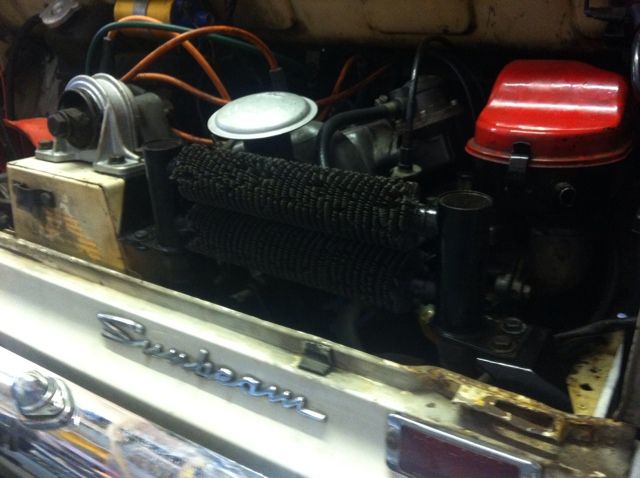
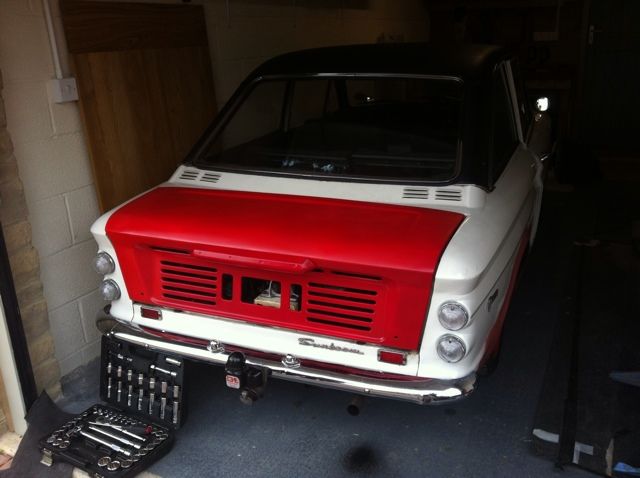
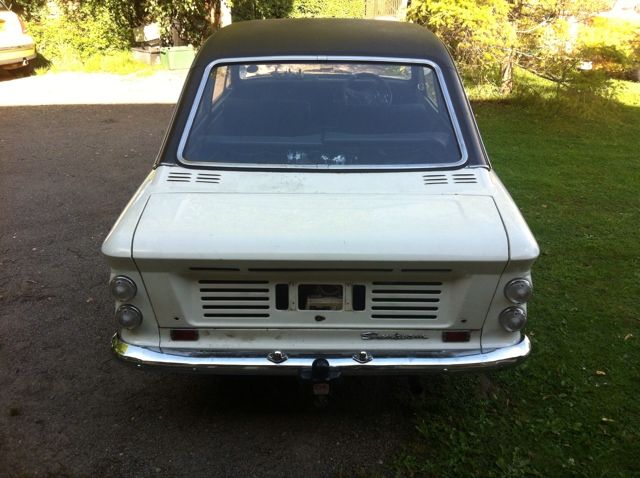
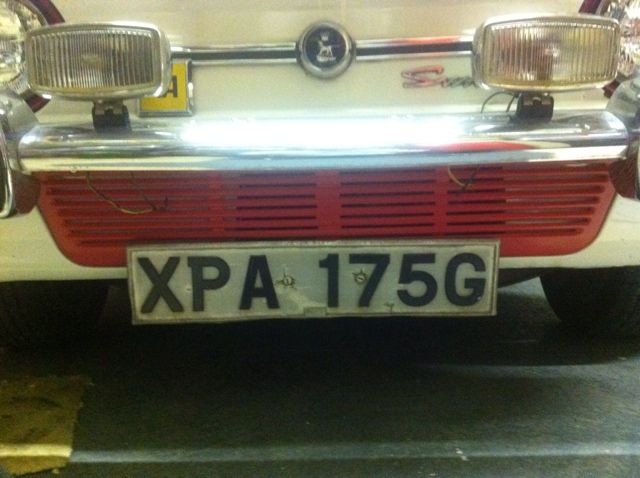
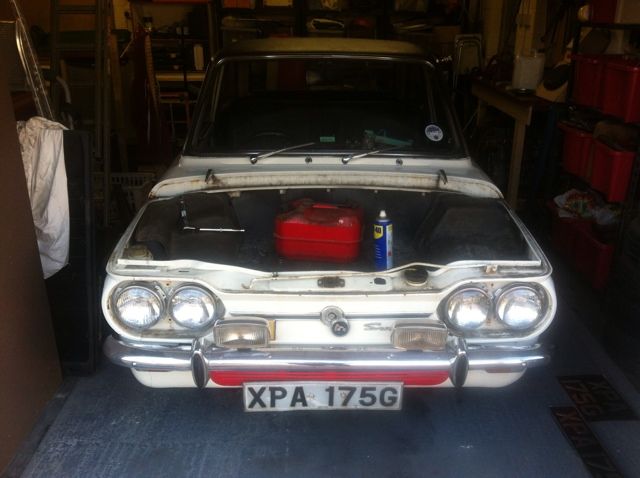
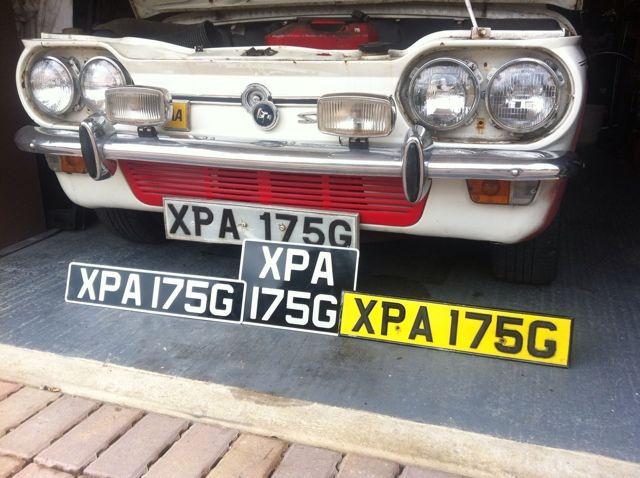
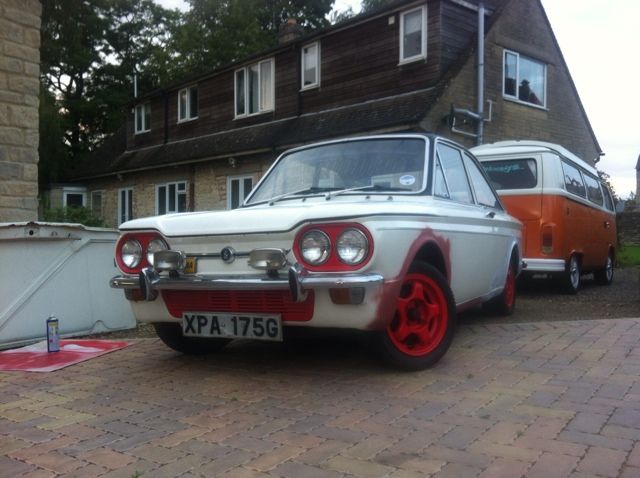
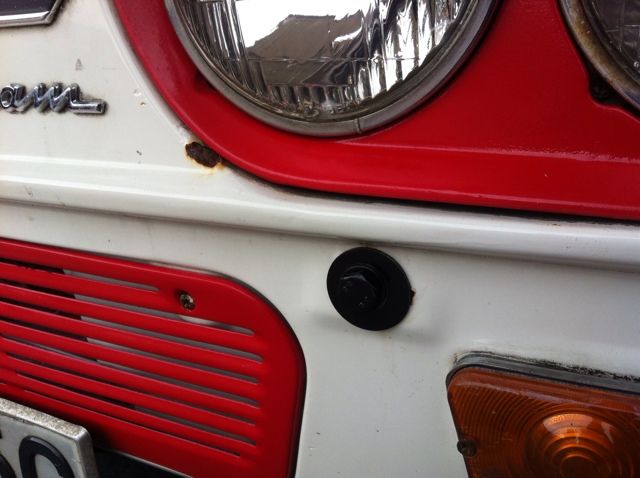
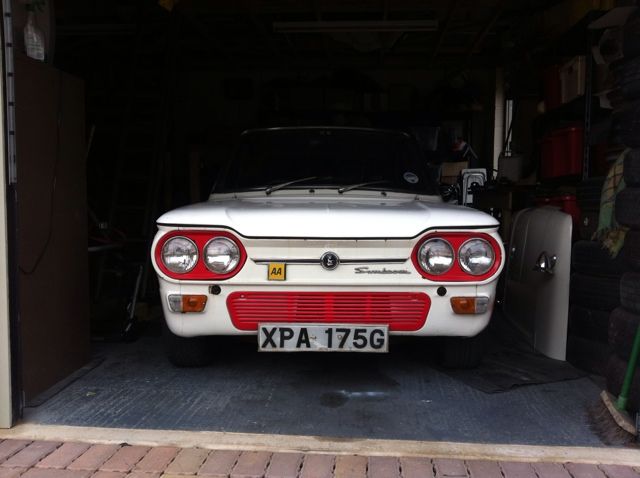
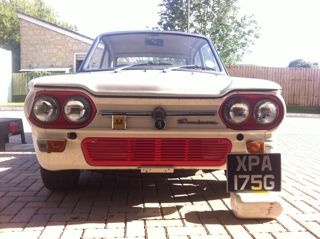
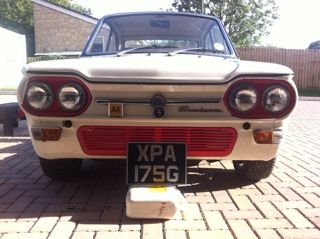
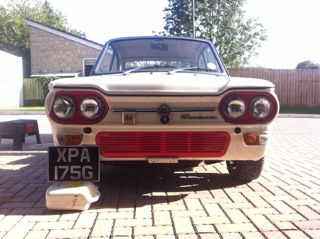
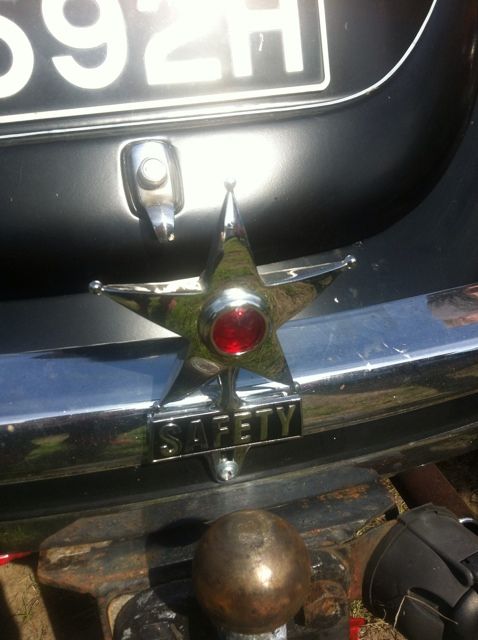
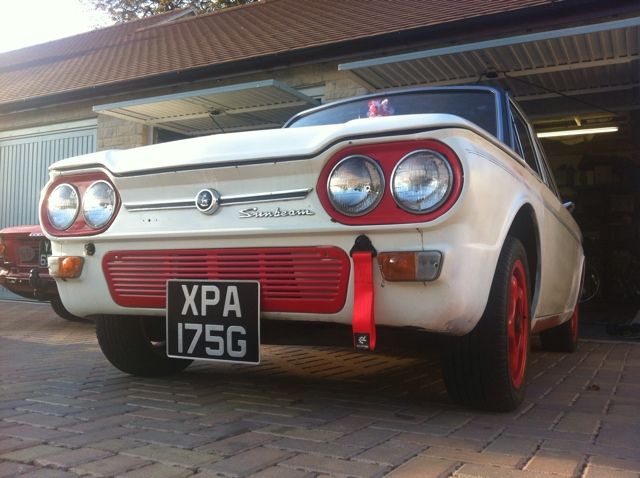
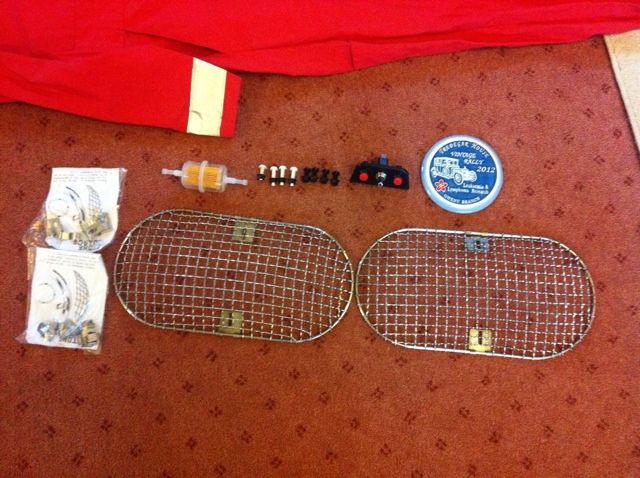
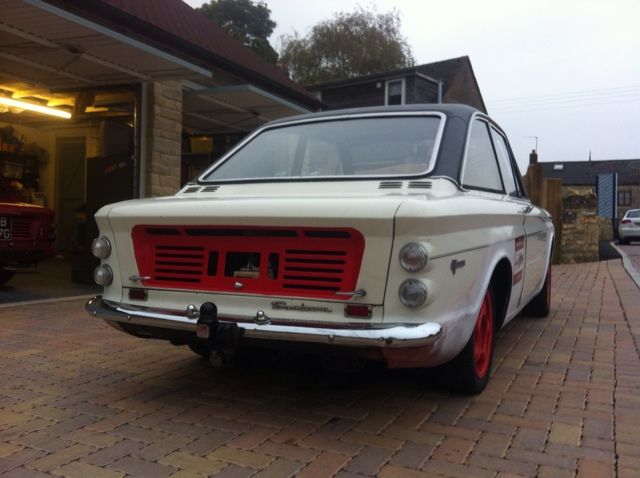
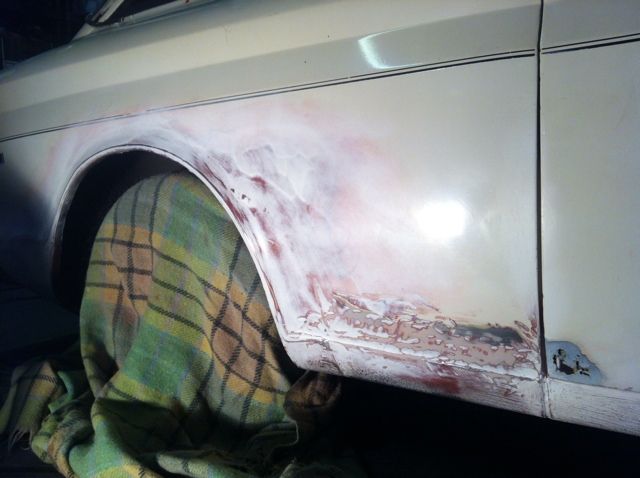
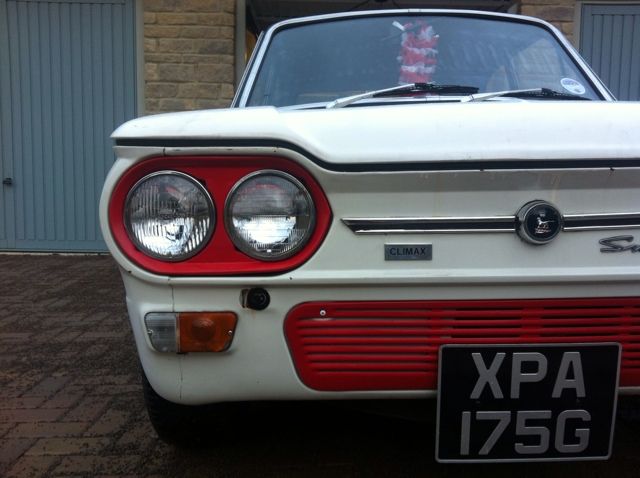
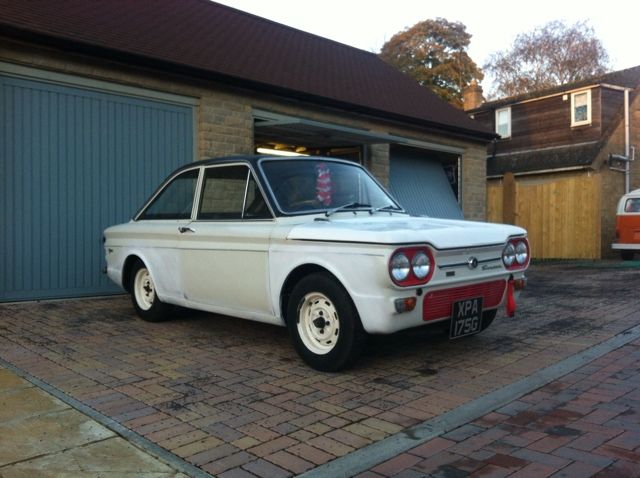
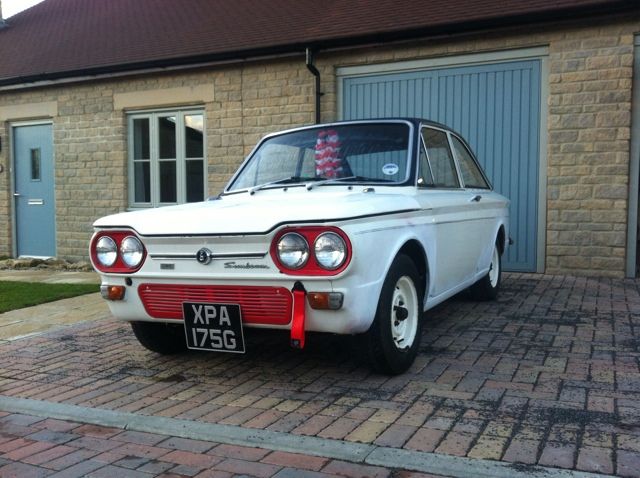
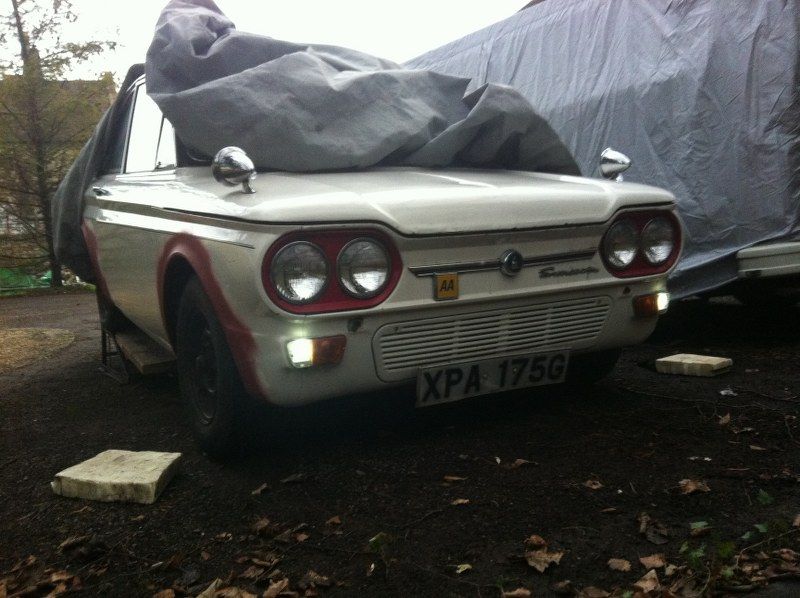
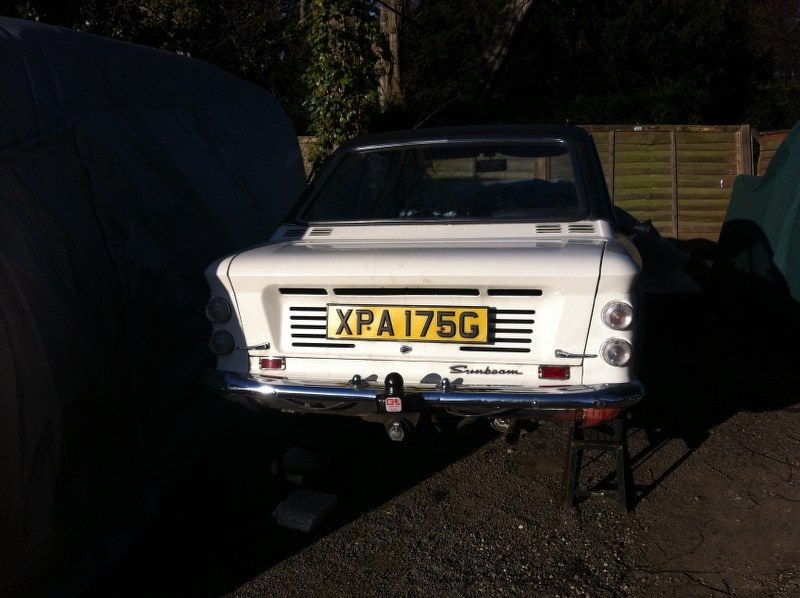
New badge compared to old one, bought cheep at 2011 national
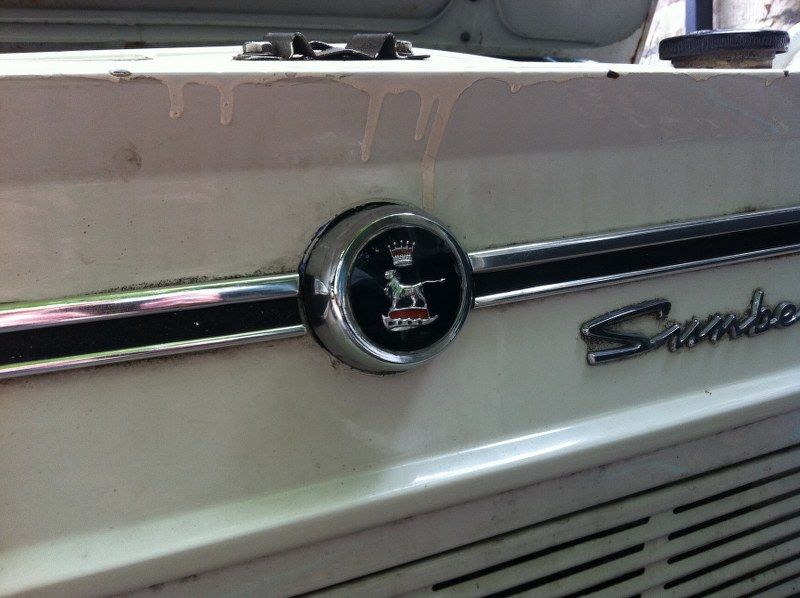
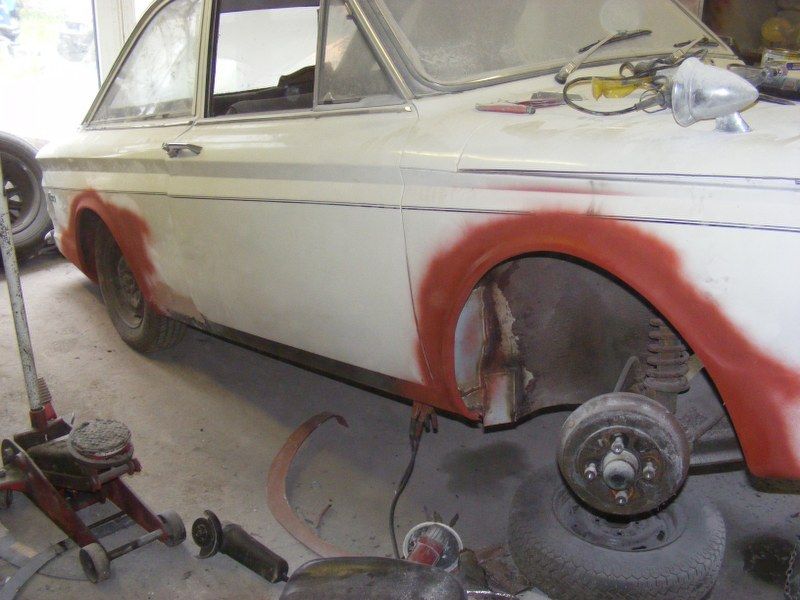
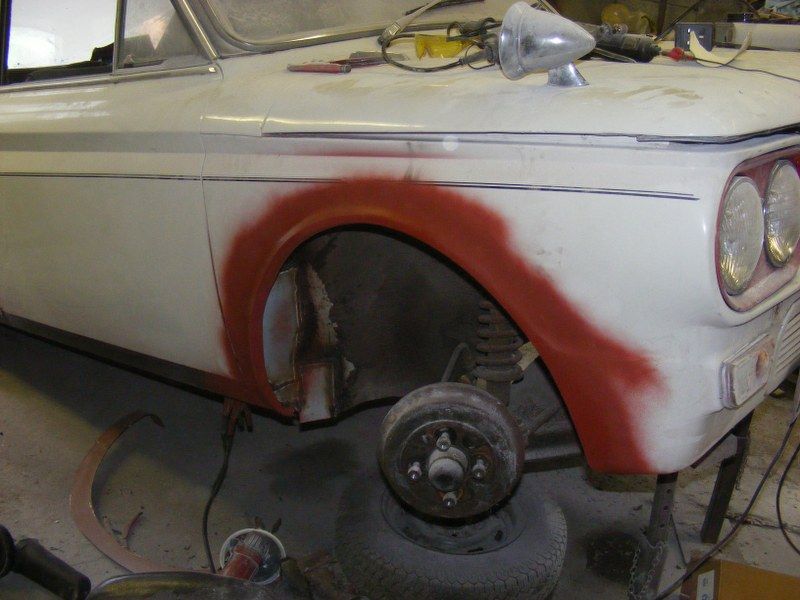
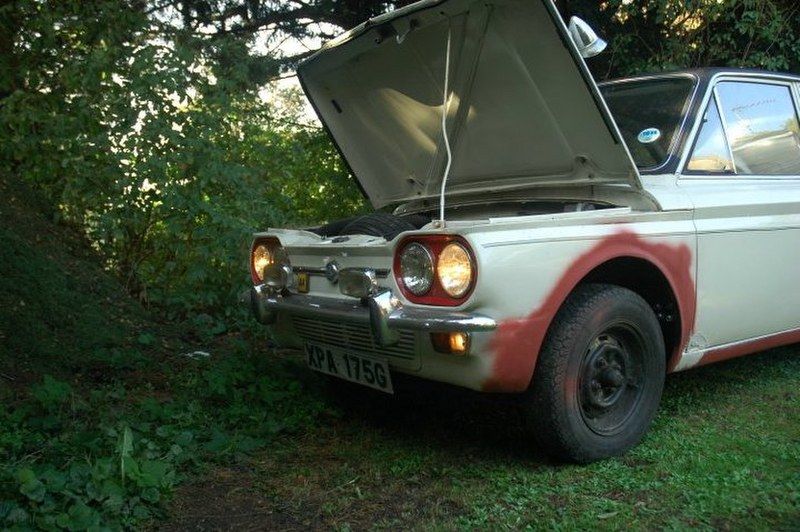
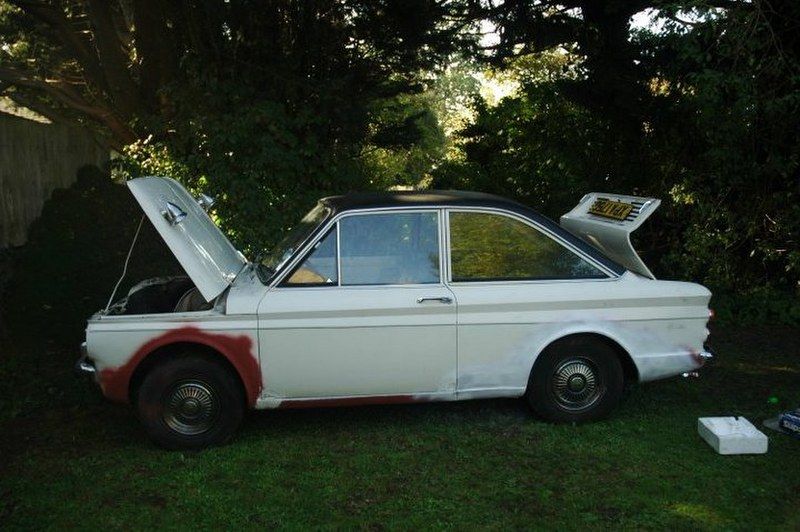
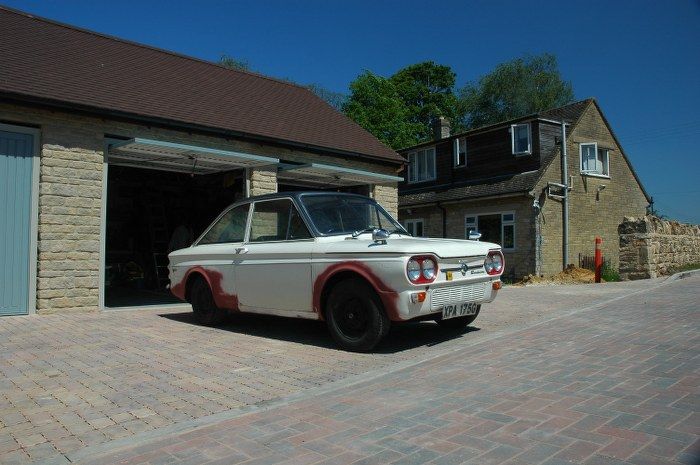
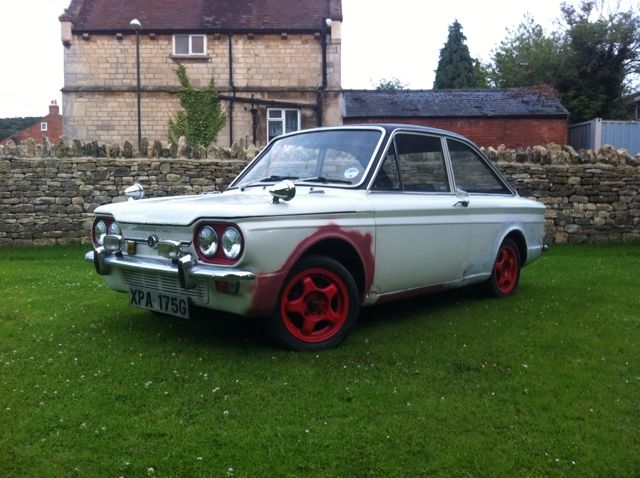
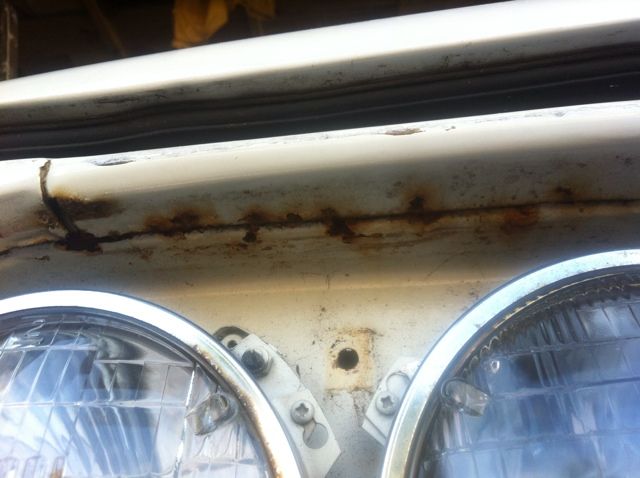
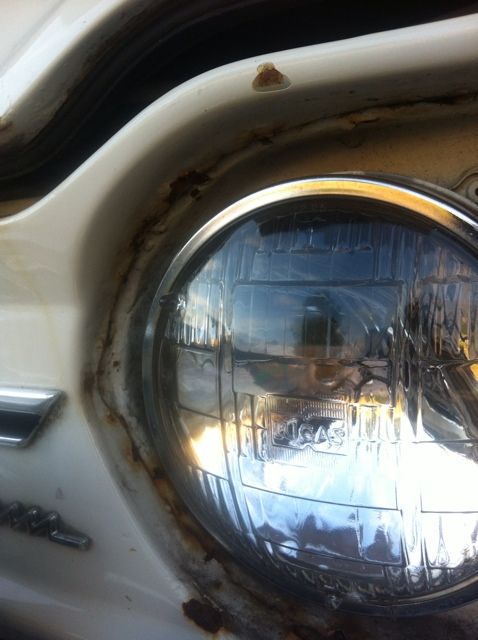
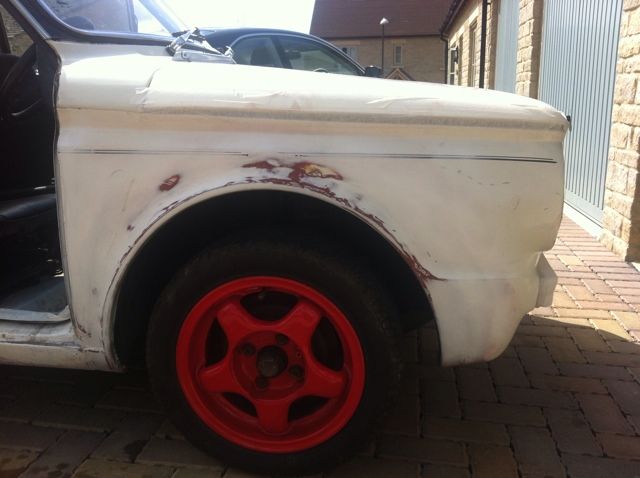
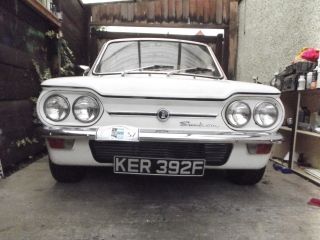
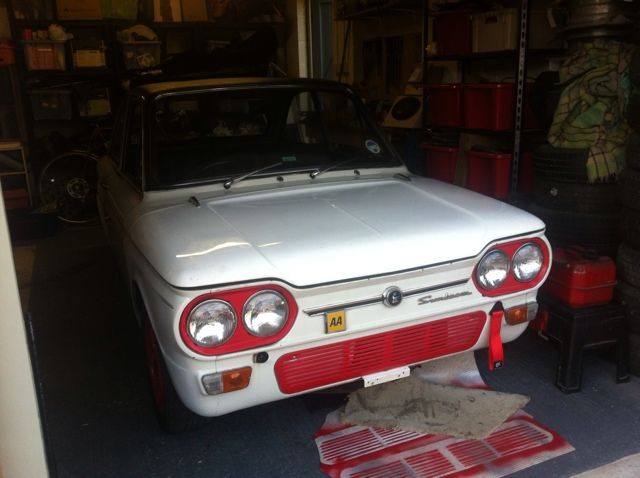
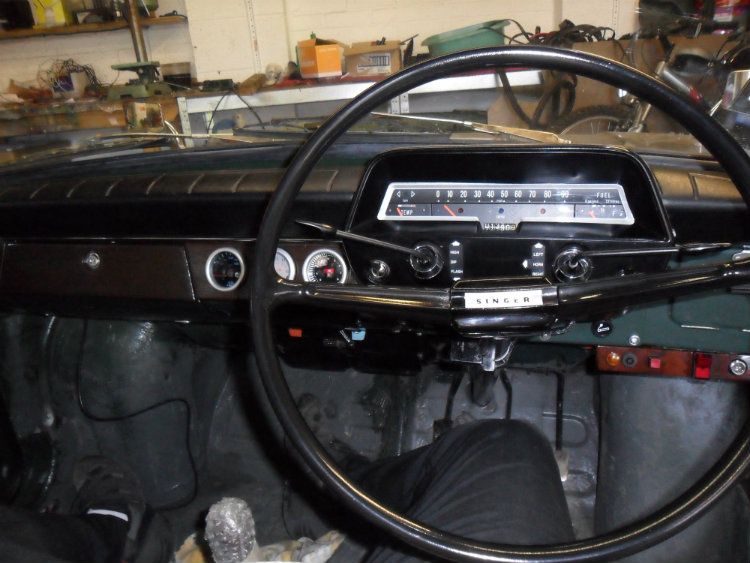
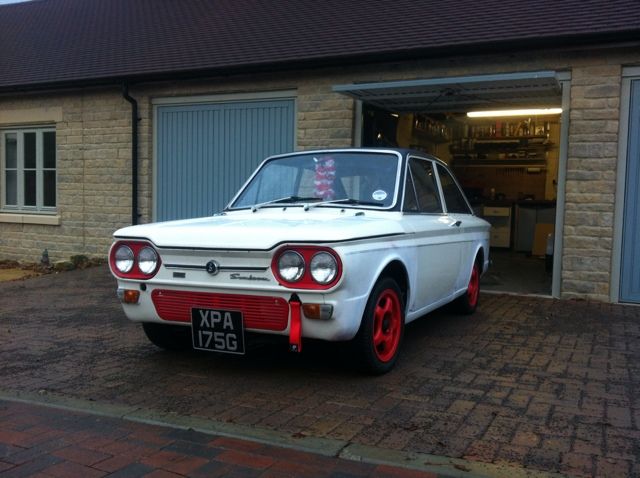
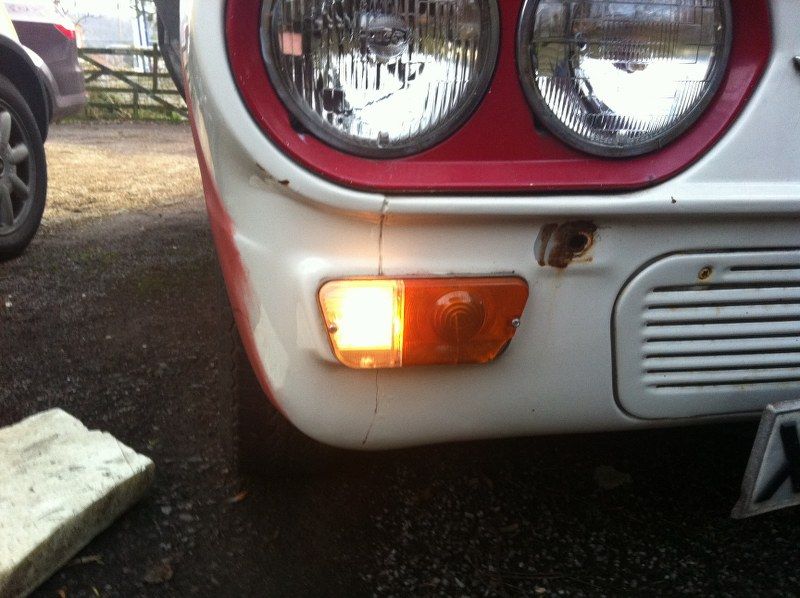
new badge, Front of the car needs work
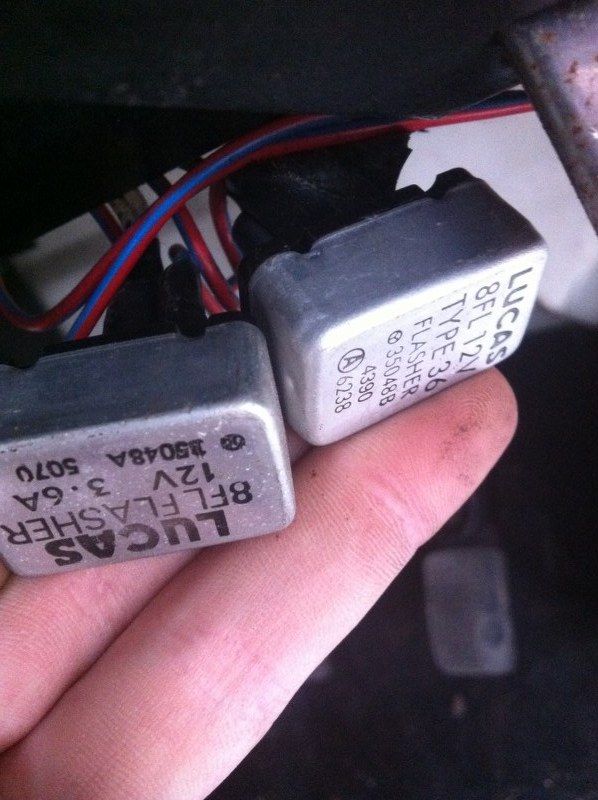
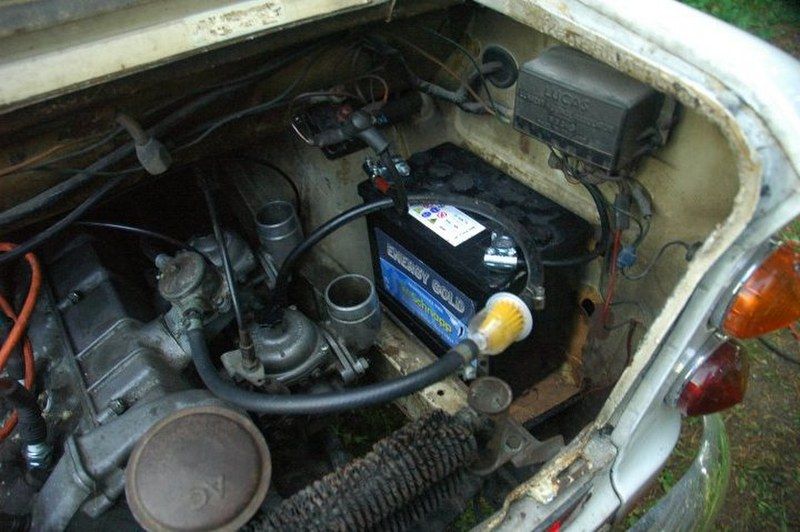
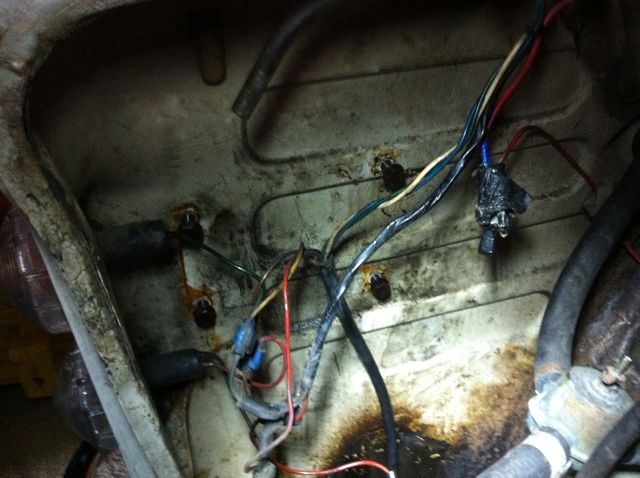
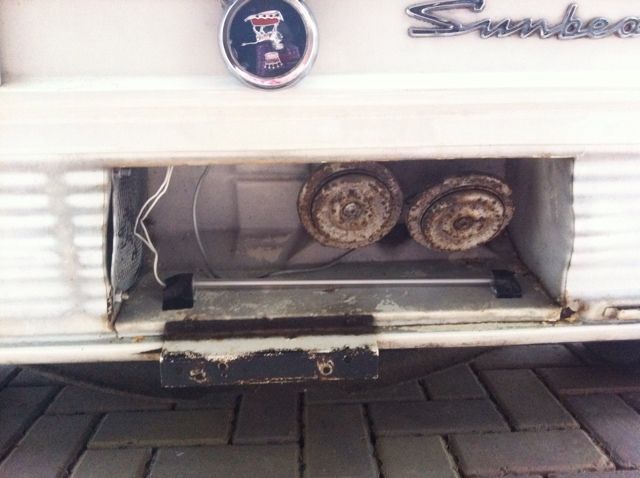
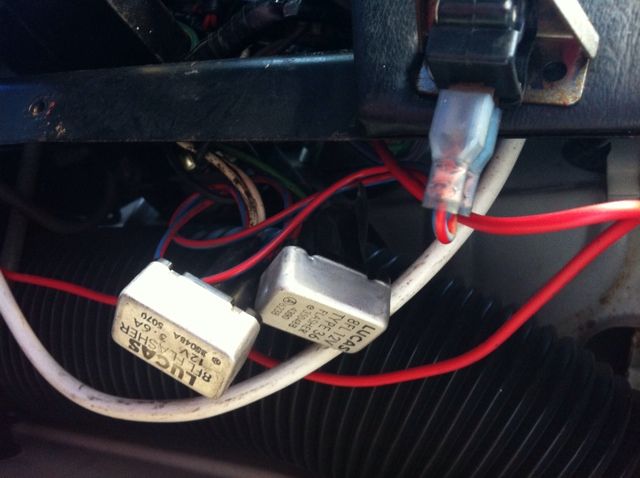
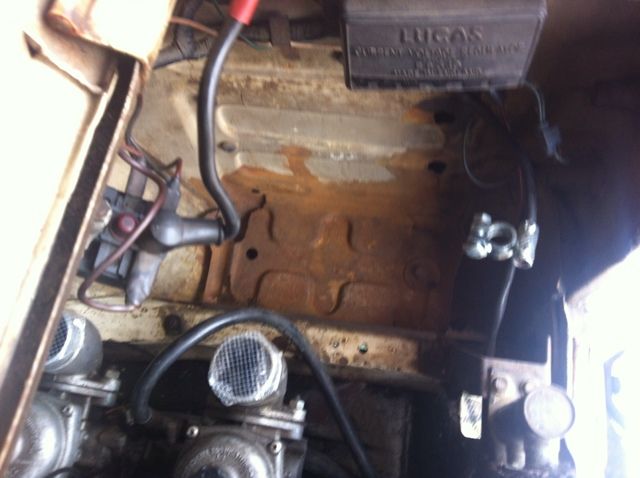
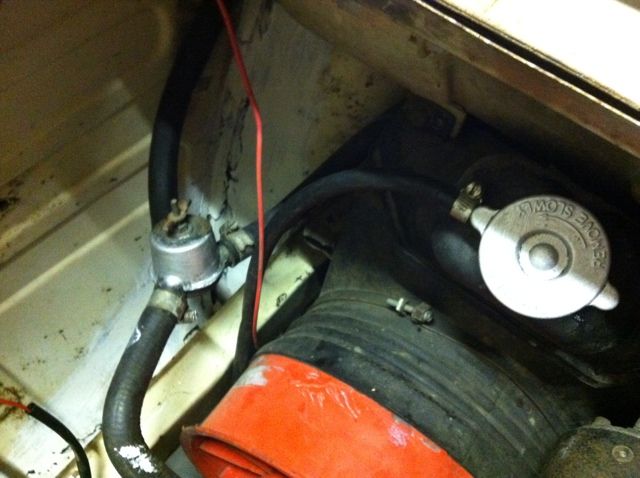
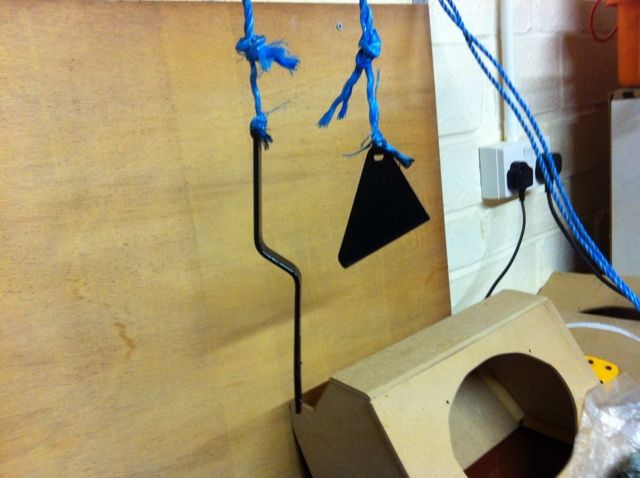
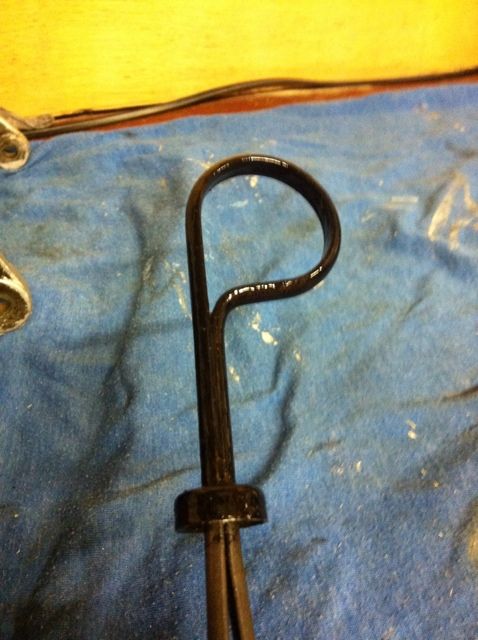
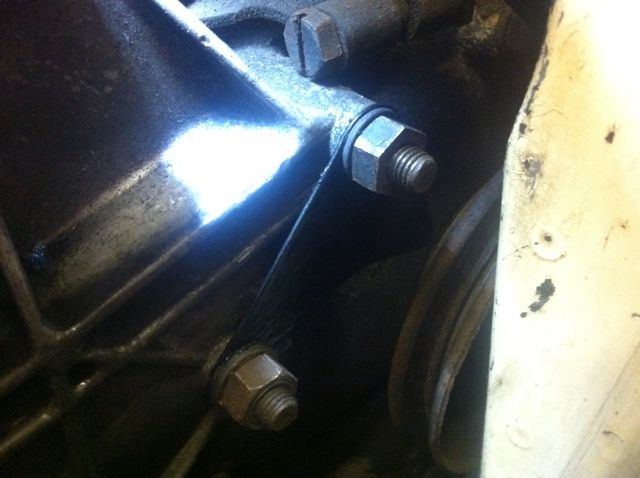
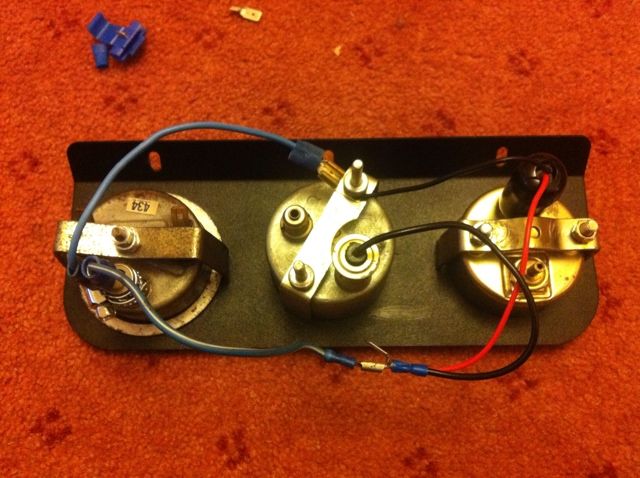
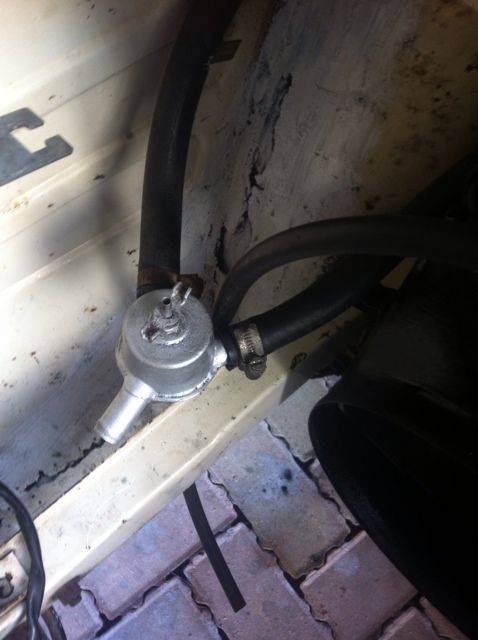
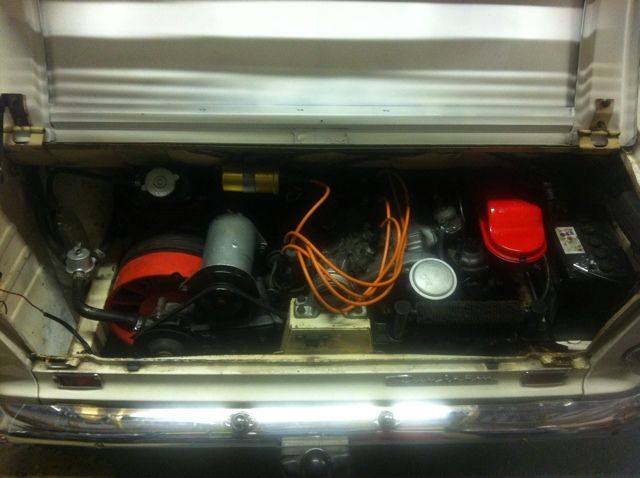
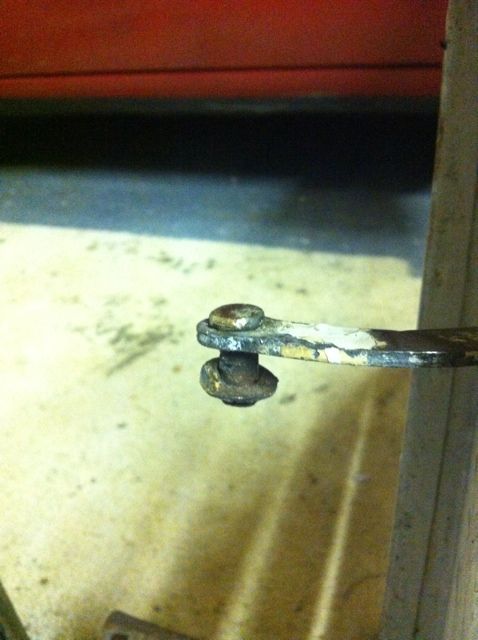
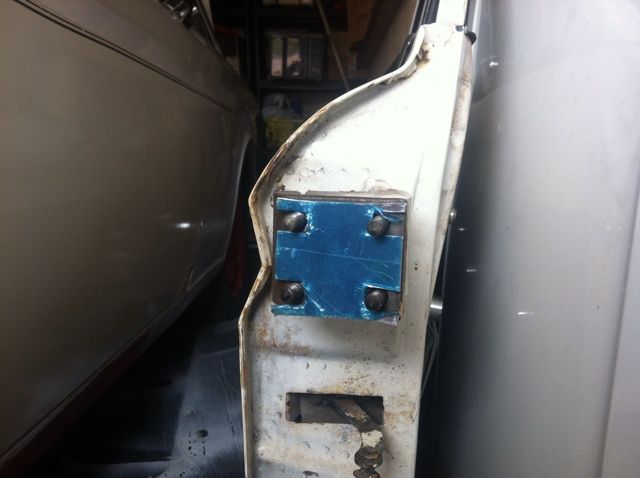
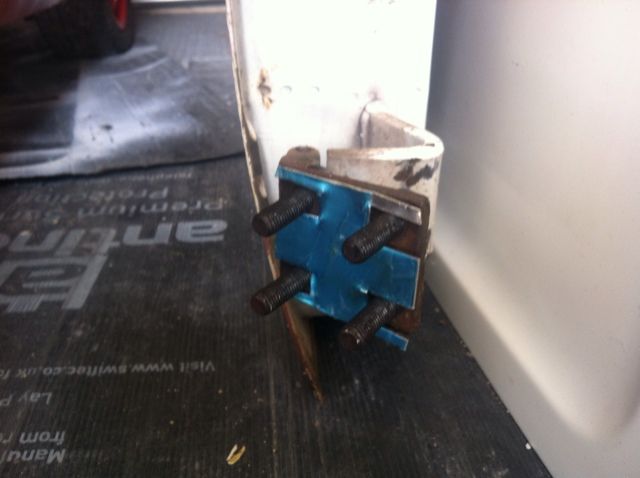
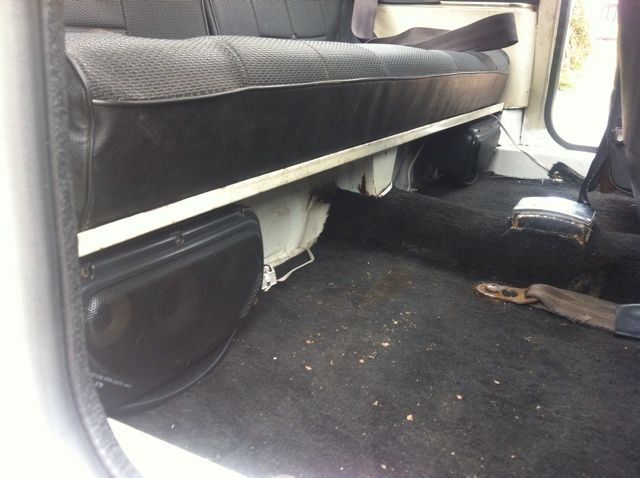
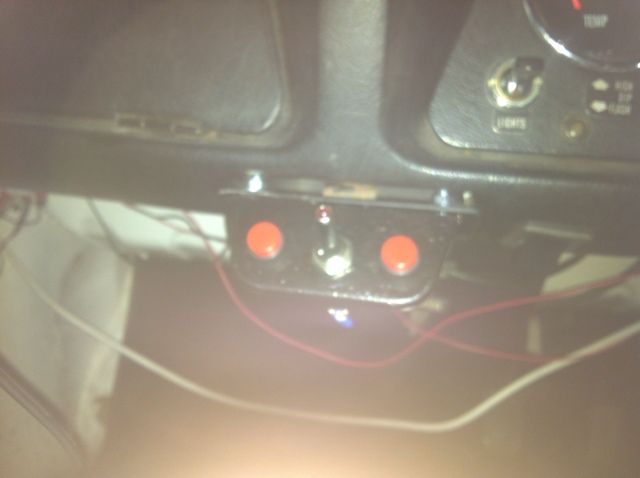
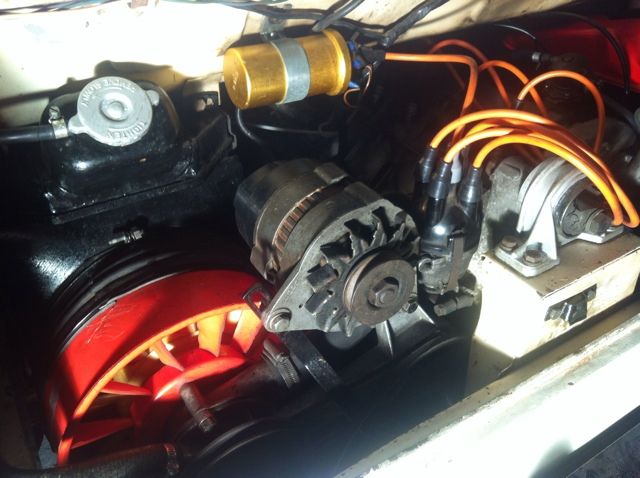
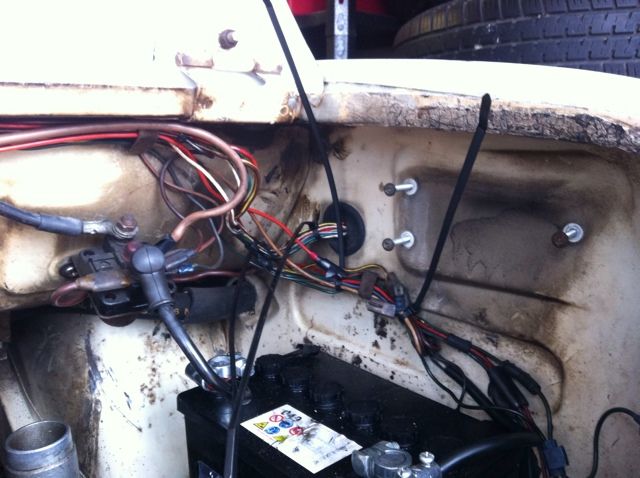
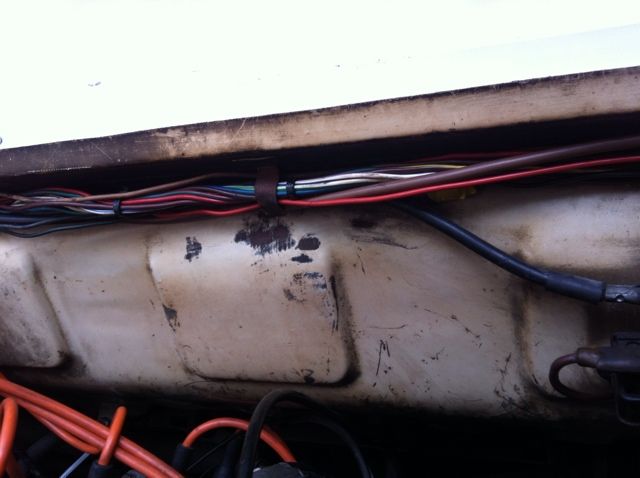
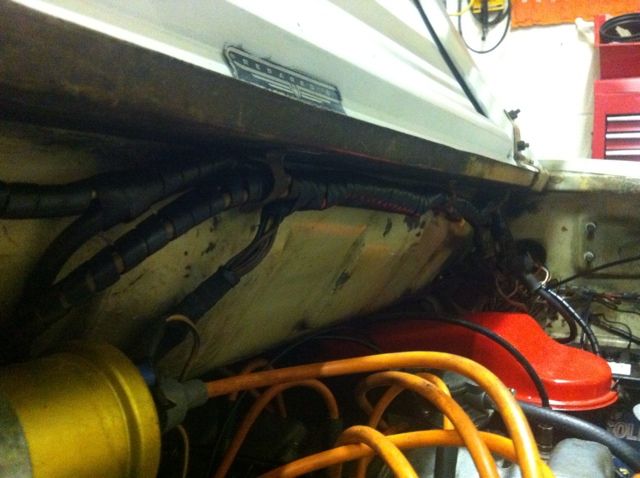
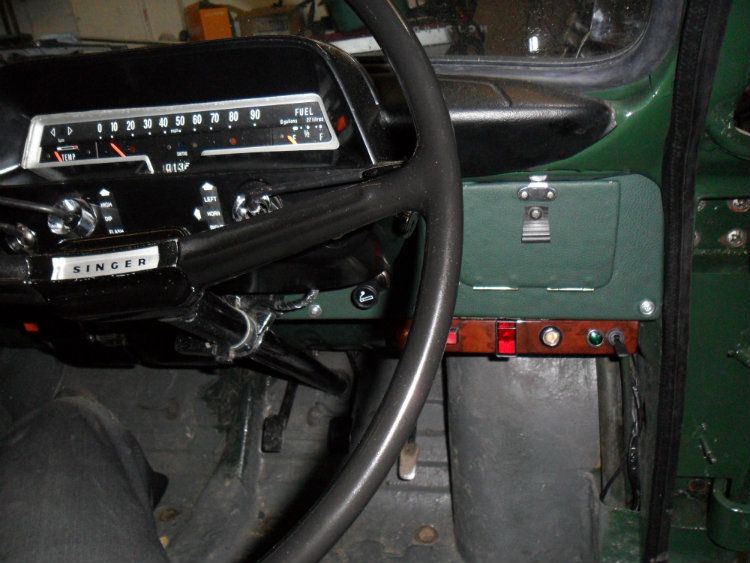
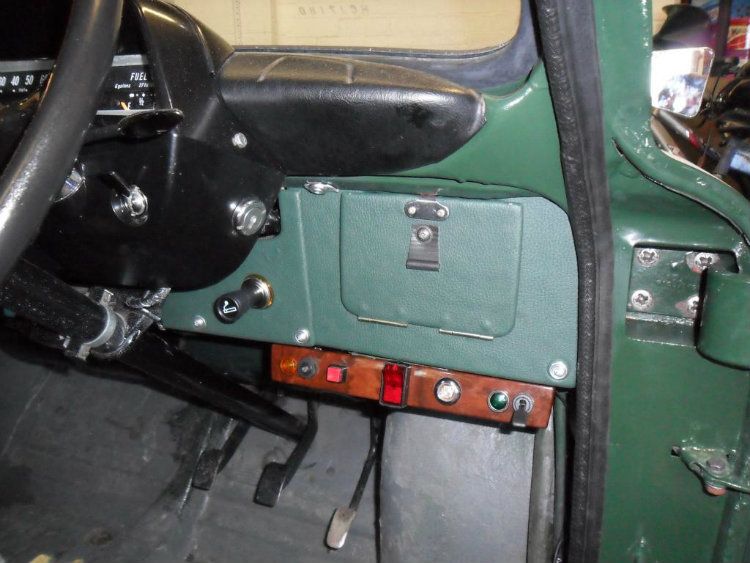
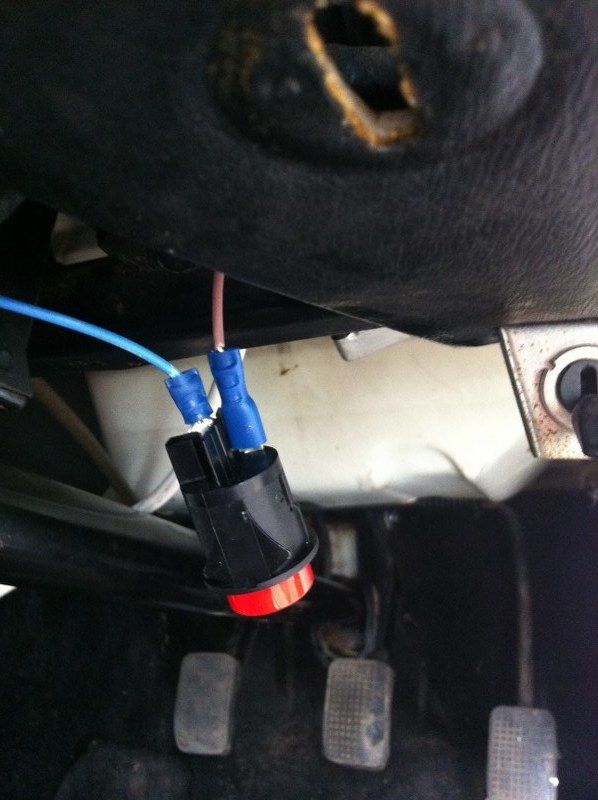
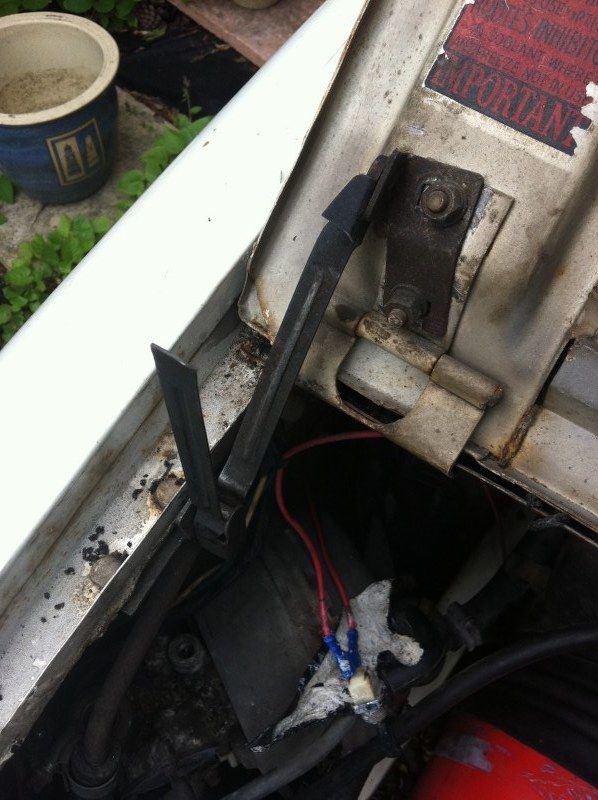
For some reason the previous owner installed two flasher units ? with a switch shown bellow, when the switch is down, the indicators work, when its up, they don't work...
I do have a tow ball with a plug for a light board, so perhaps it is something to do with that ? if any one has a theory of what its used for/why its there could they please let me know what they think
?
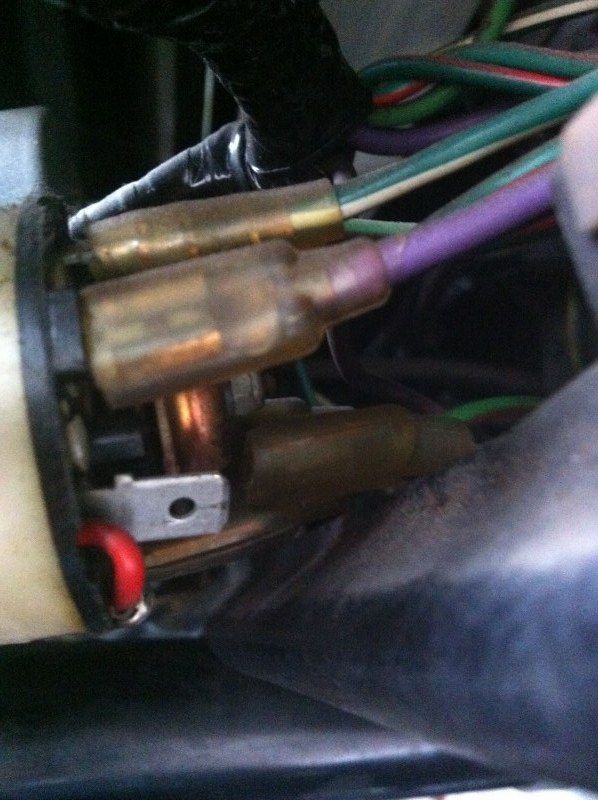
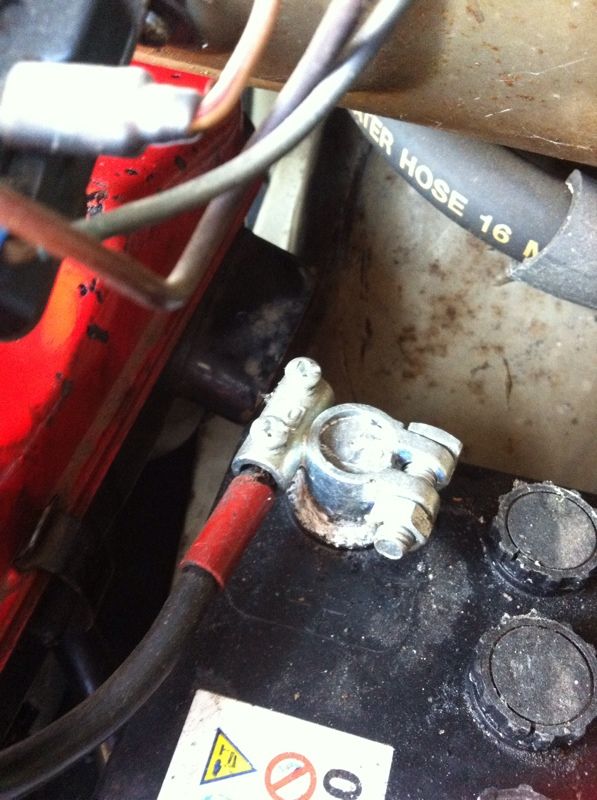
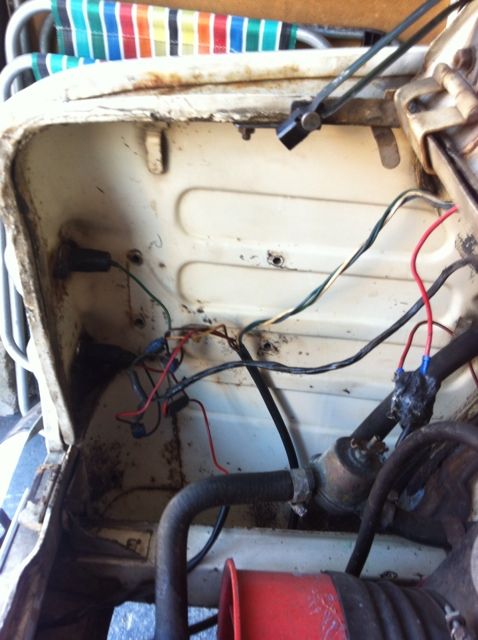
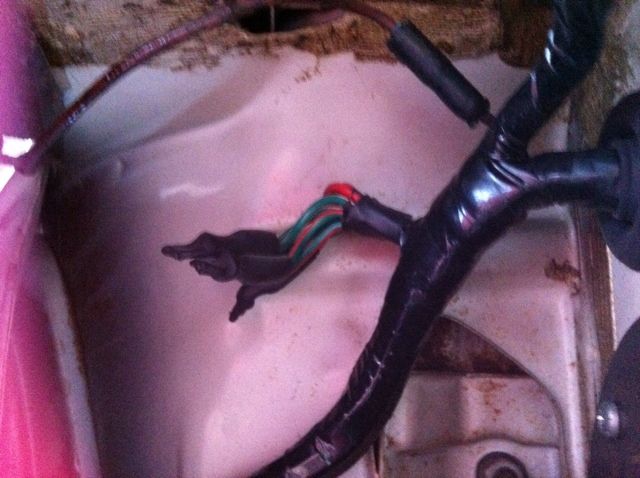
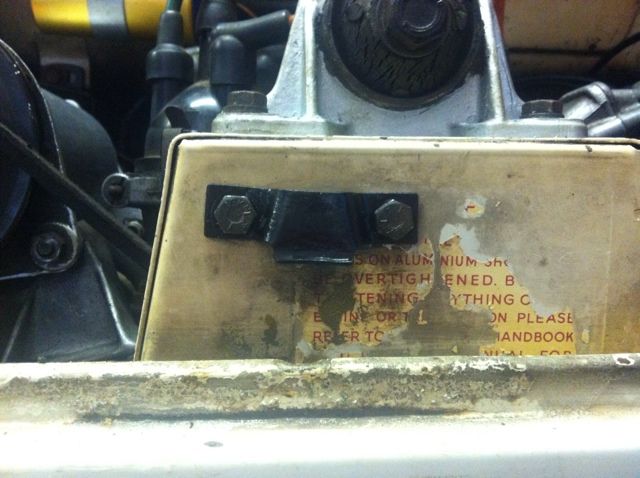
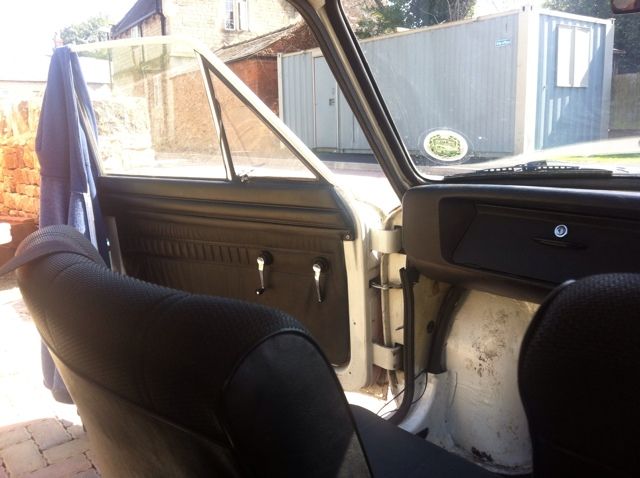
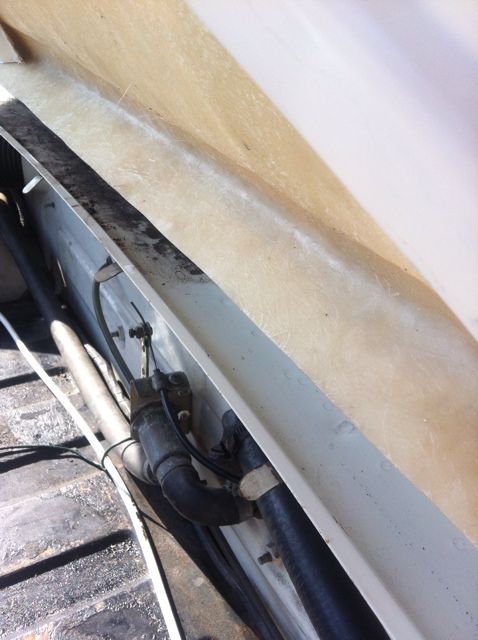
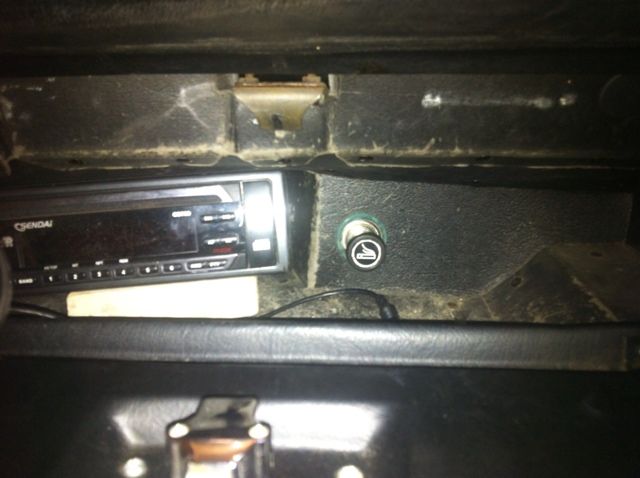
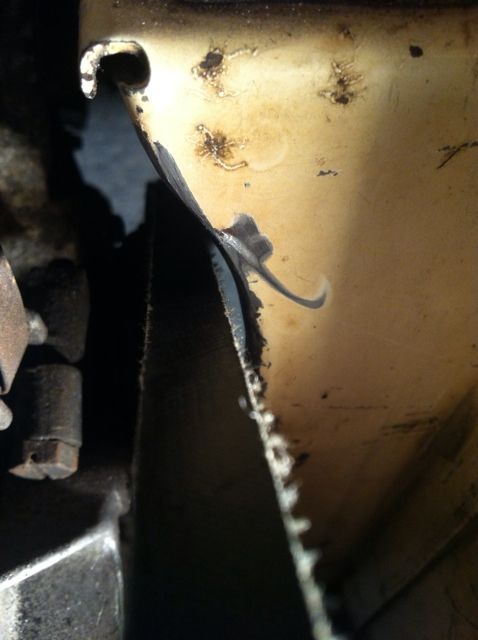
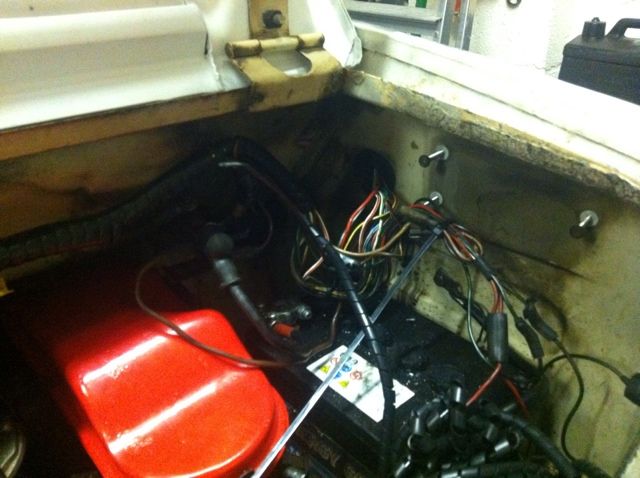
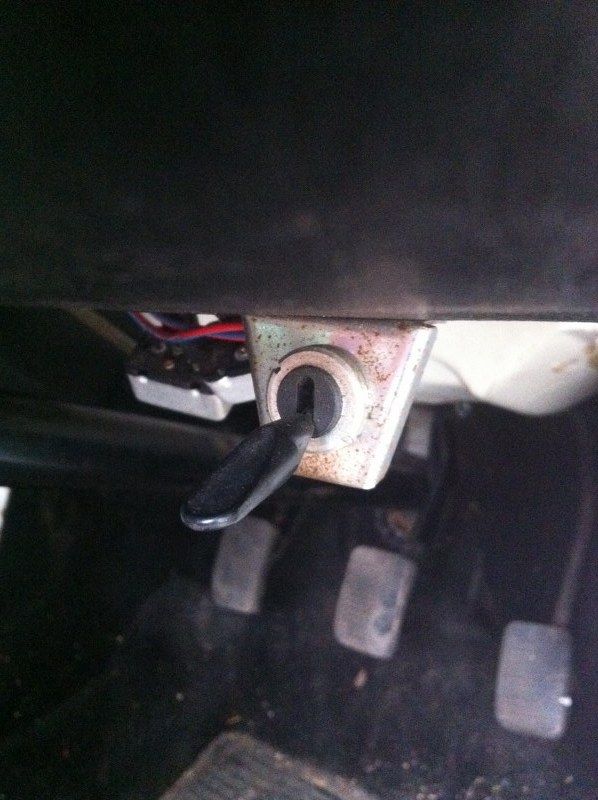
Found this cable not connected to the key... no idea what it was for, nothing didn't seem to work when it was unplugged, and nothing did start working when i plugged it back in... but it clearly was meant to be plugged in there, so it put it back together and left it

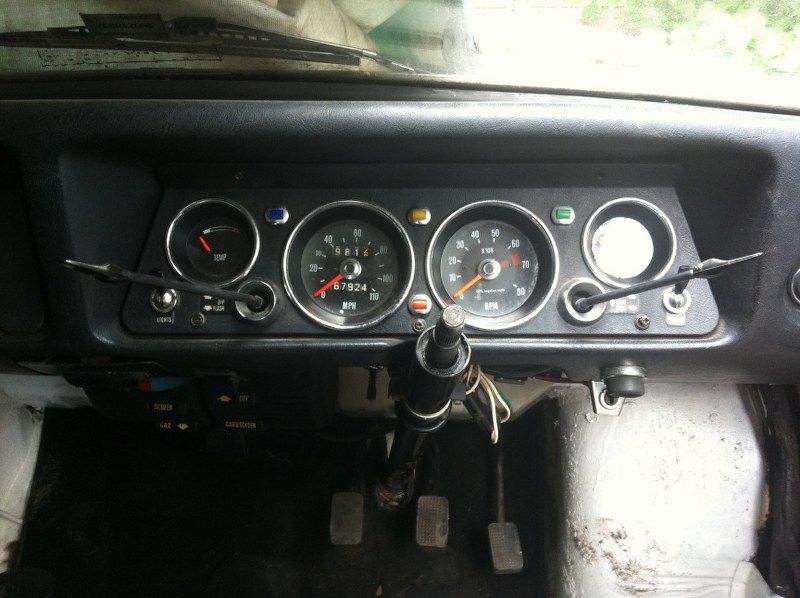
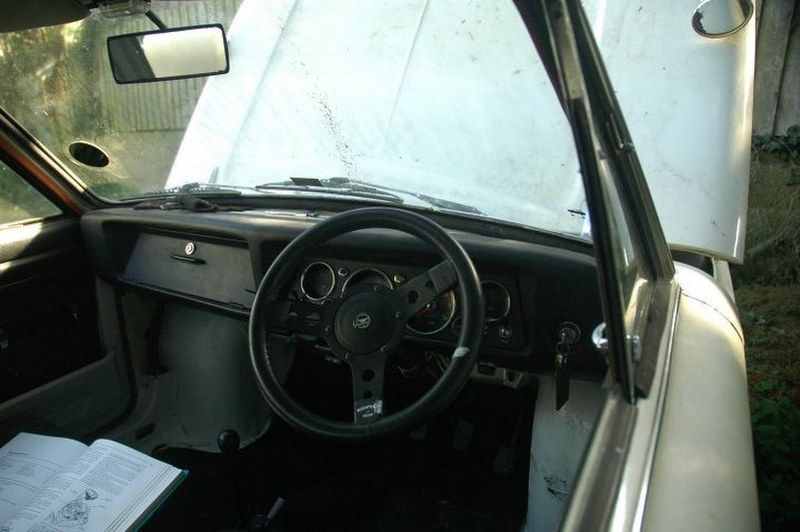
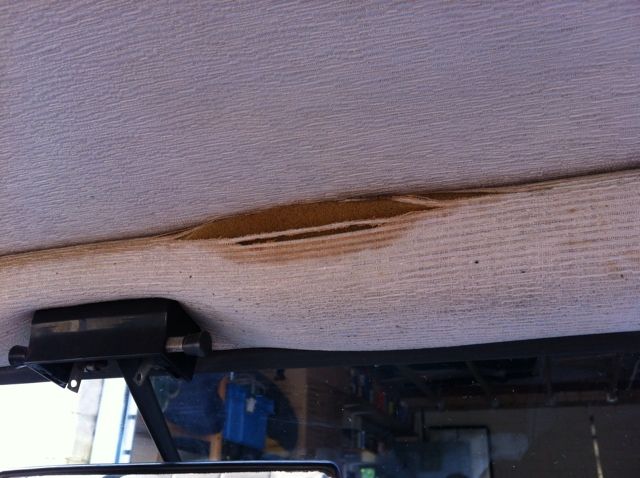
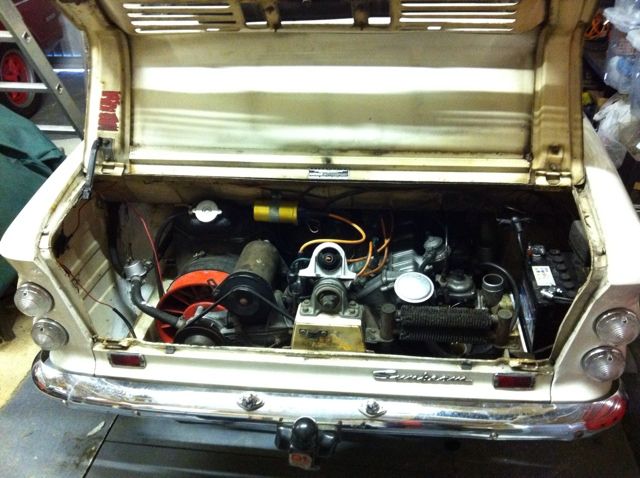
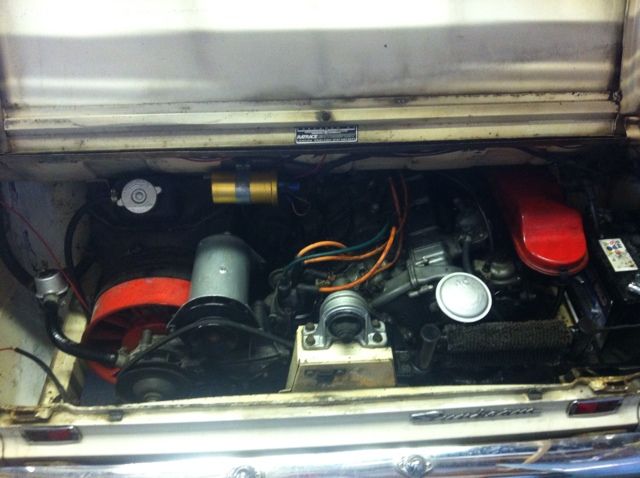
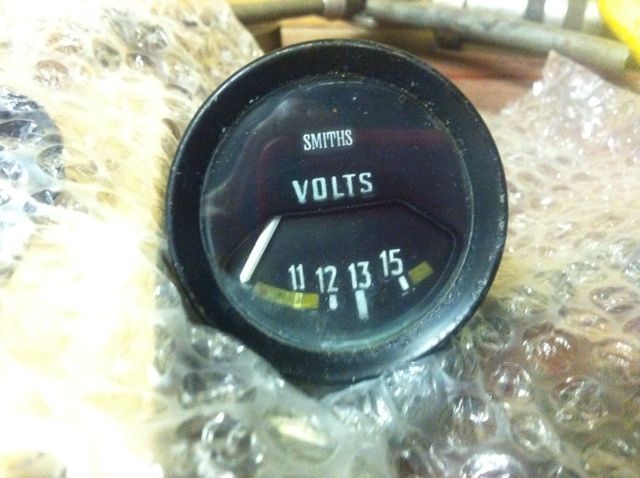
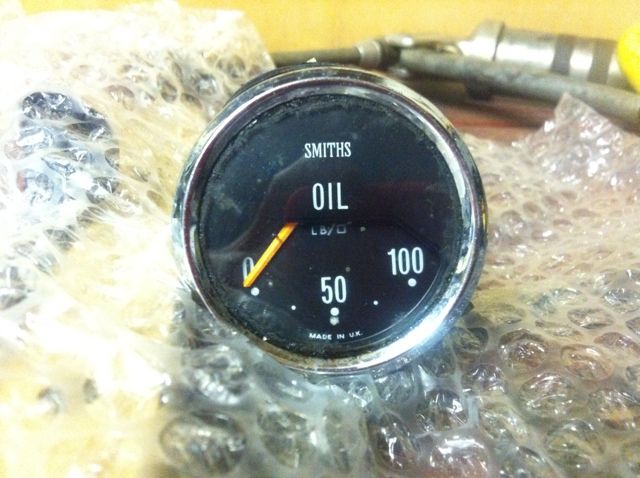
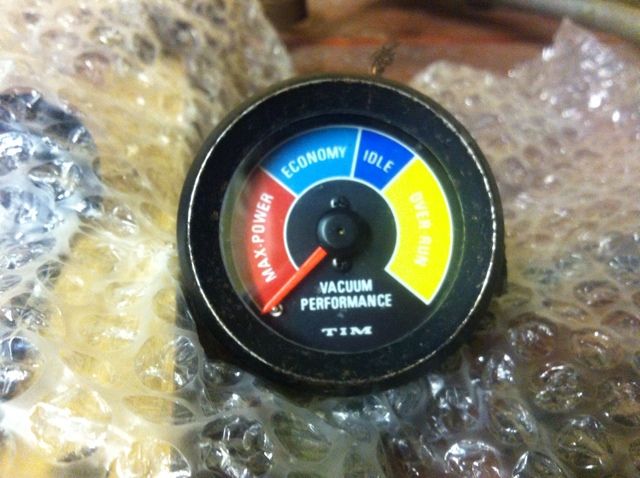
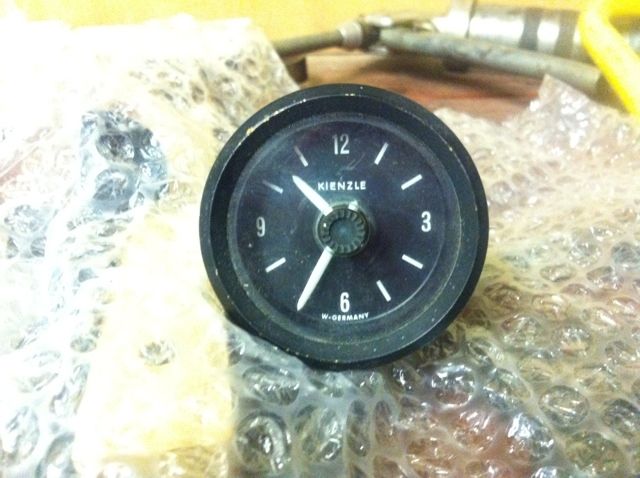
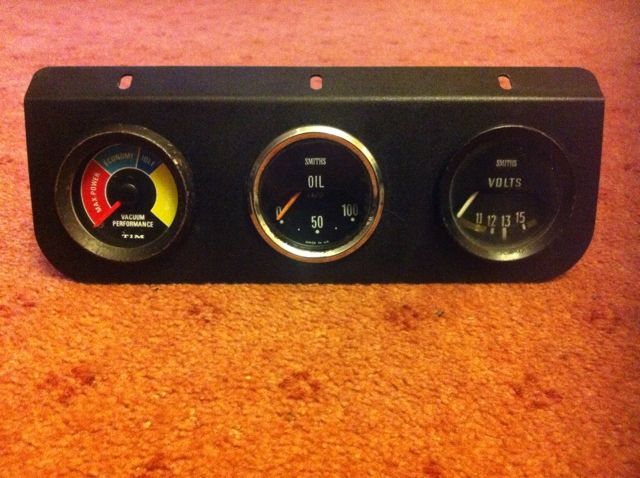
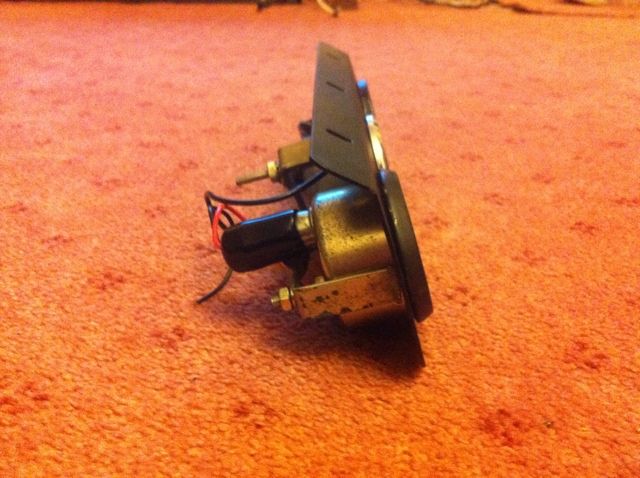
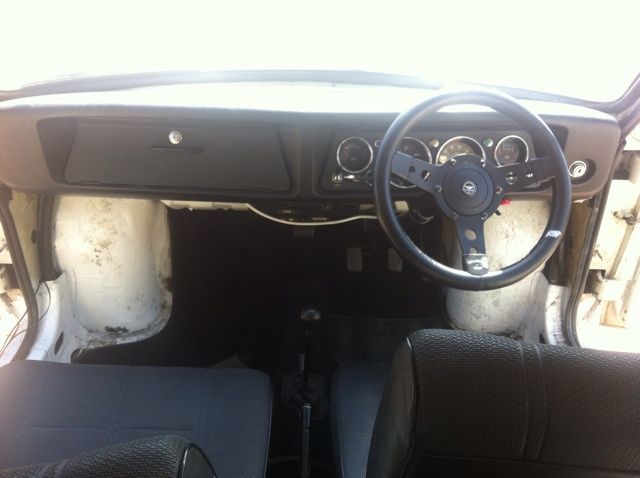
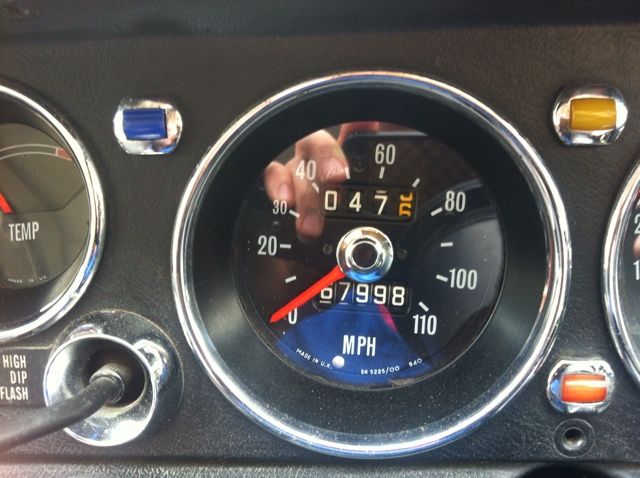
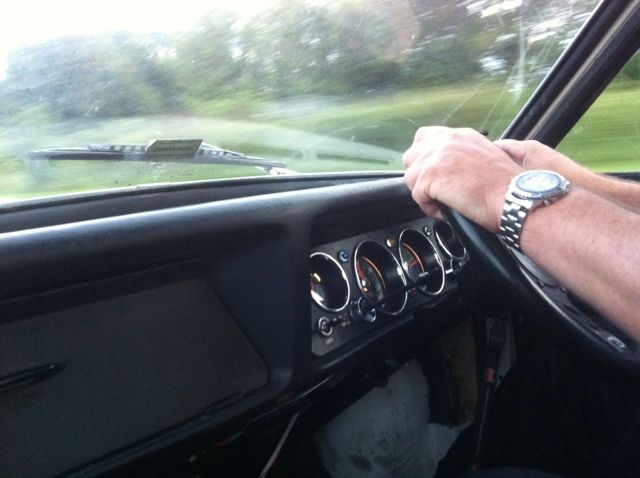
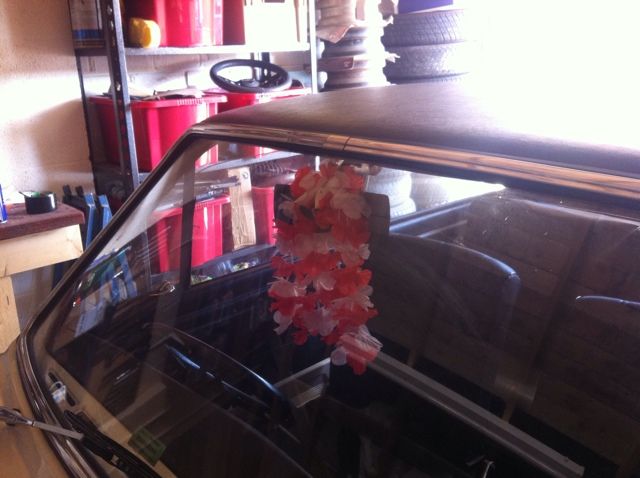
My nice original dash
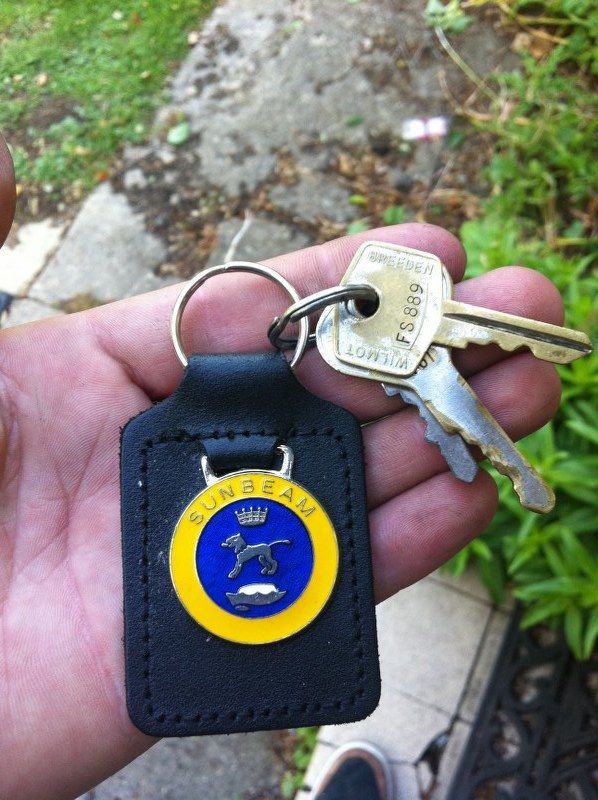
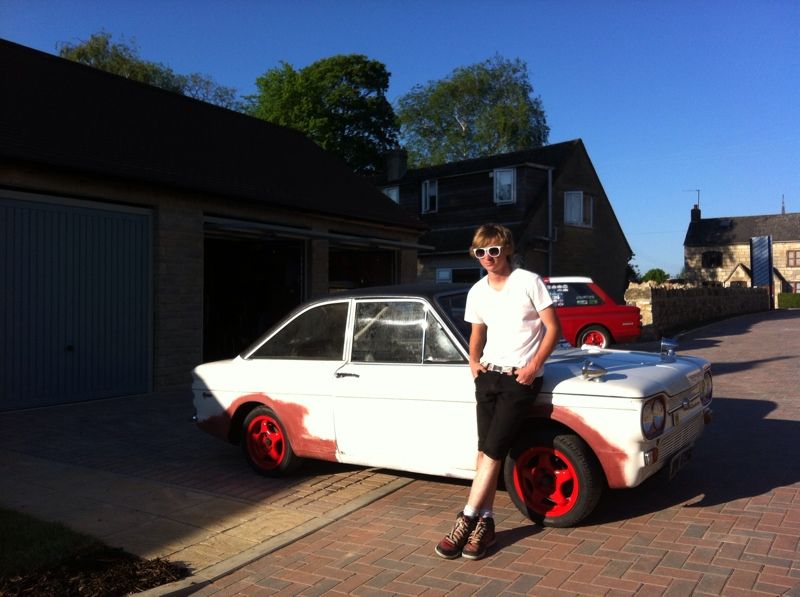
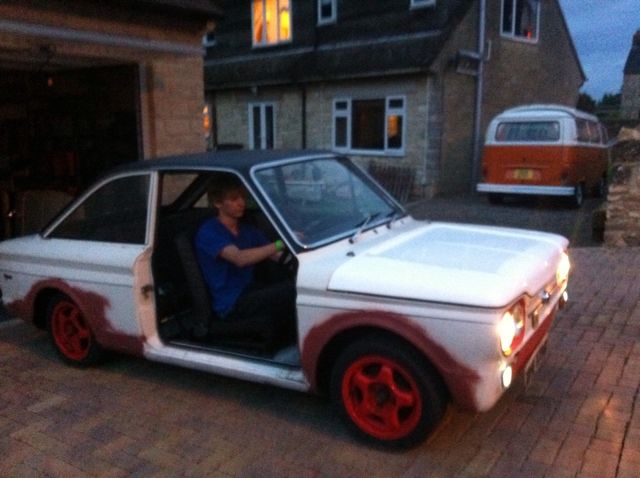
Dad gave me the keys!

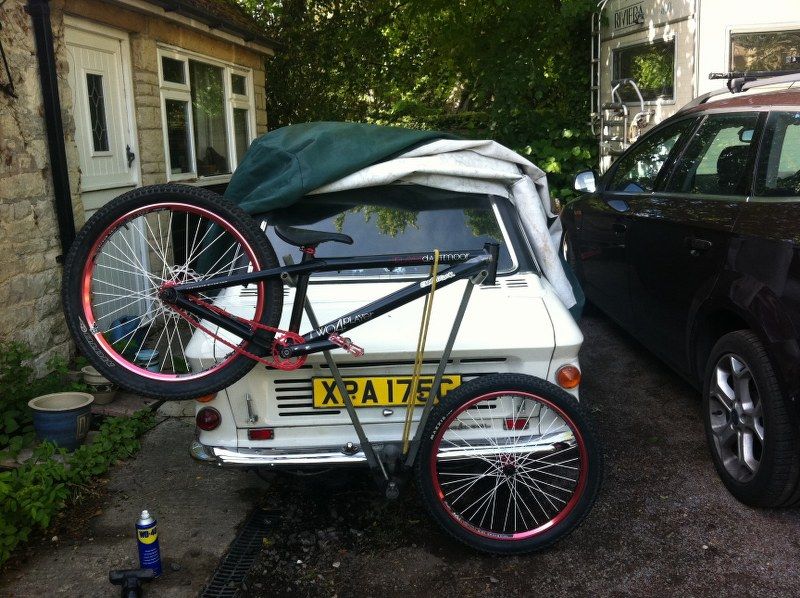
Trying my bike out on the bike rack! i didn't have any front suspension at the time
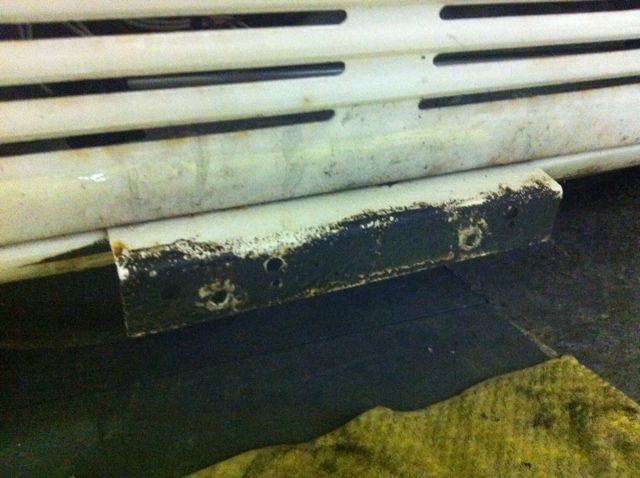
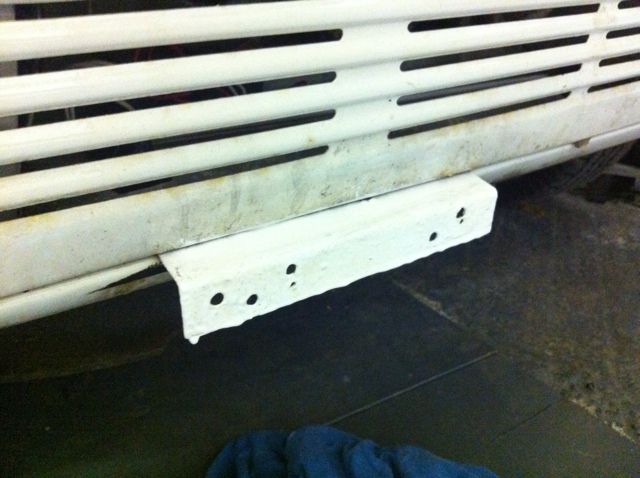
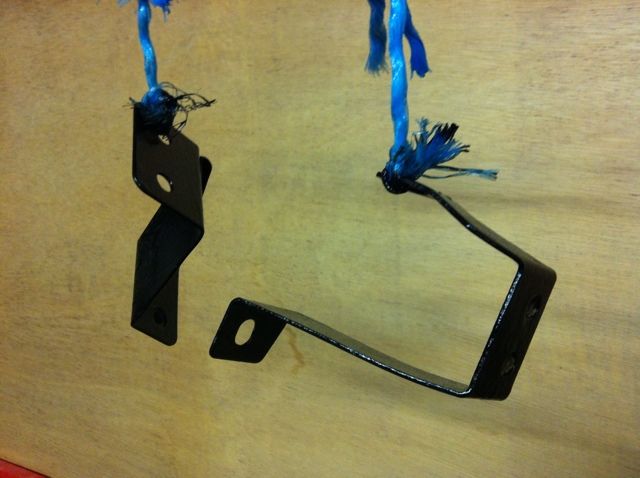
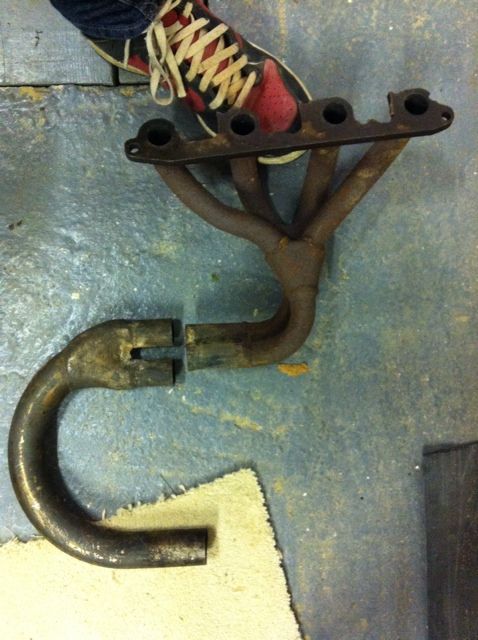
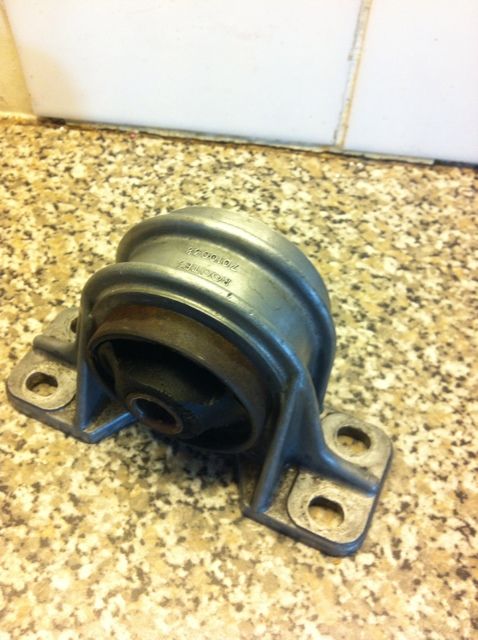
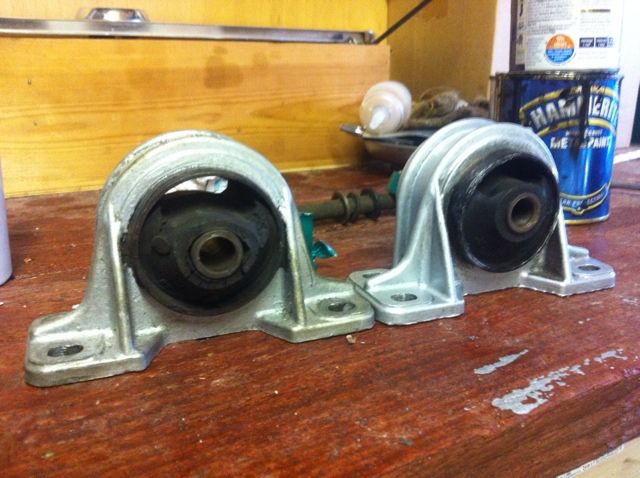
Some how managed to brake this
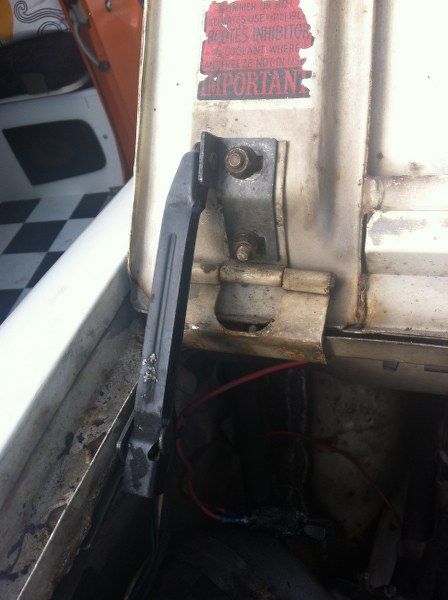
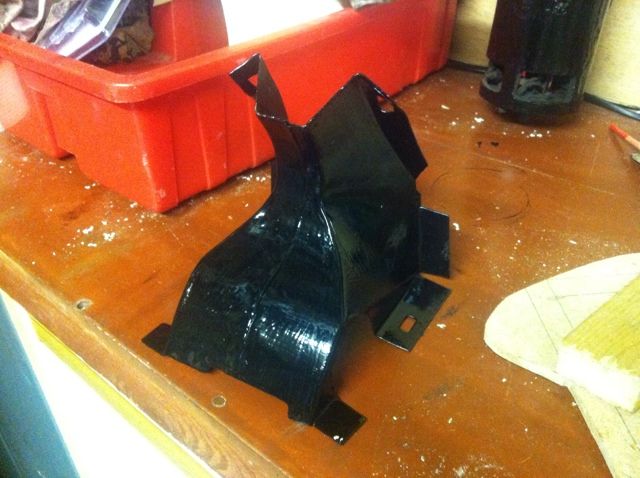
New one fitted
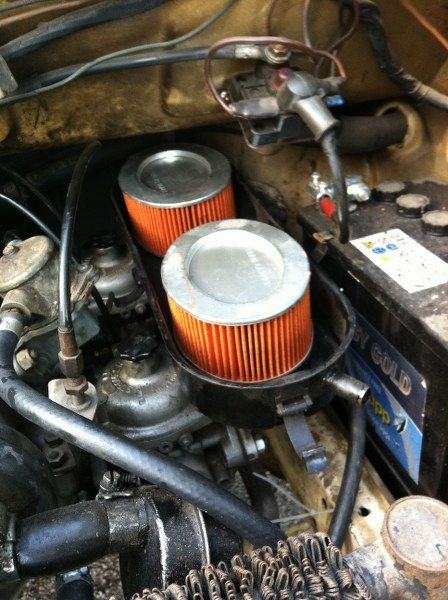
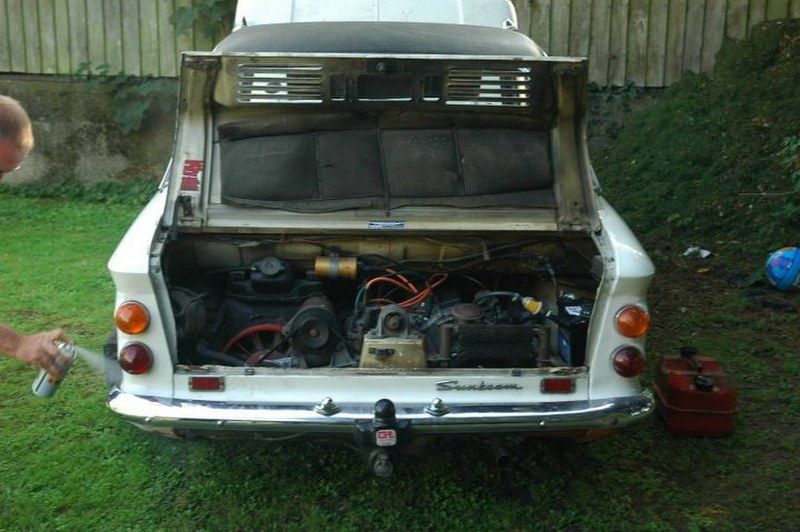
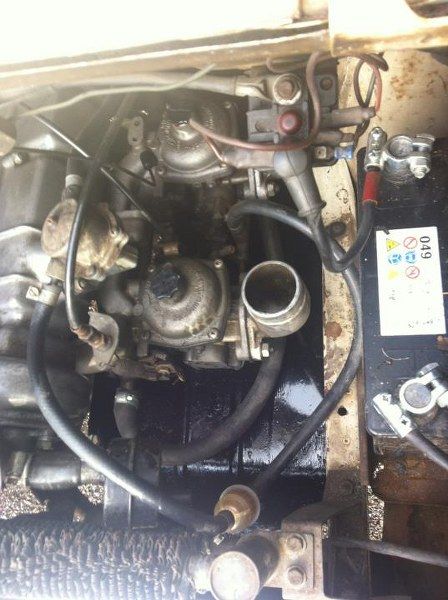
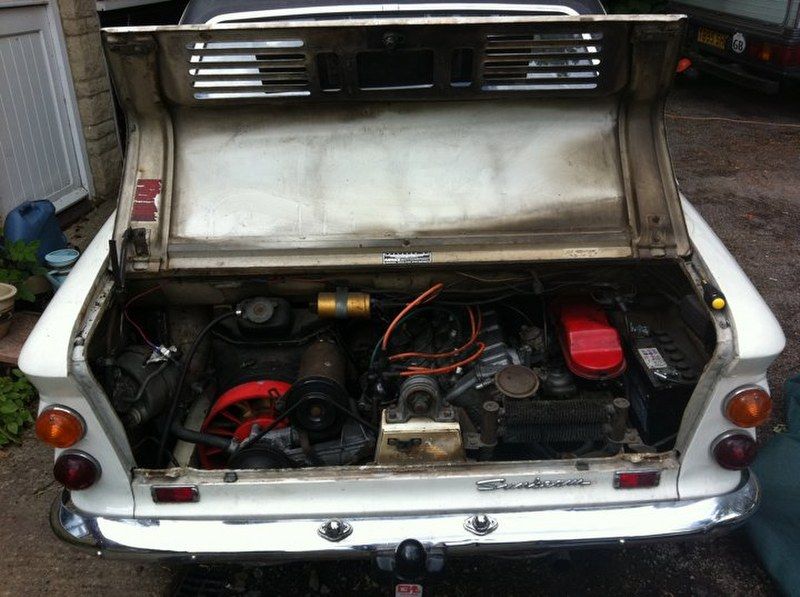
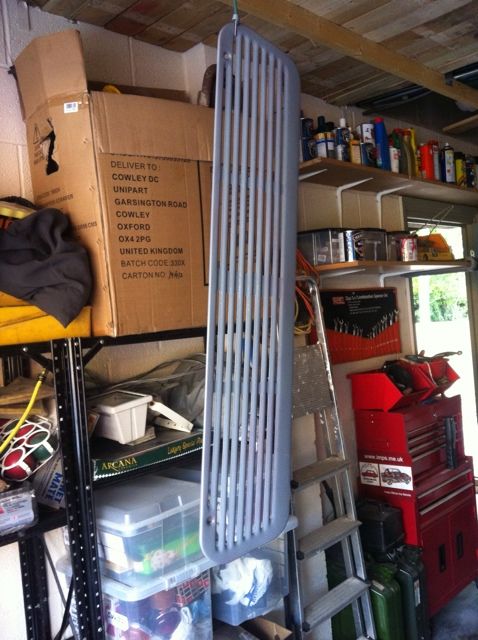
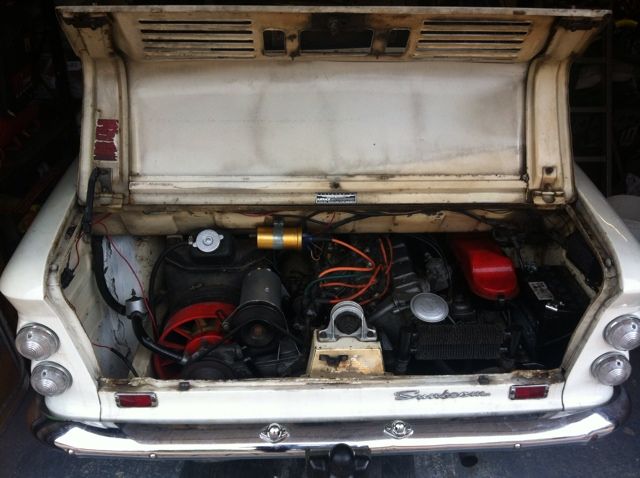
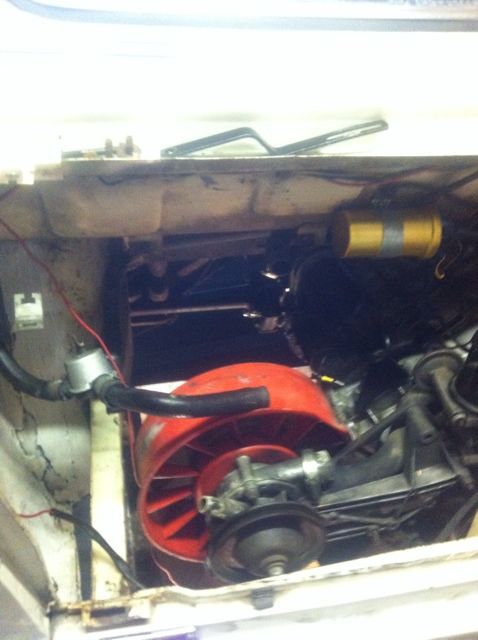
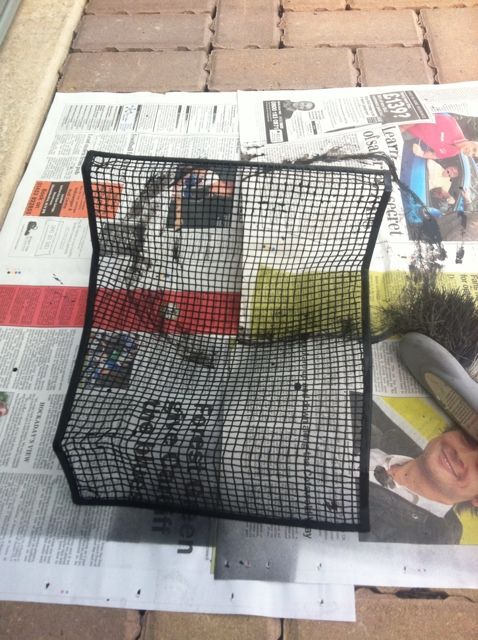
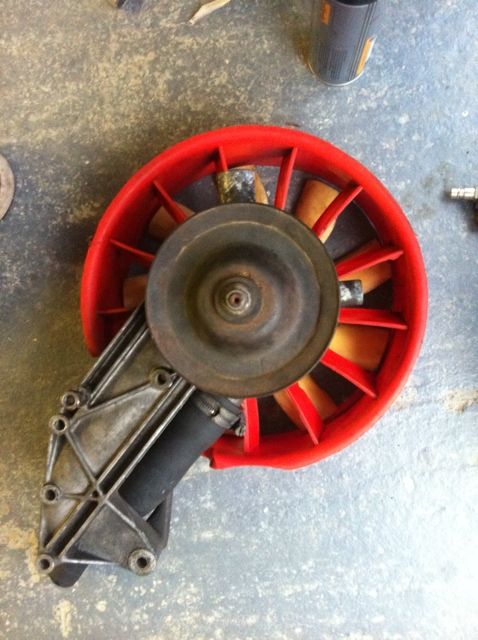
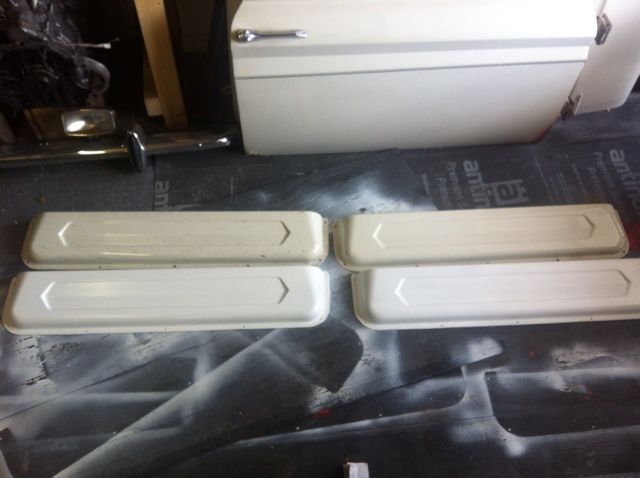
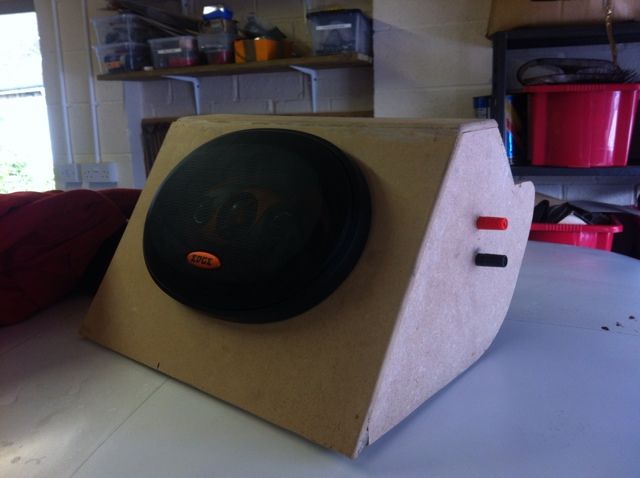
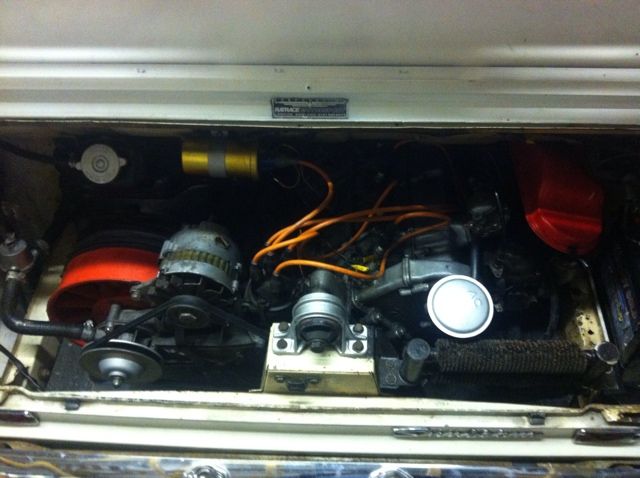
New air filters
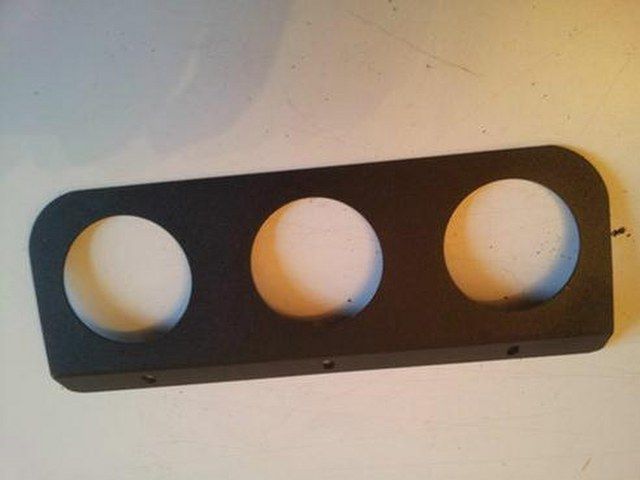
Air filter box
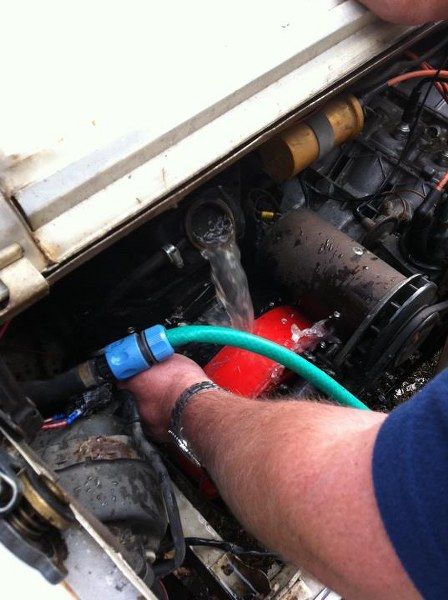
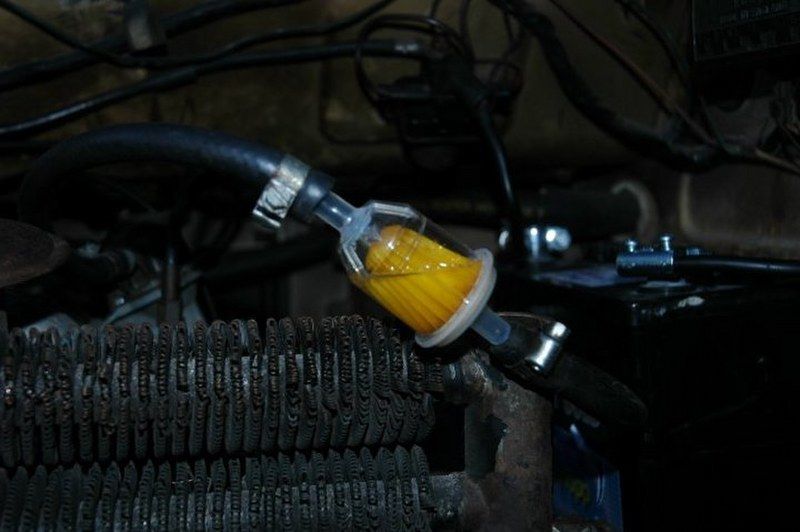
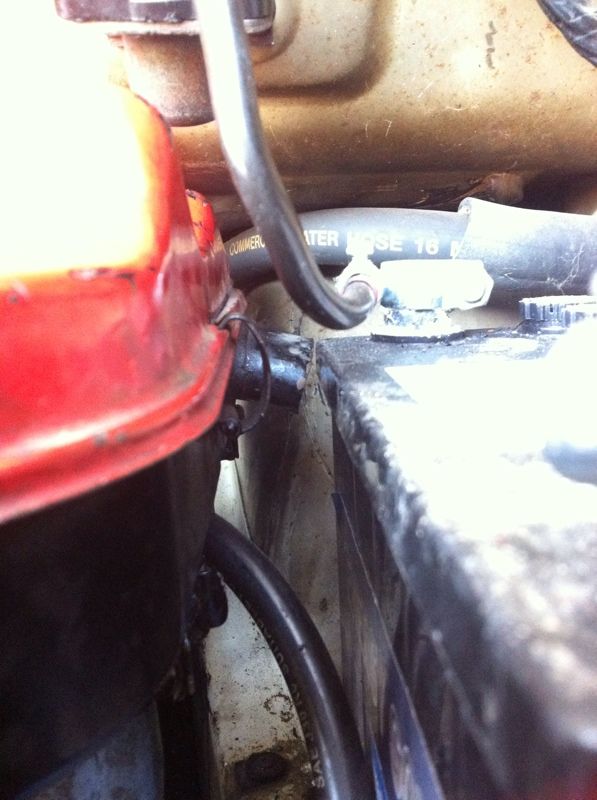
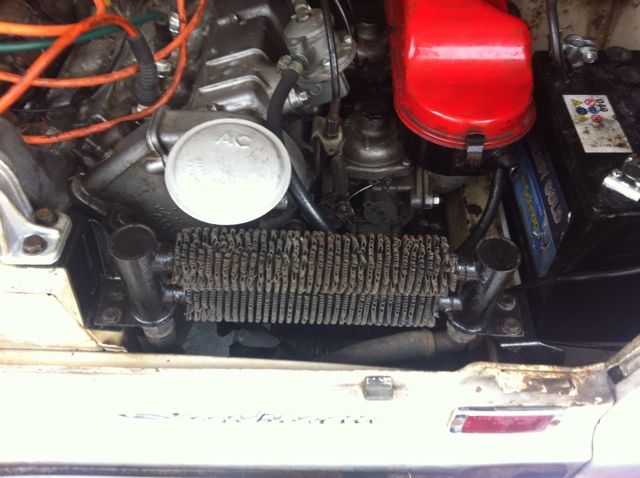
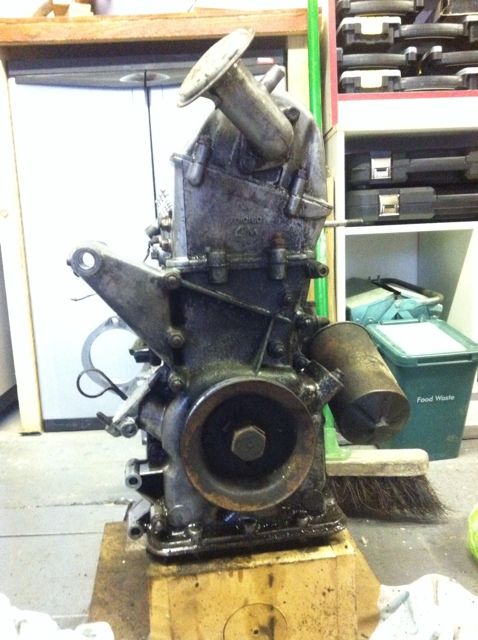
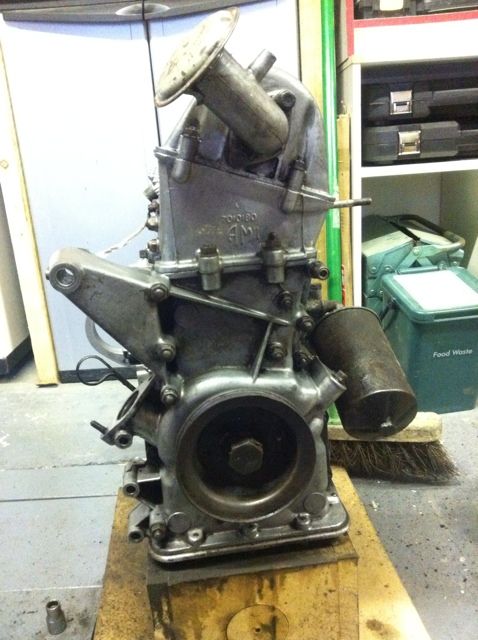
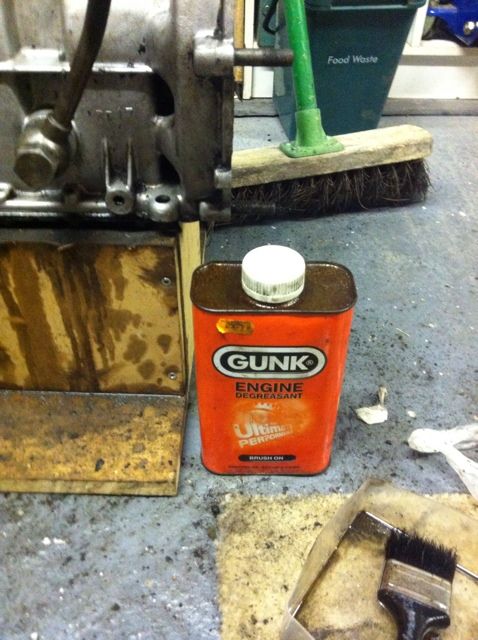
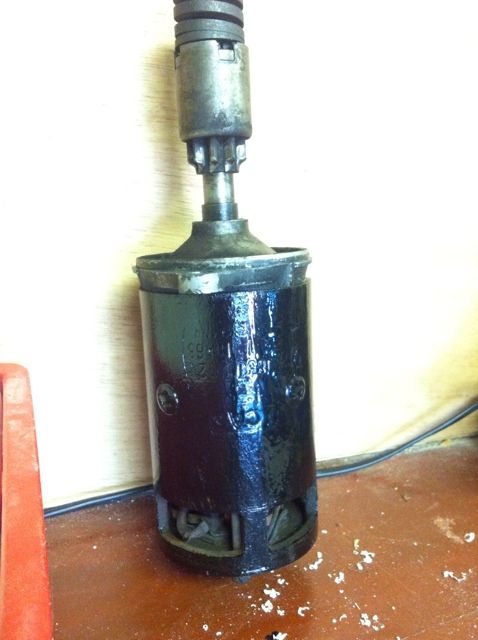
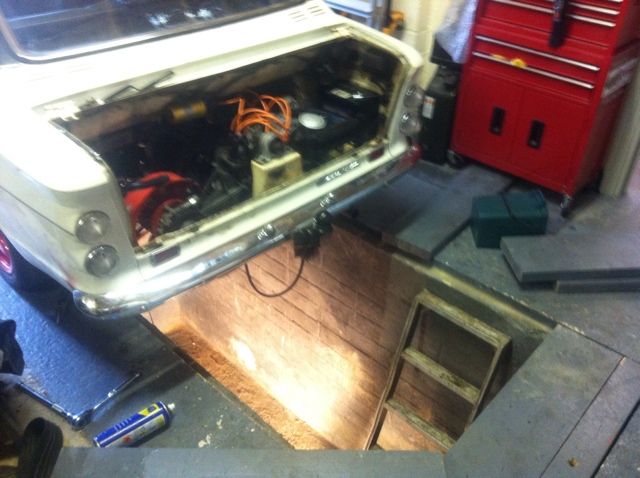
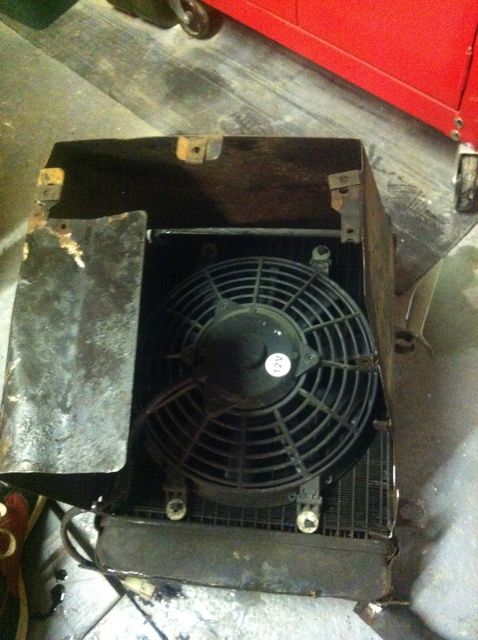
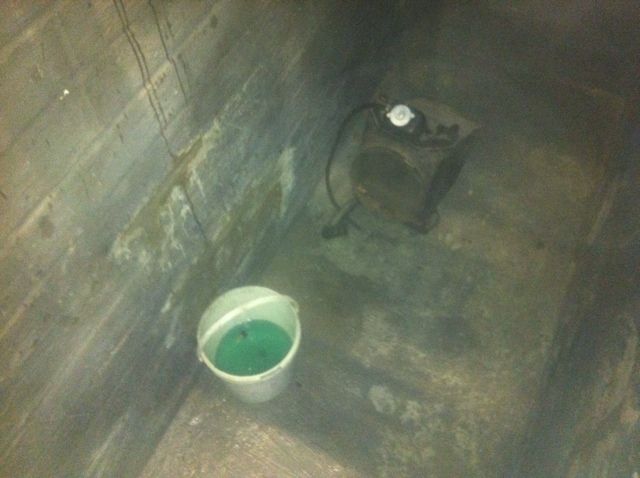
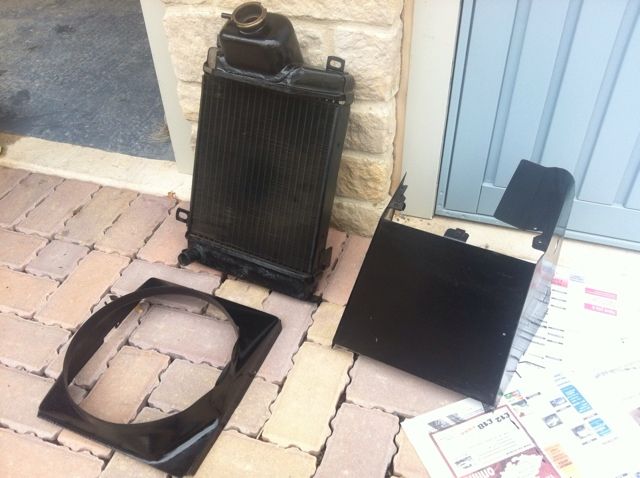
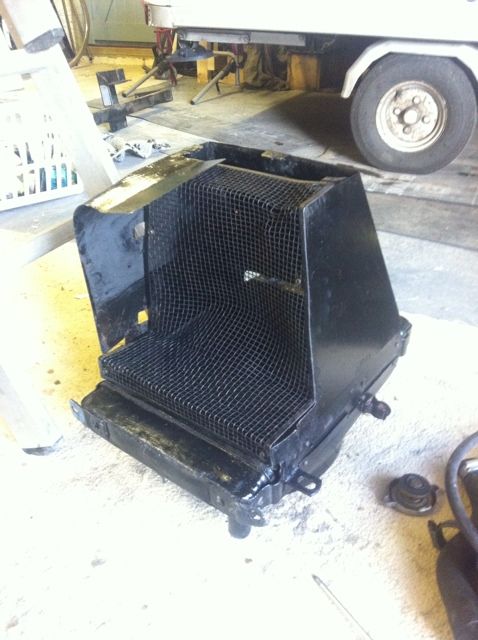
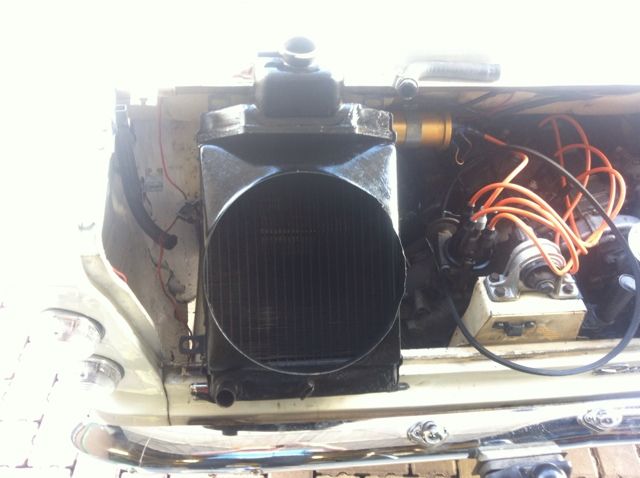
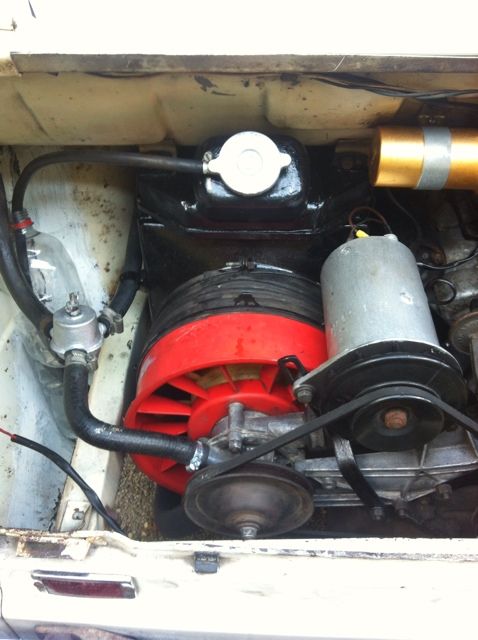
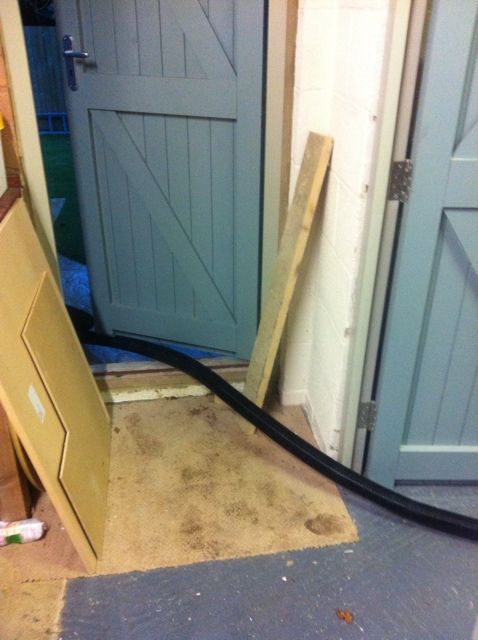
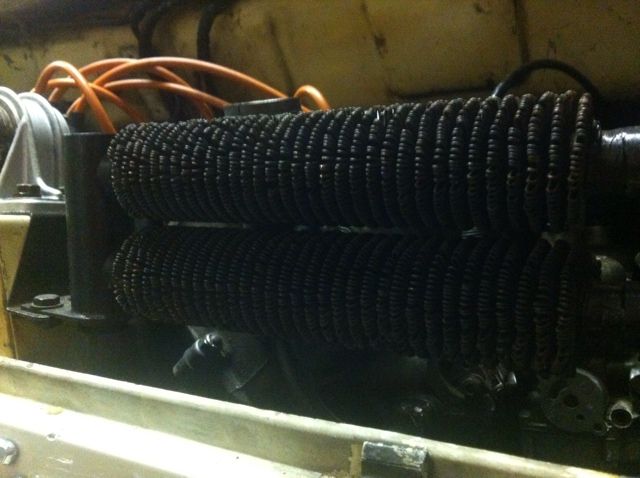
Flushing out the system!

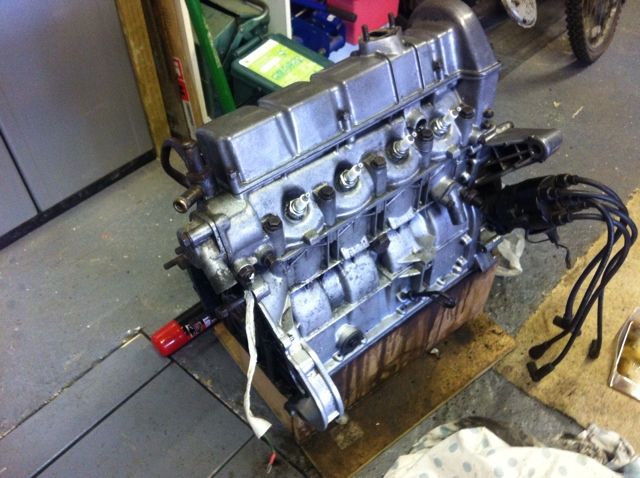
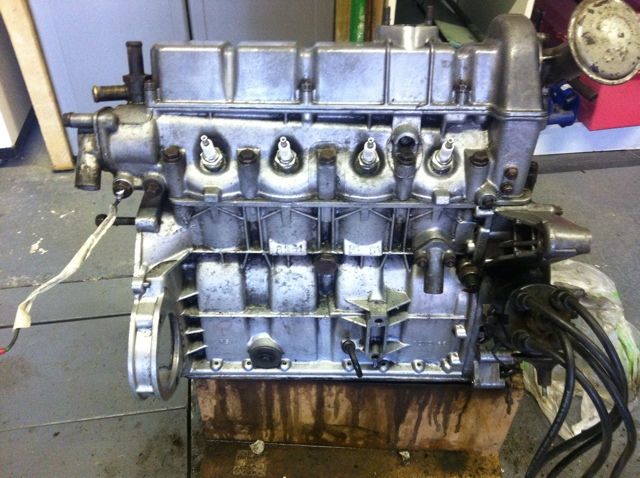
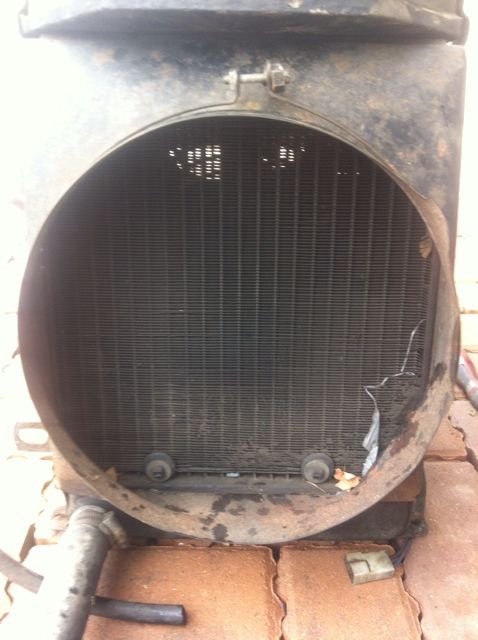
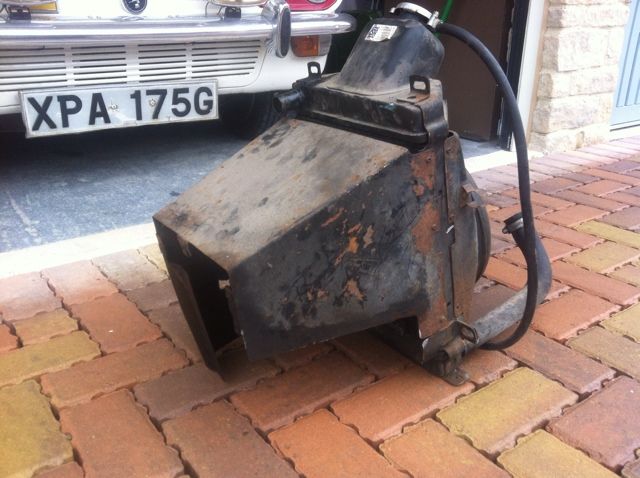
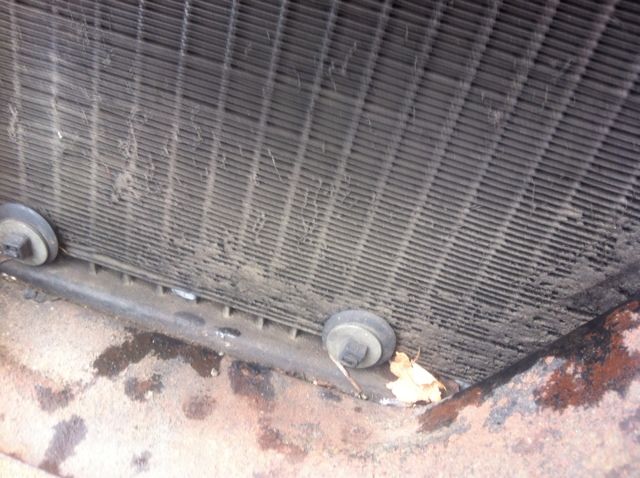
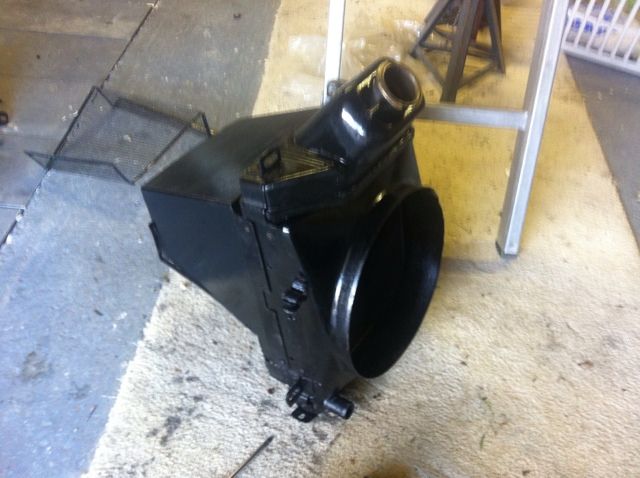
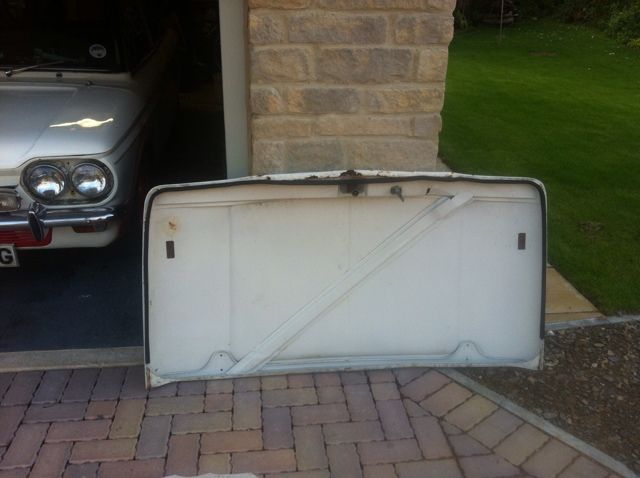
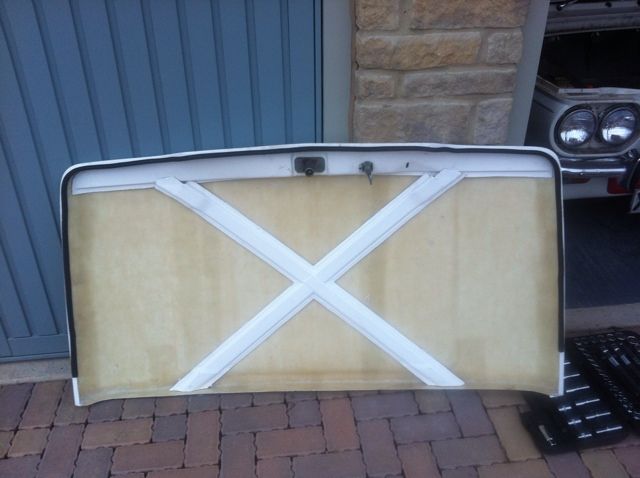
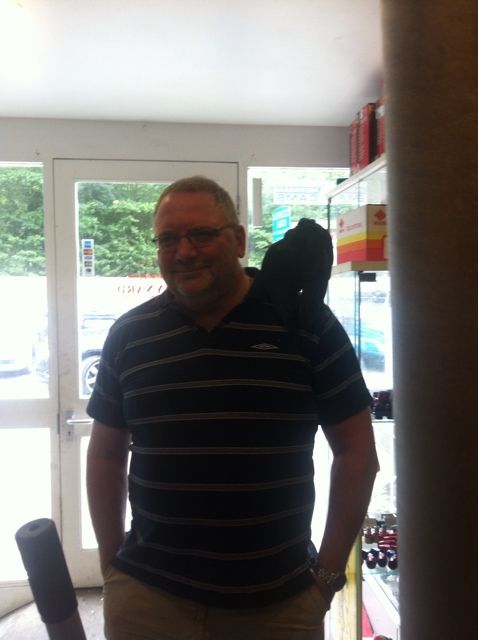
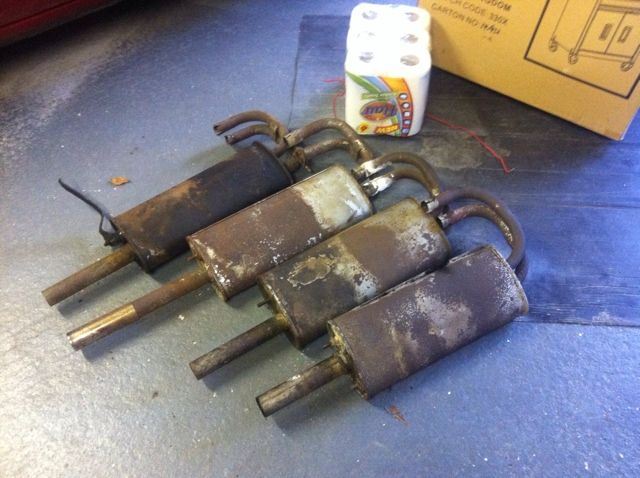
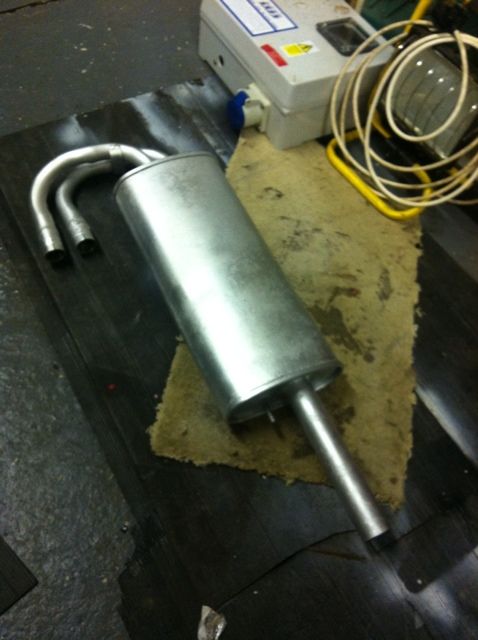
Bought a better condition one at the national, still waiting to fit!
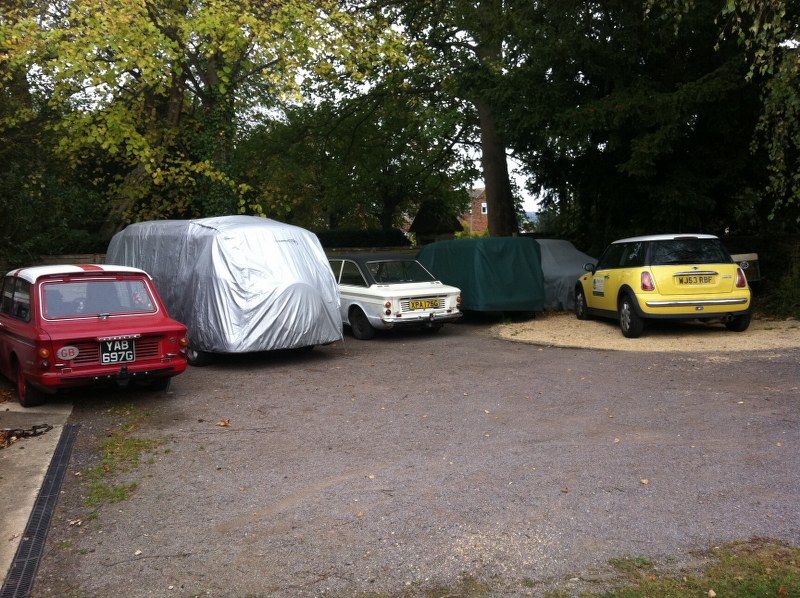
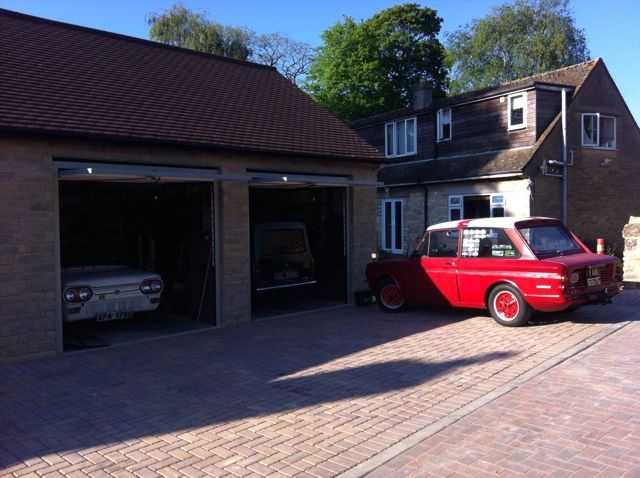
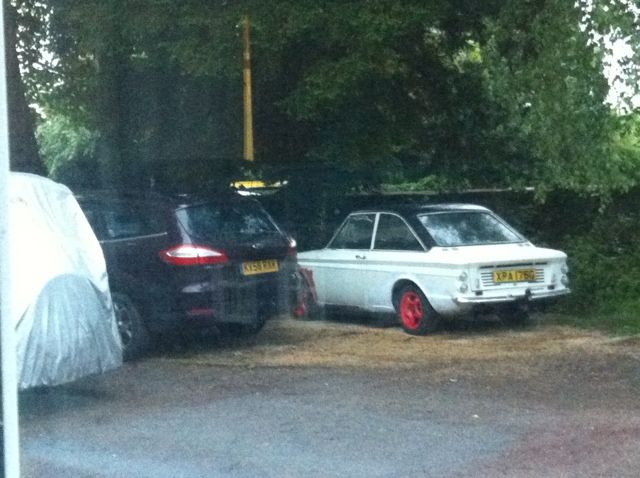
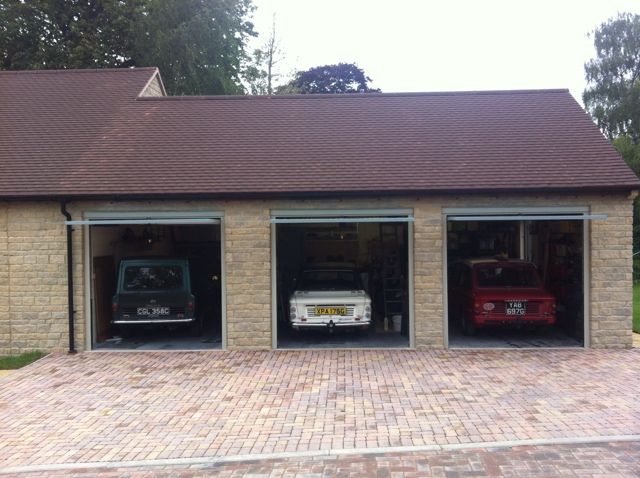
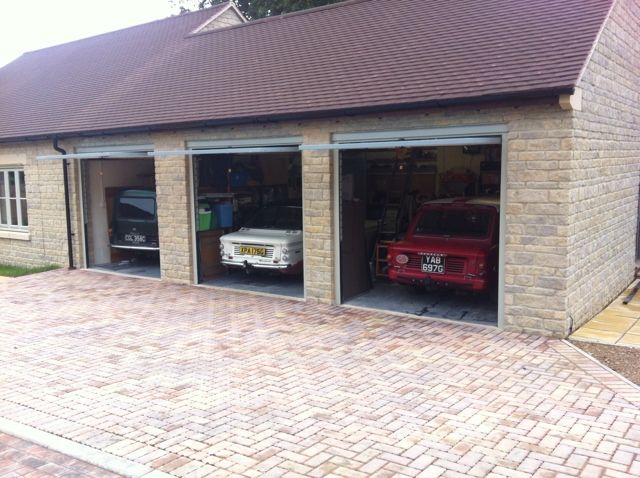
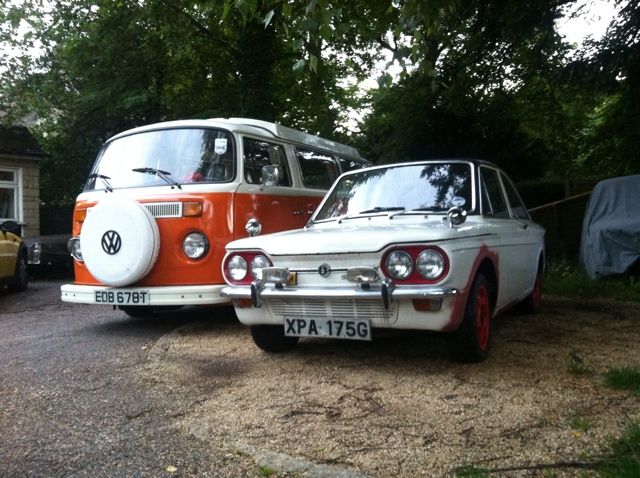
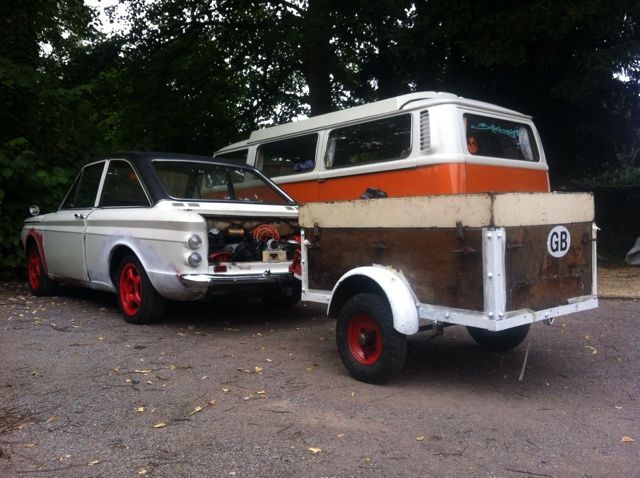
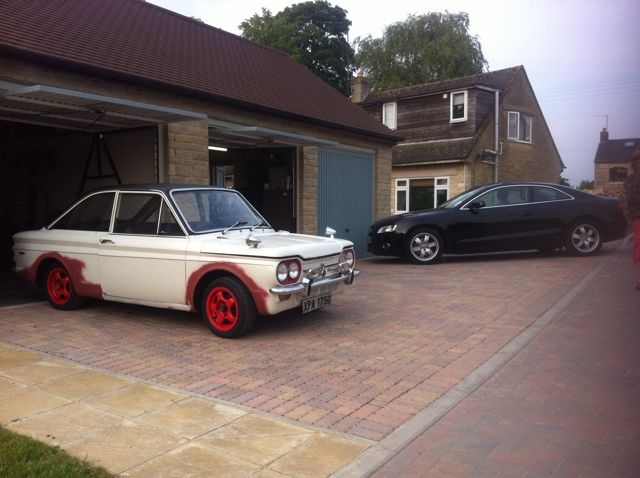
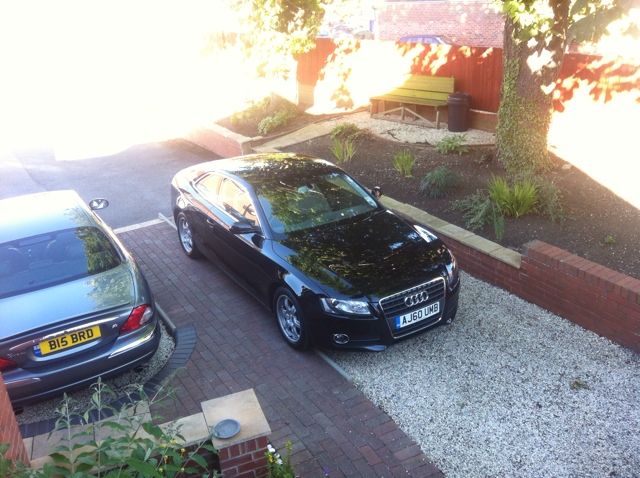
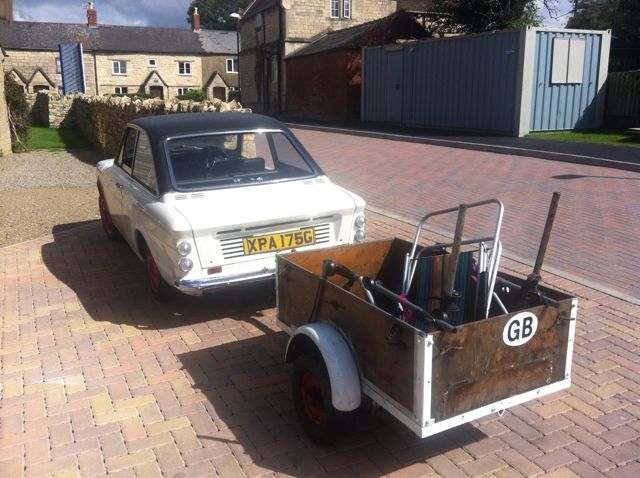
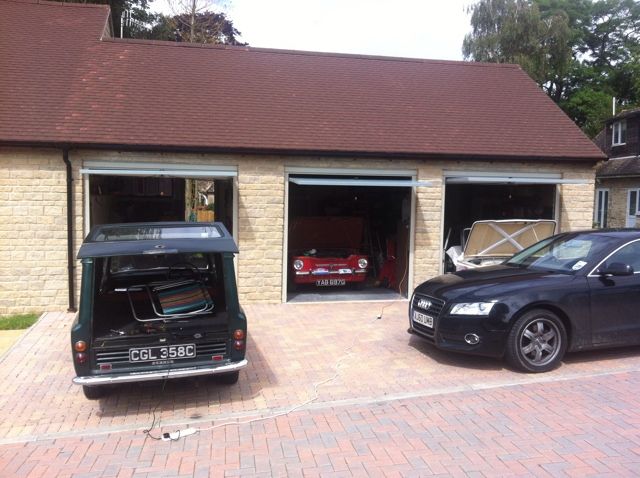
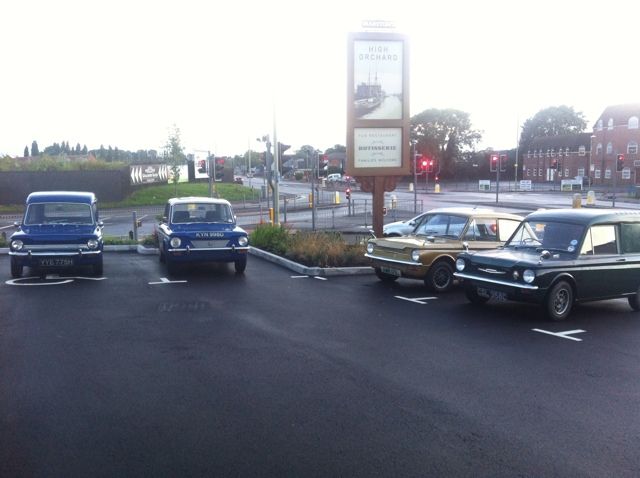
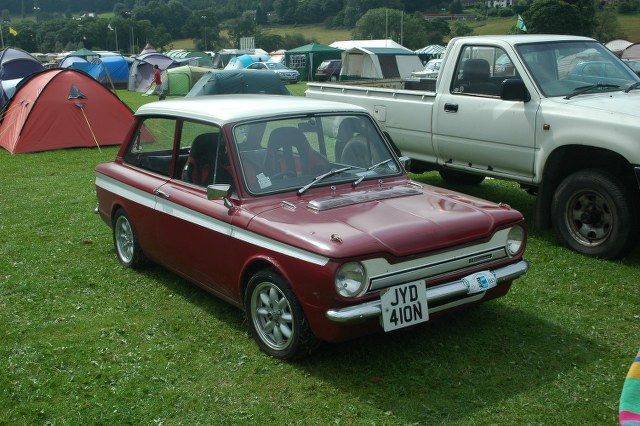
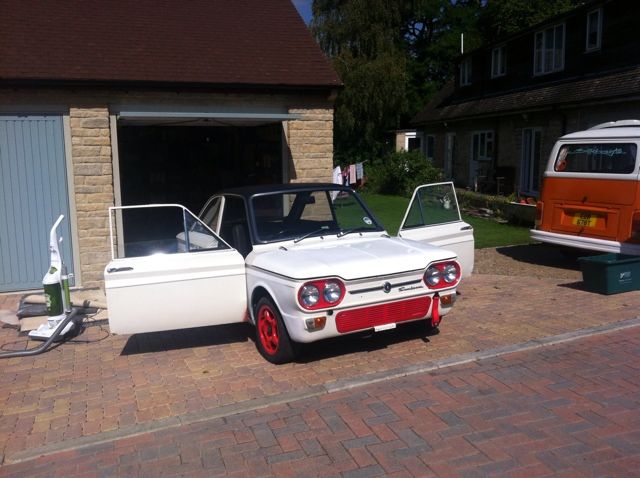
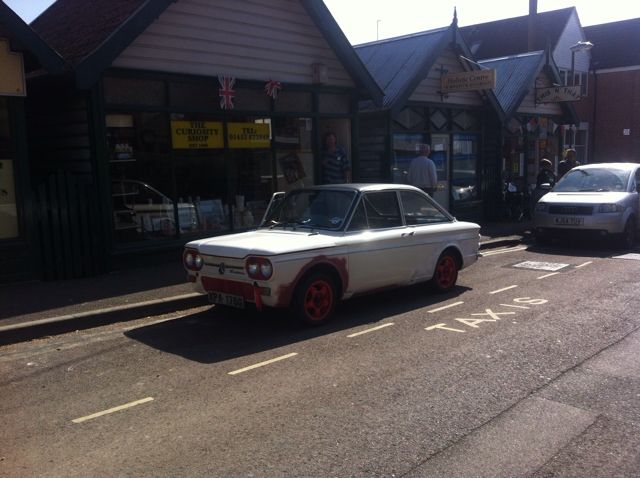
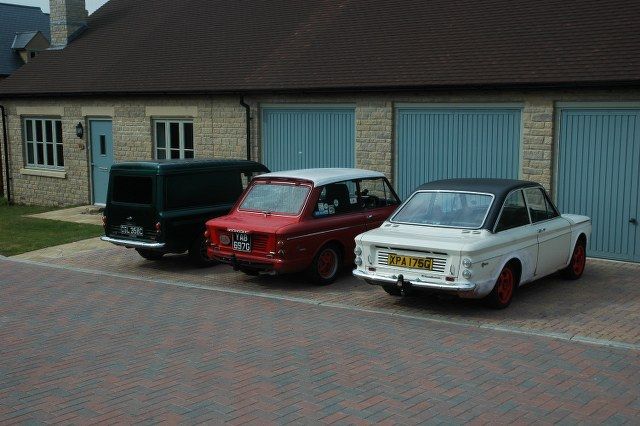
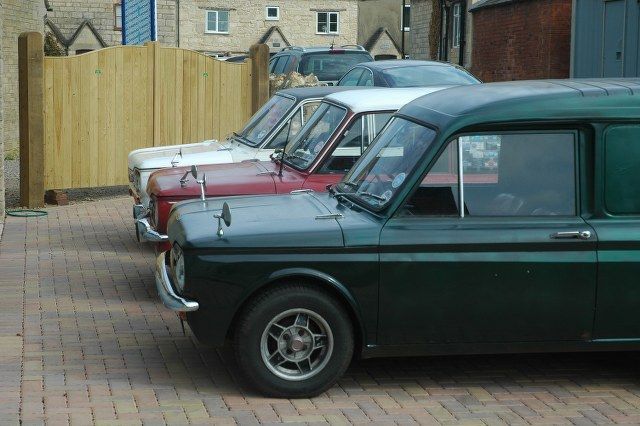
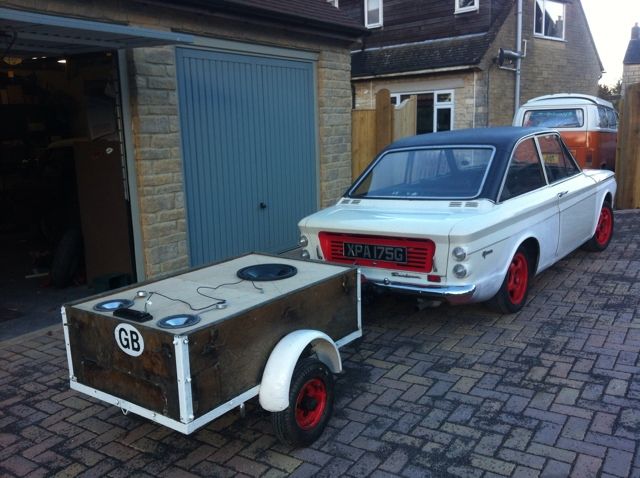
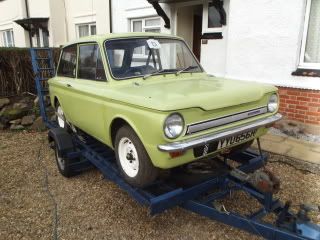
Our drive, Imp, VW Camper van, Imp, Comer van, Imp, Mini! (Boooo!)
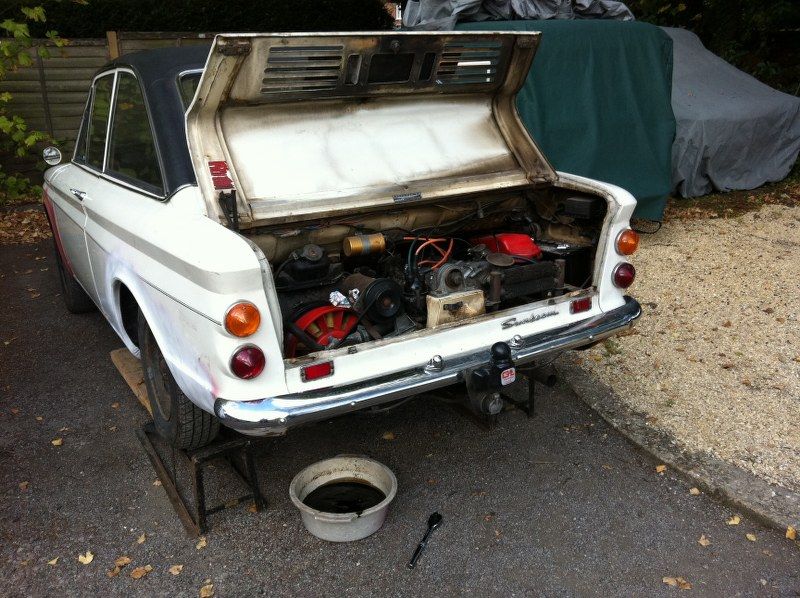
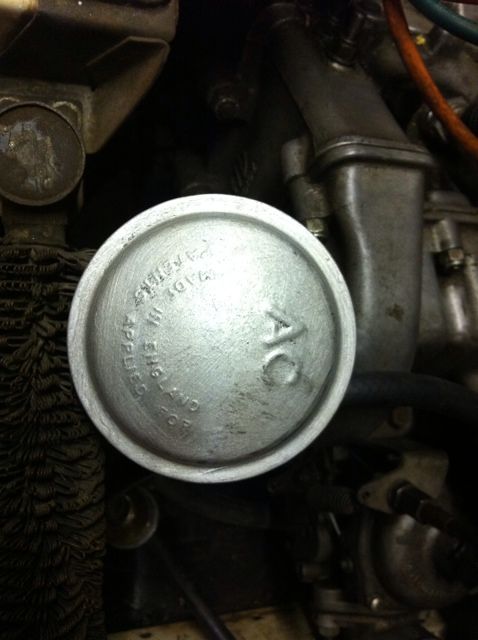
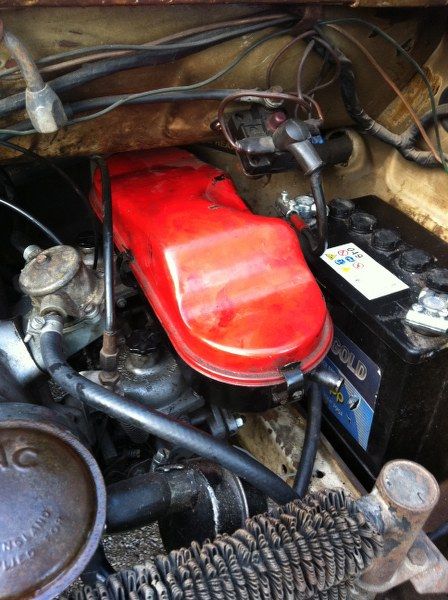
Drained the oil + fitted a new oil filter
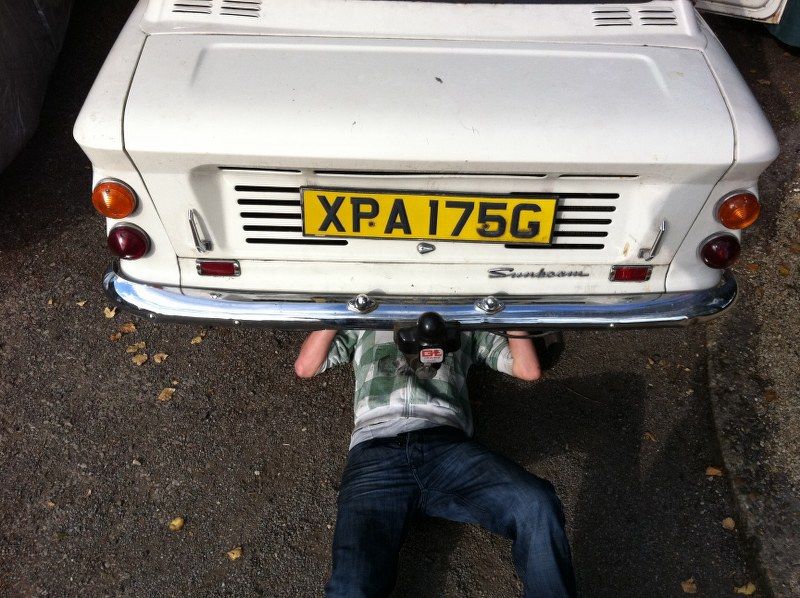
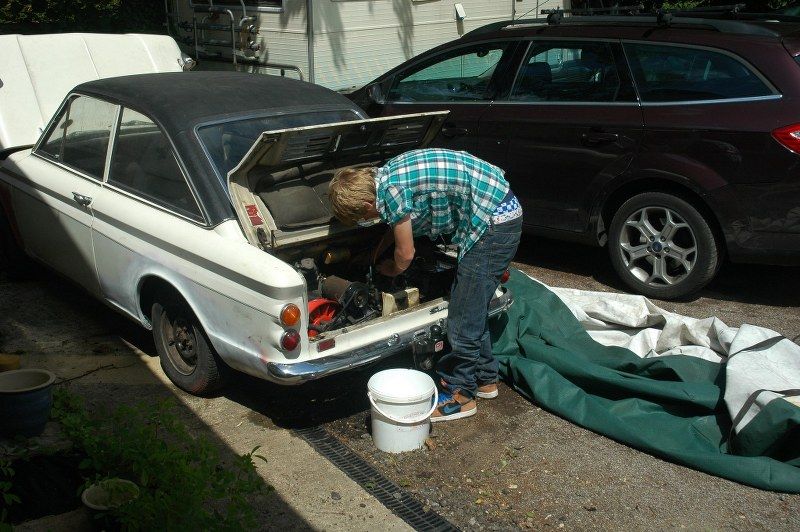
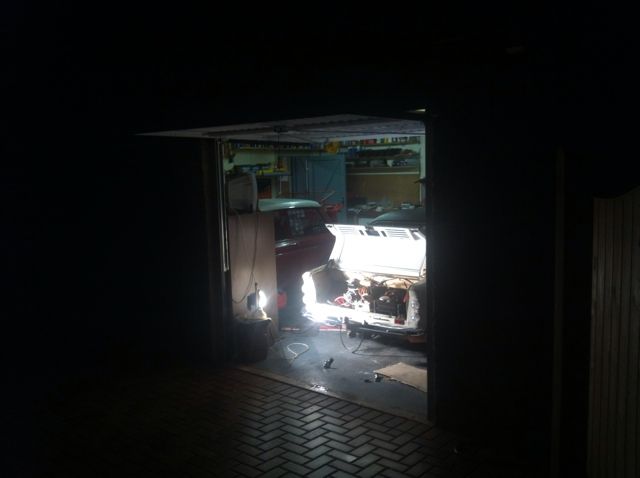
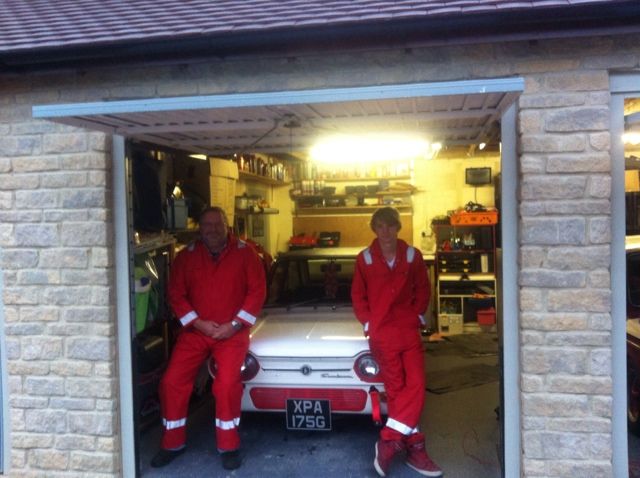
Hard at work!
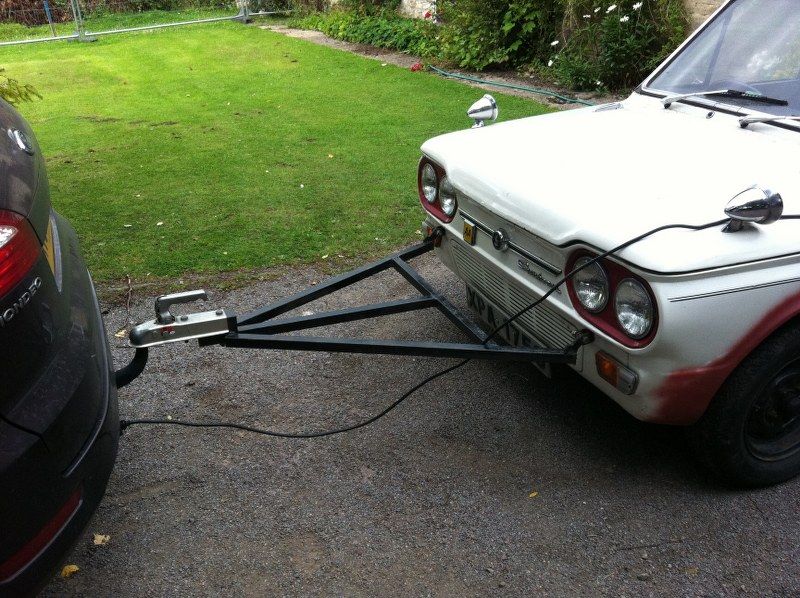
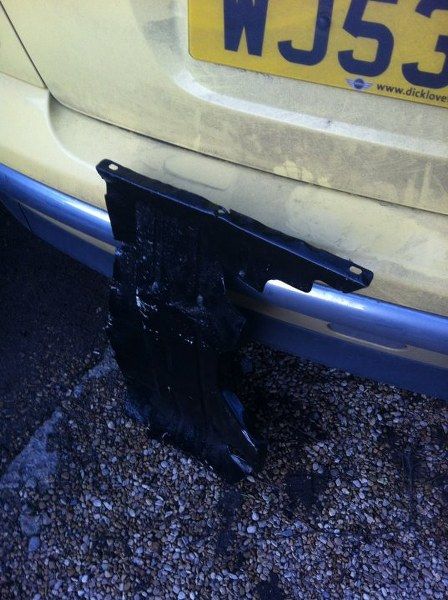
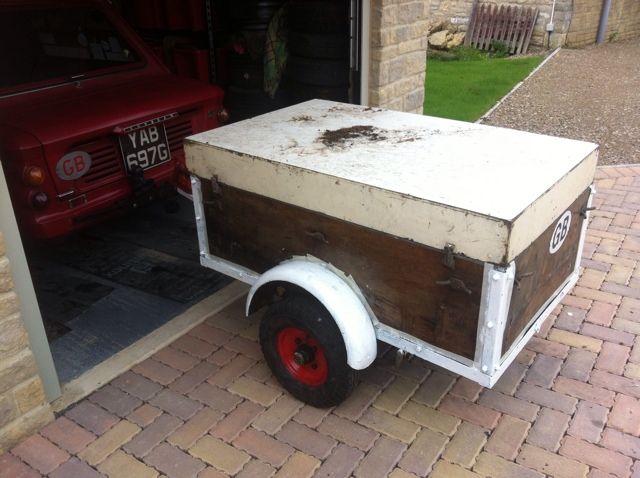
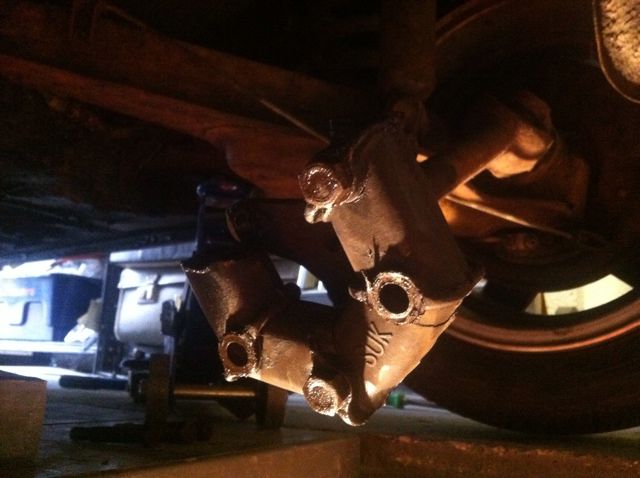
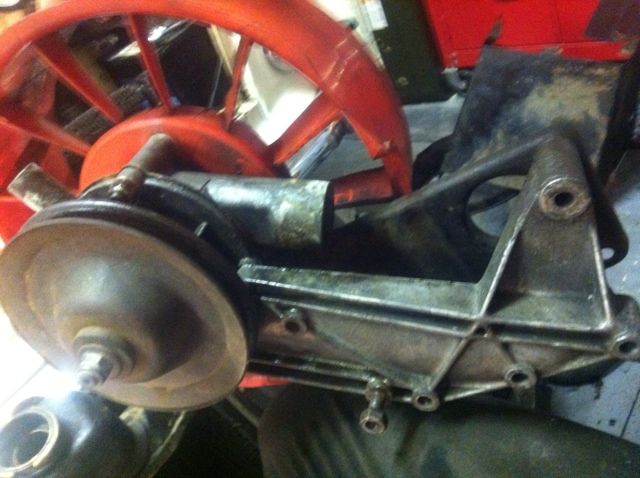
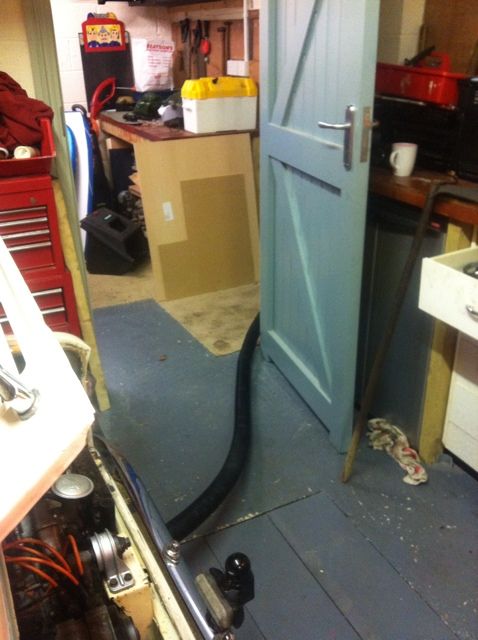
A-Frame
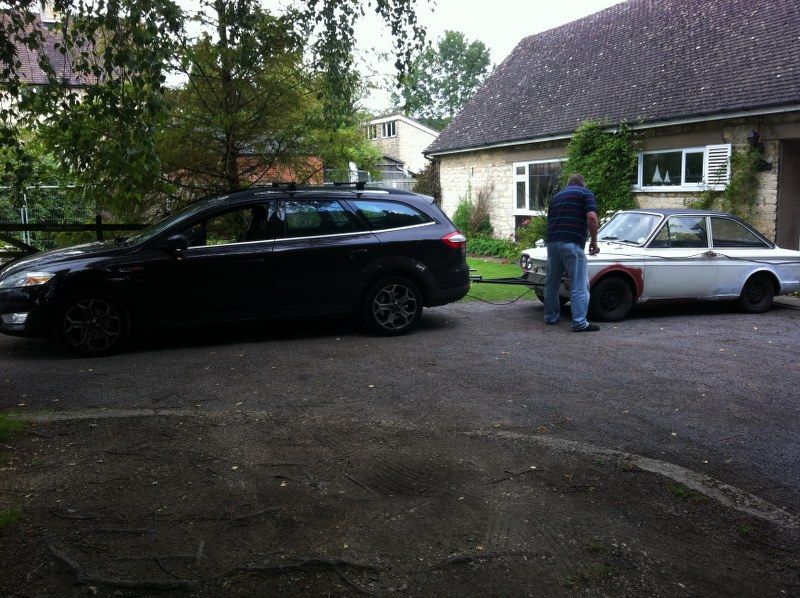
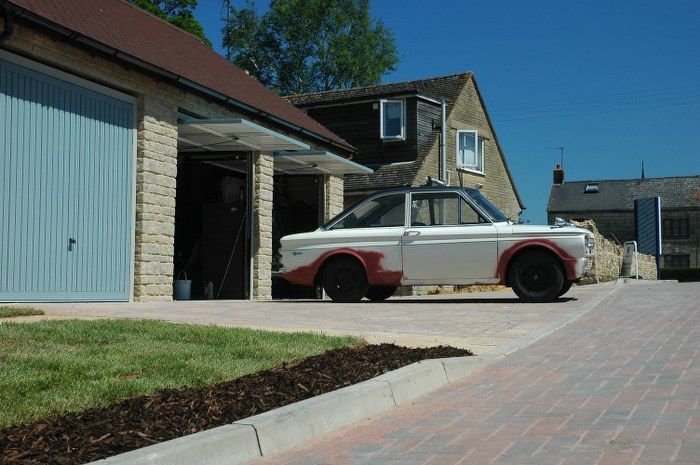
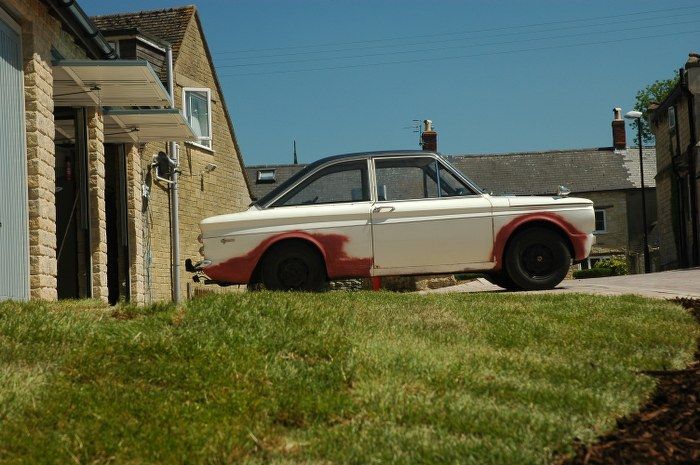
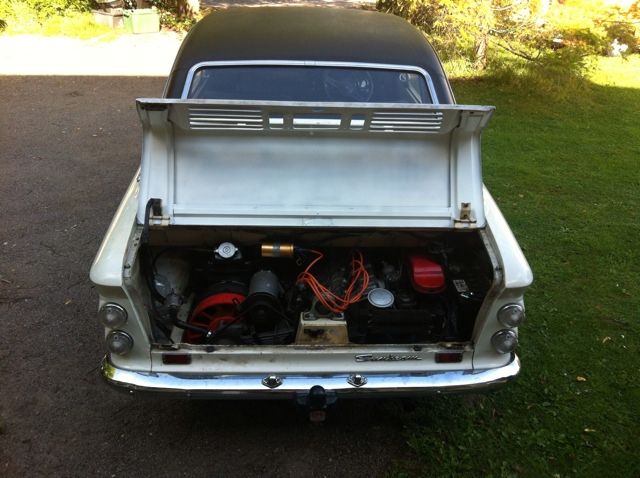
Longgg vehicle
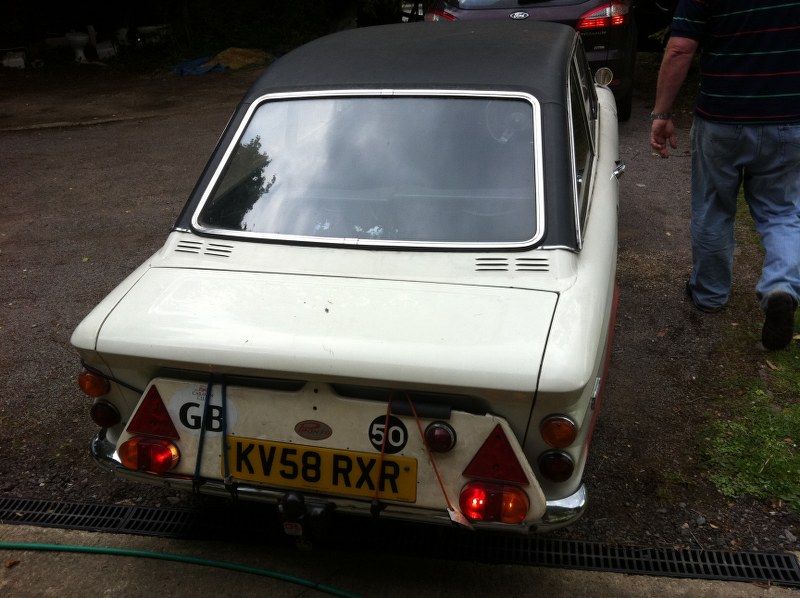
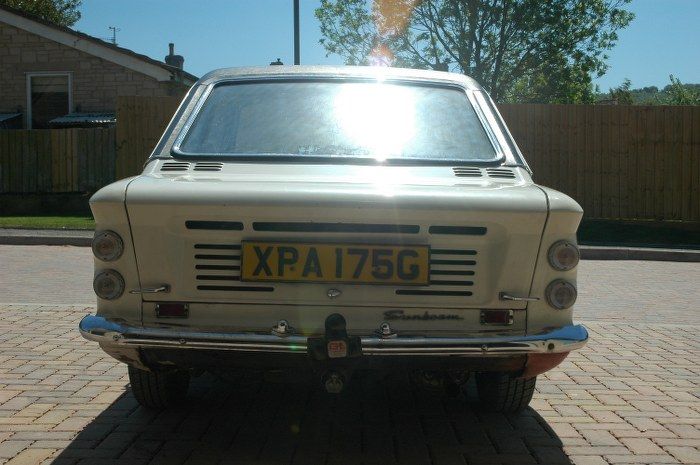
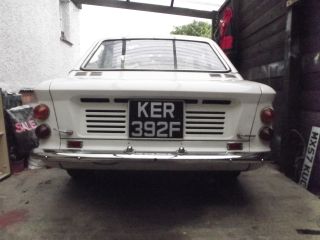
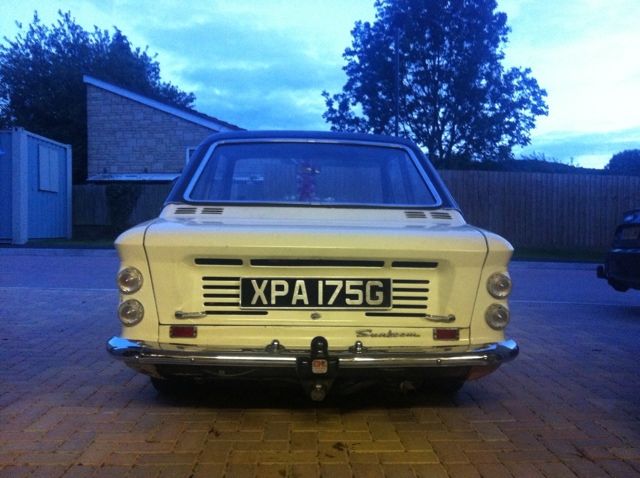
Light board
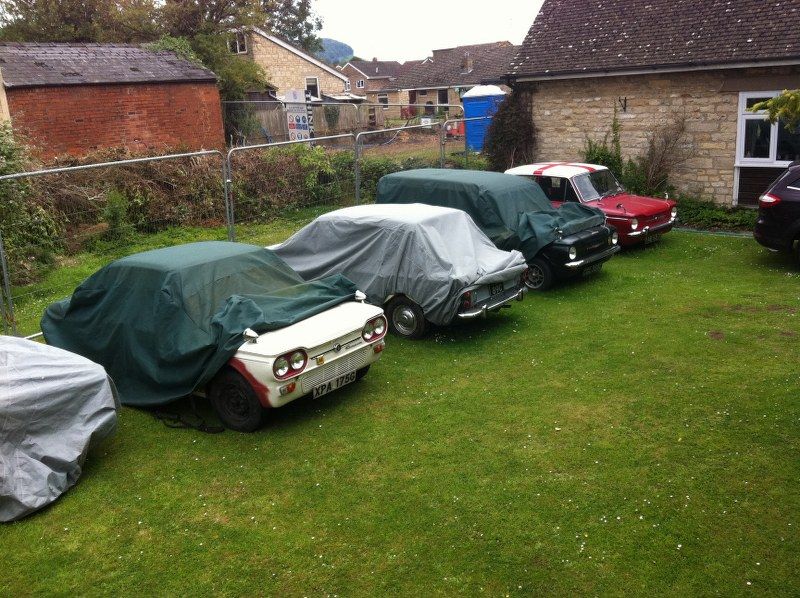
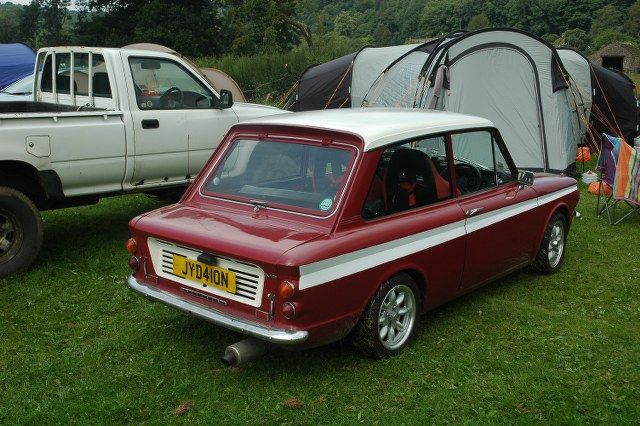
Imps on the grass

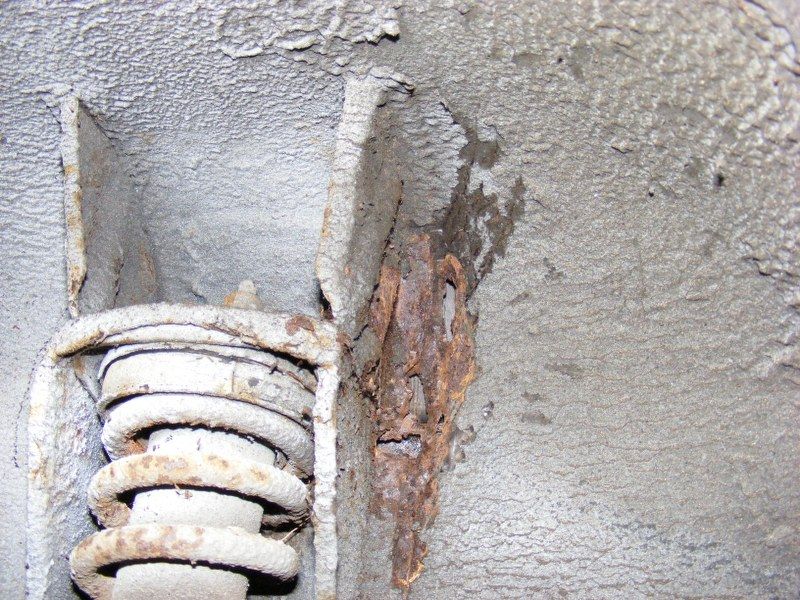
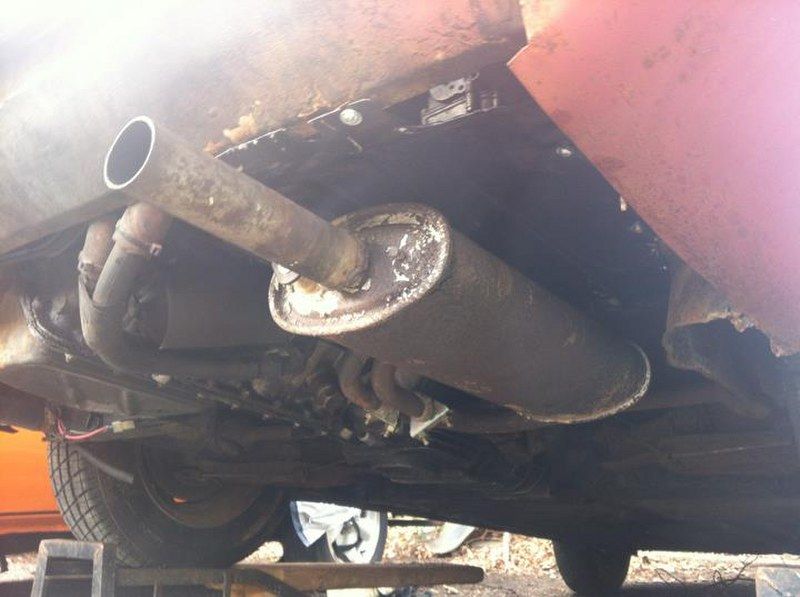
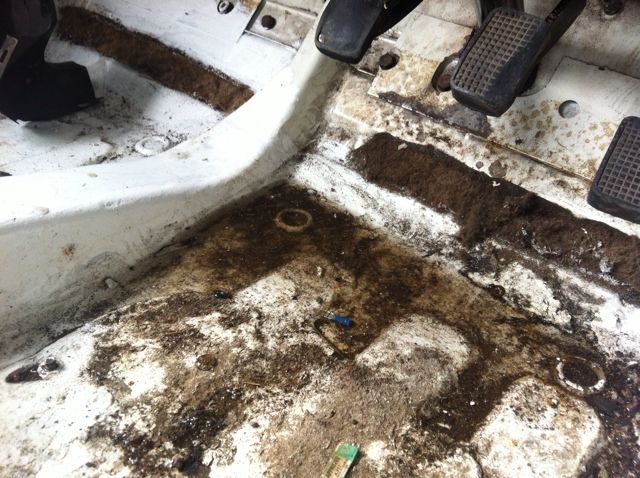
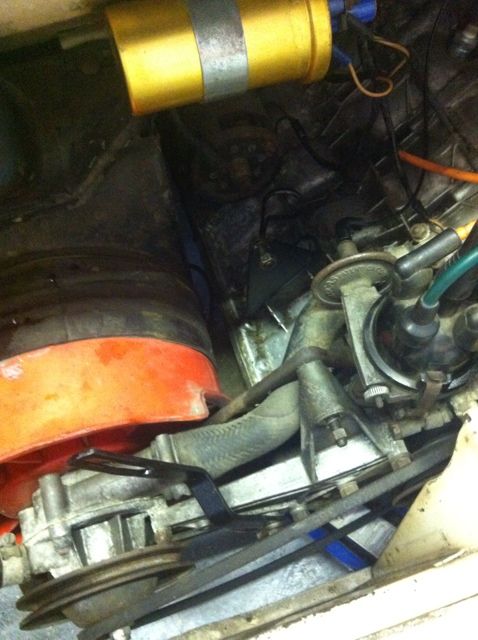
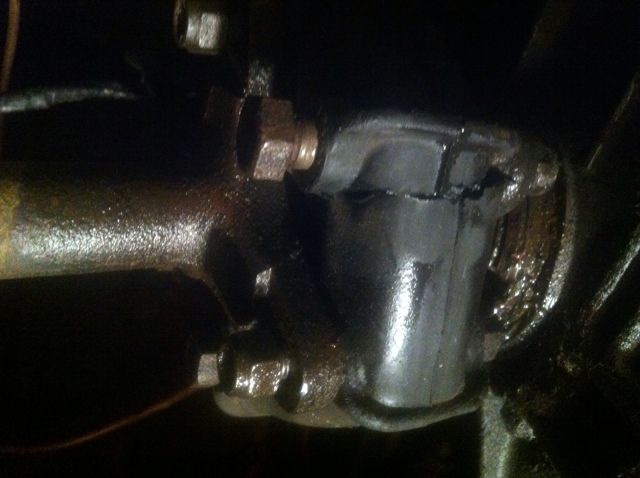
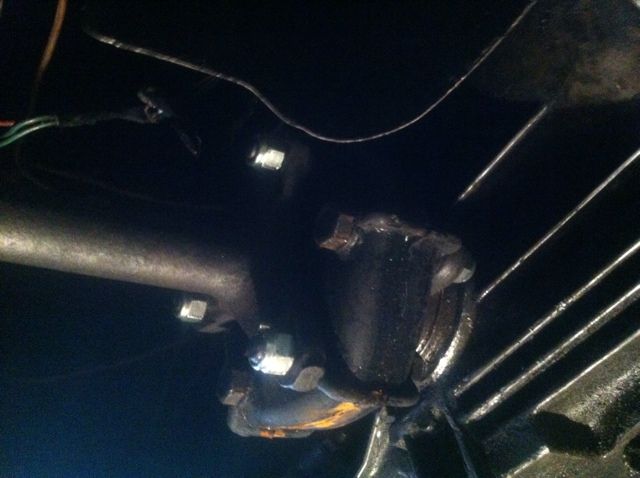
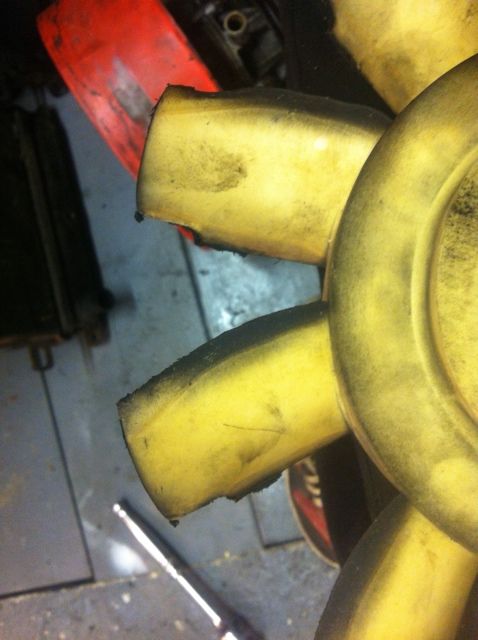
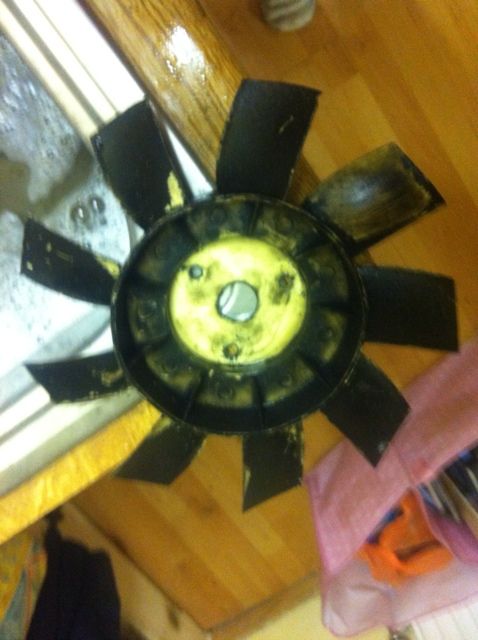
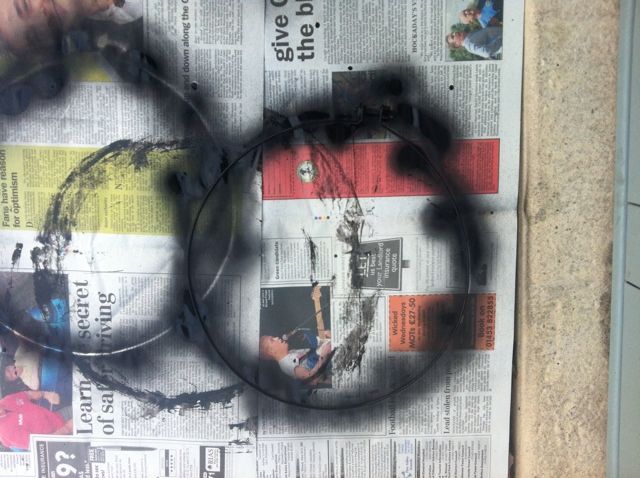
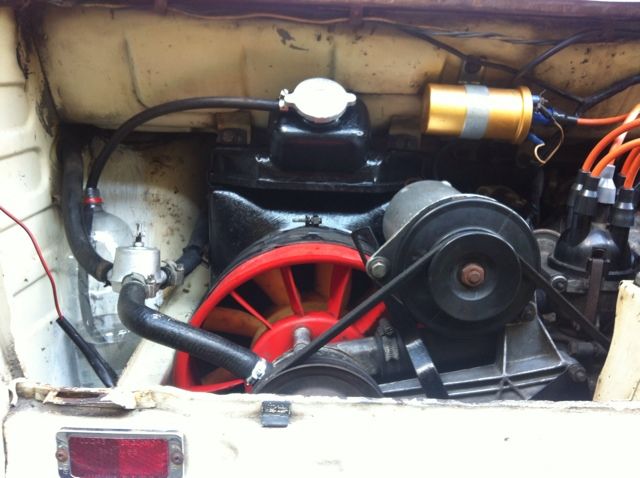
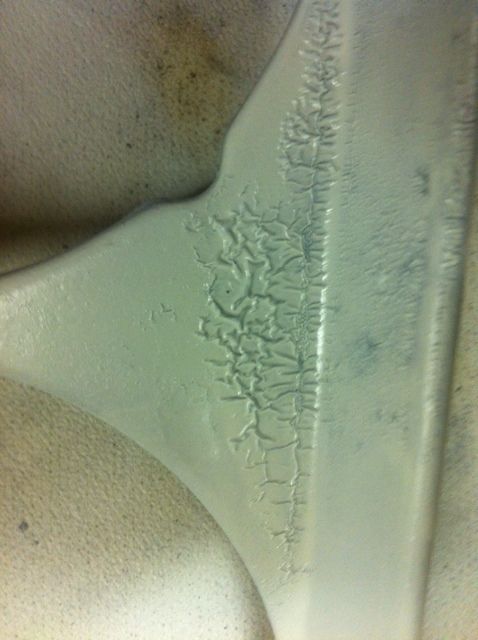
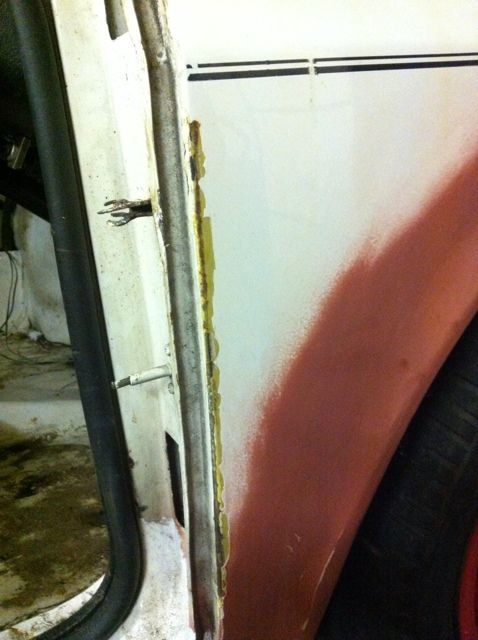
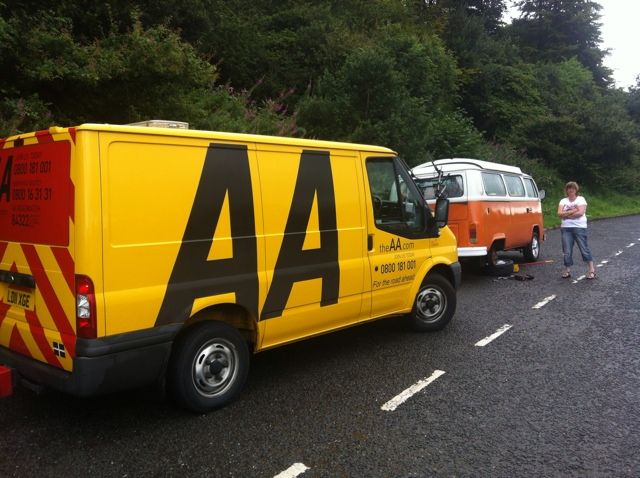
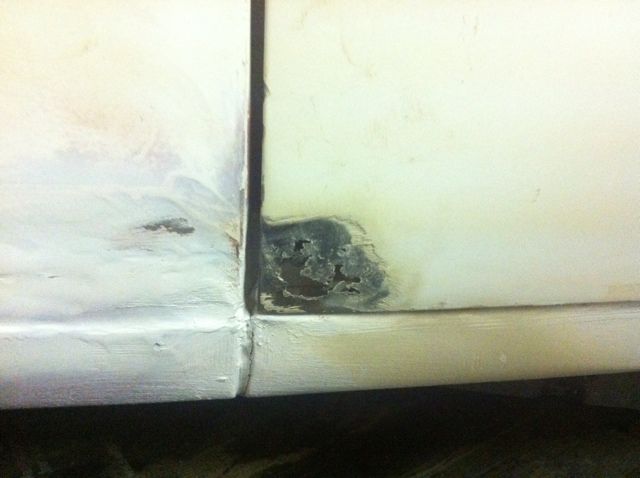
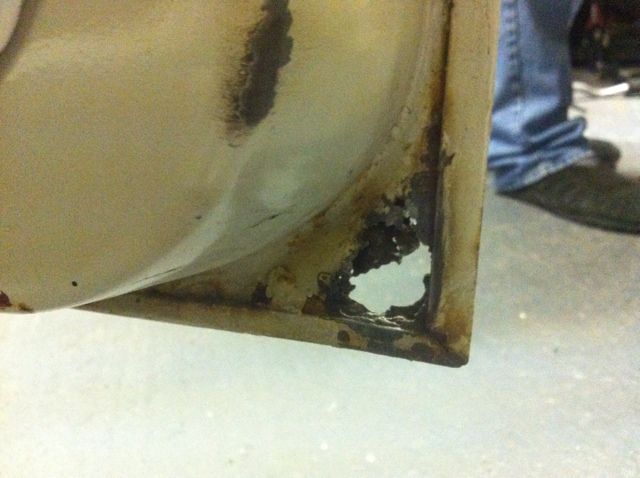
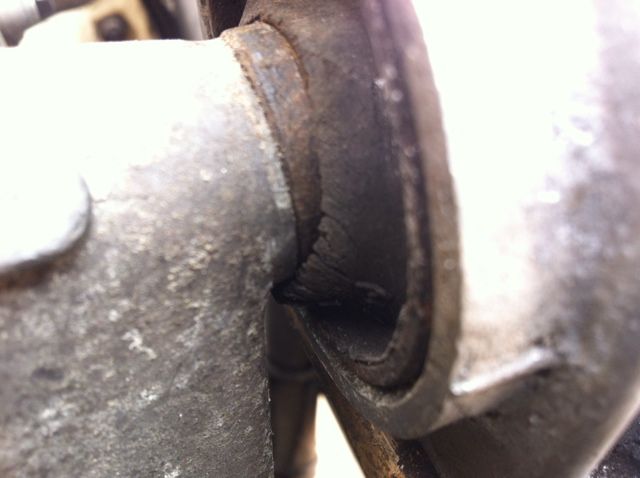
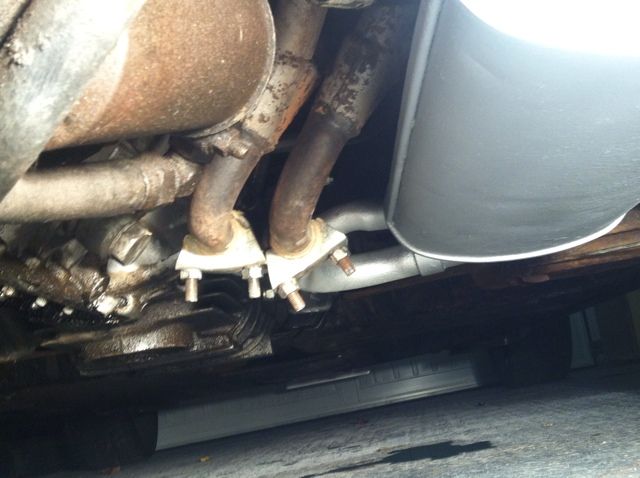
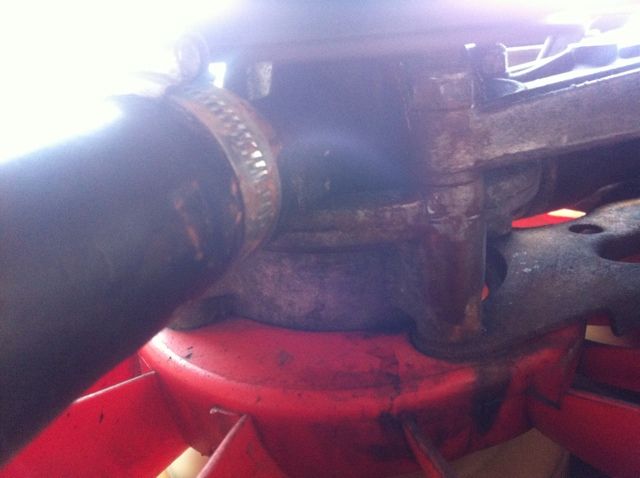
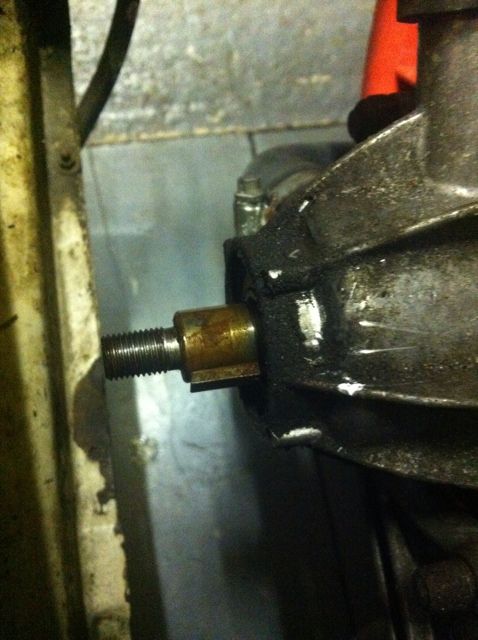
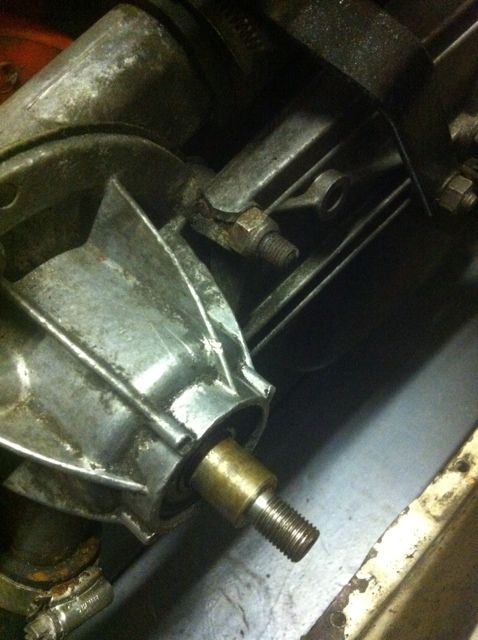
Leaking
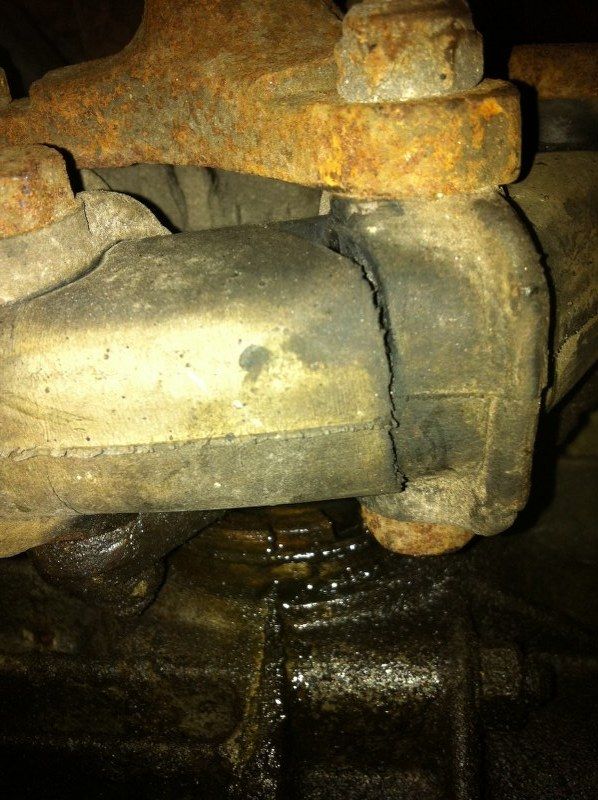
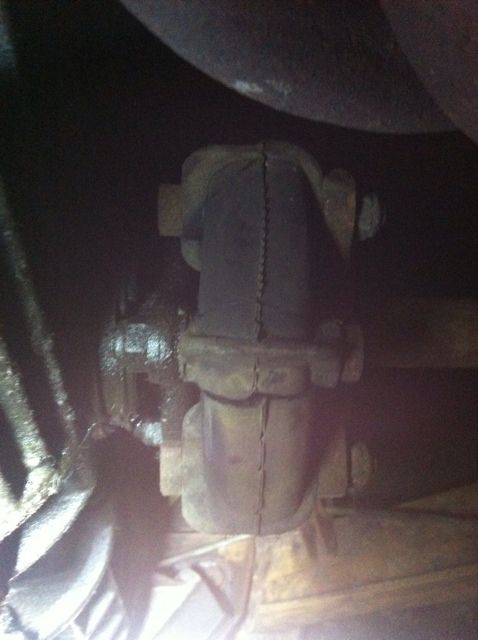
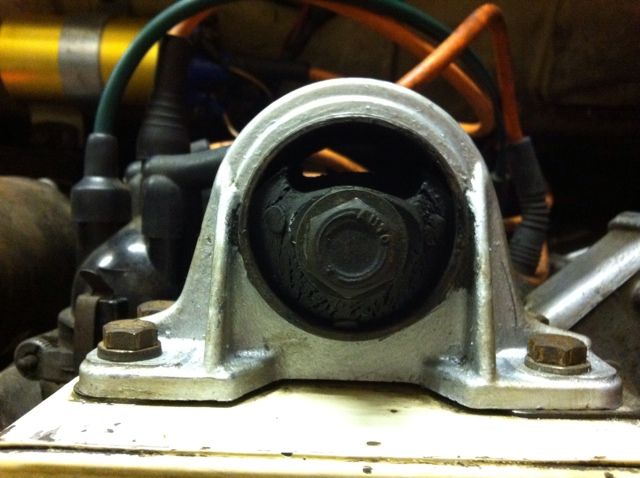
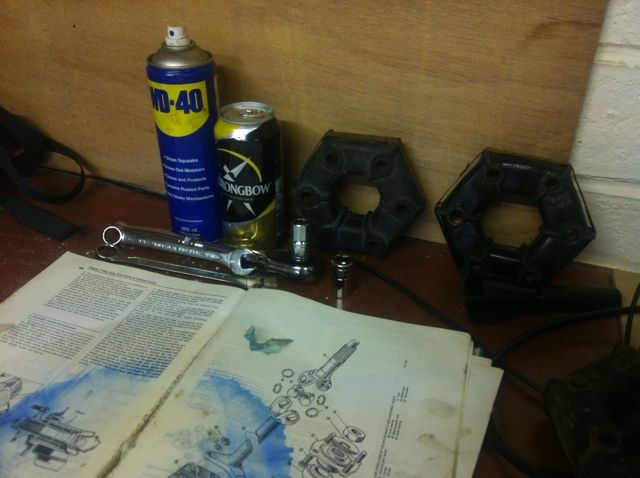
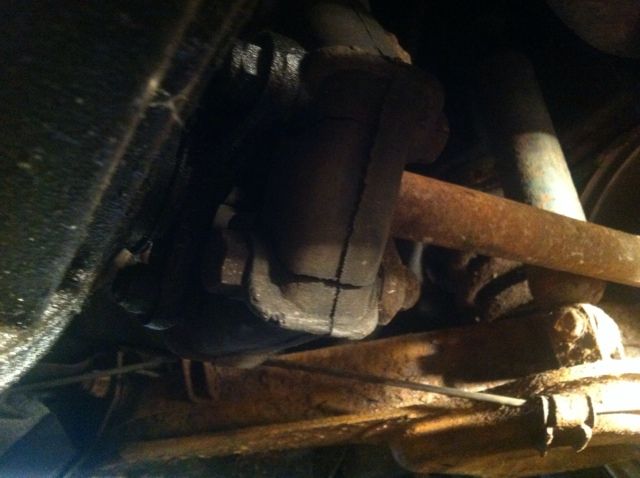
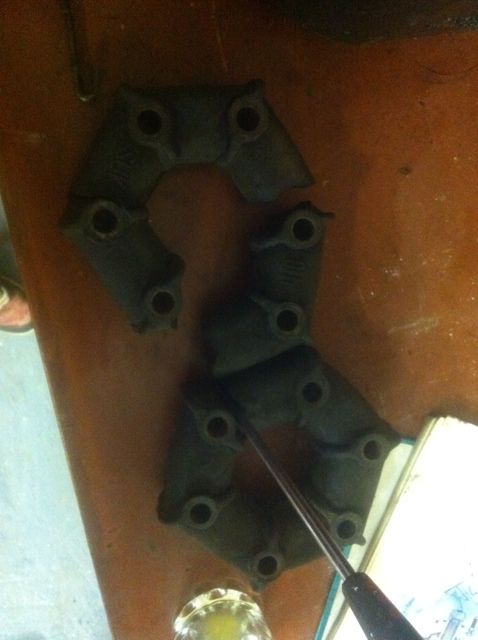
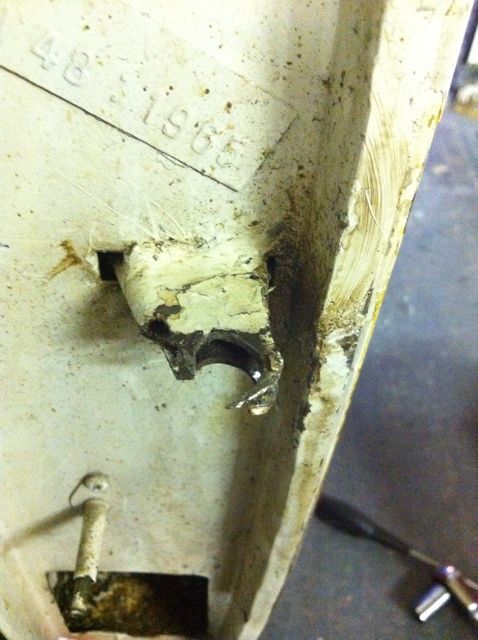
Cracked doughnut
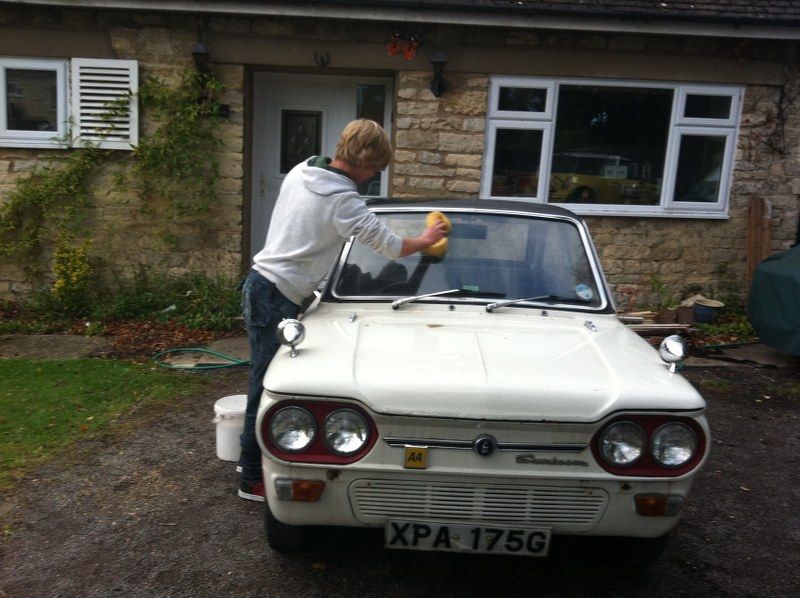
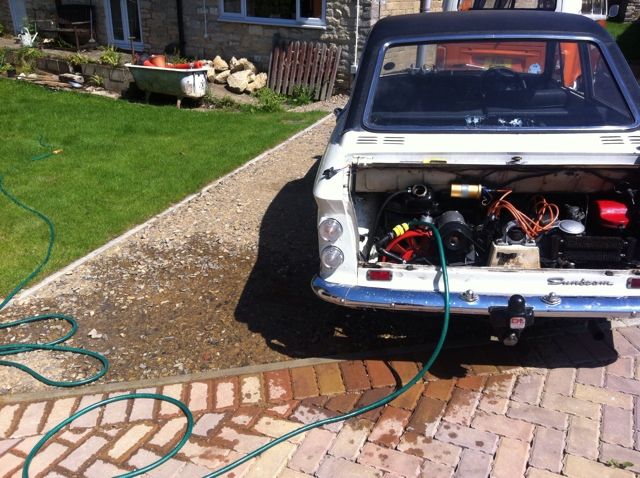
Washing!
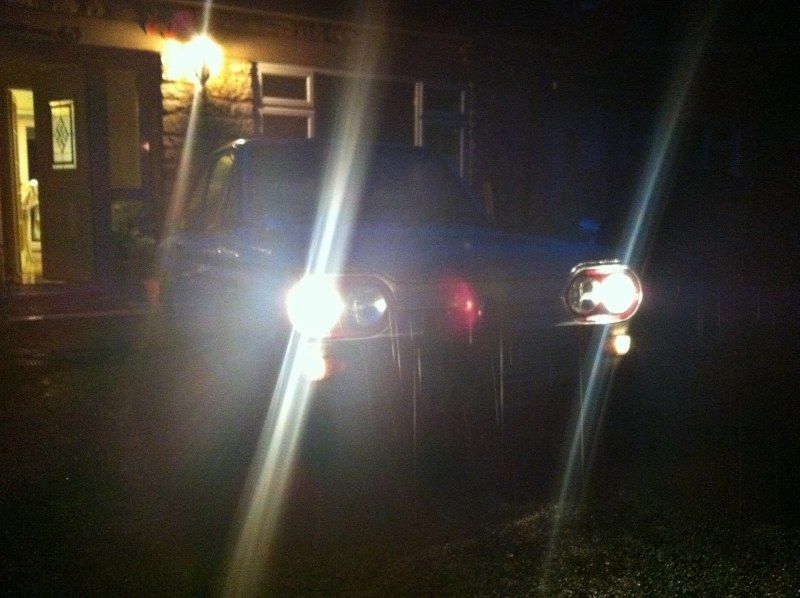
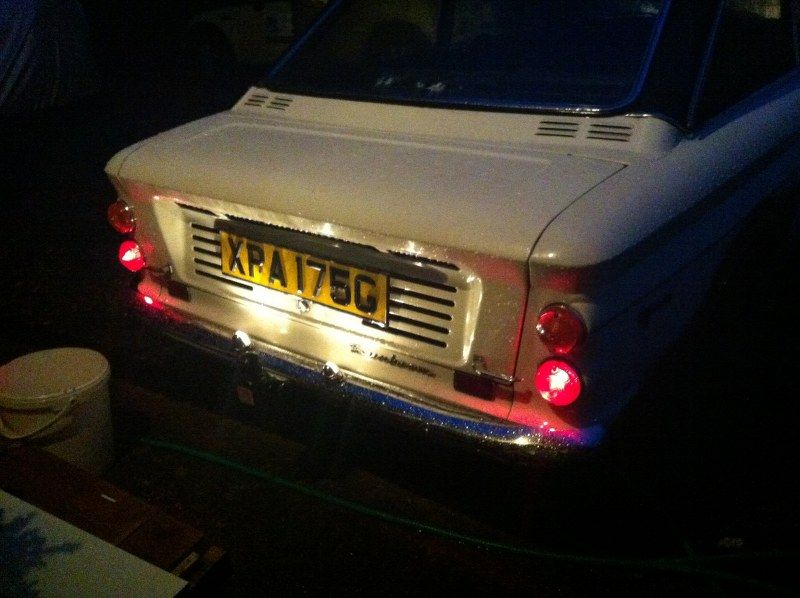
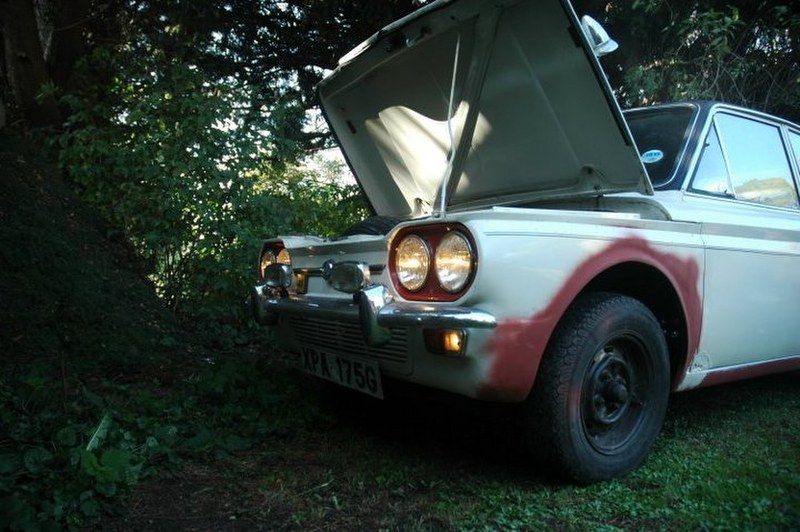
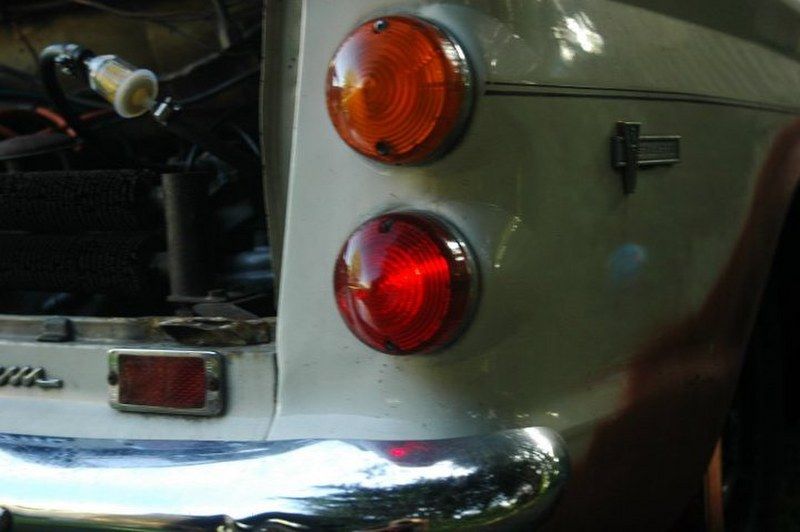
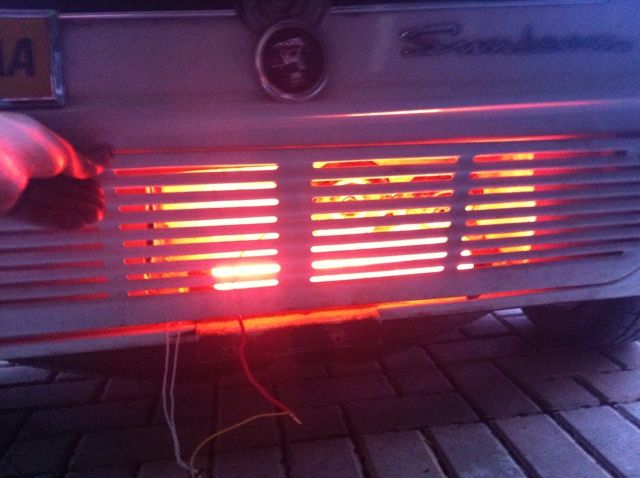
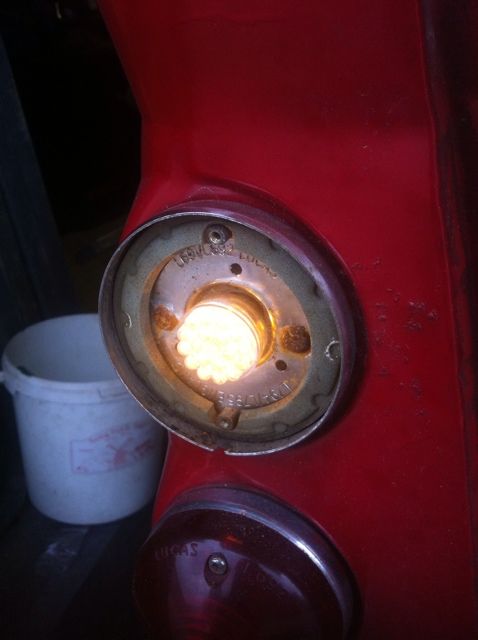
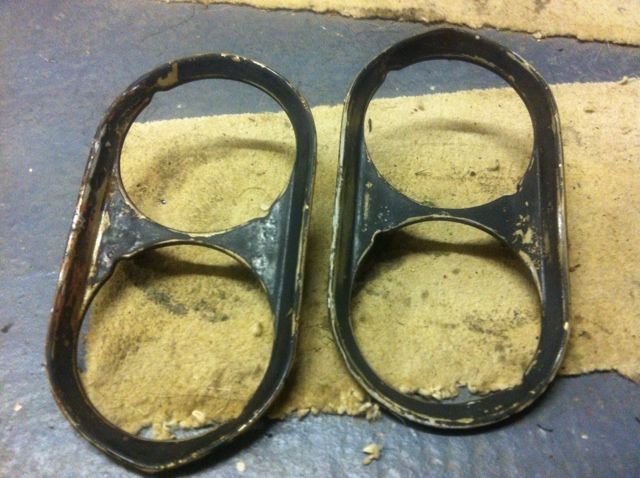
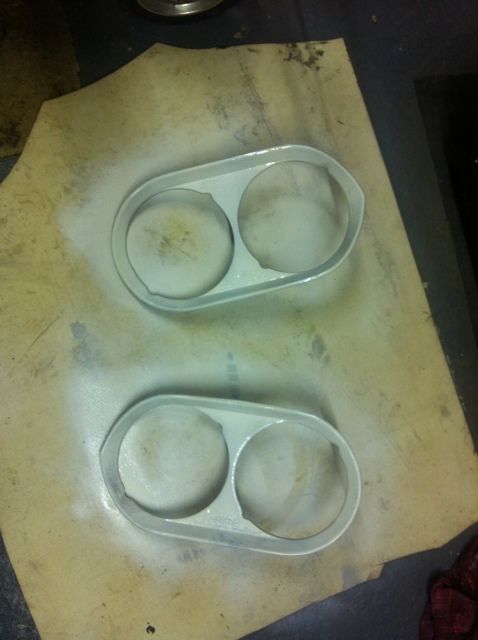
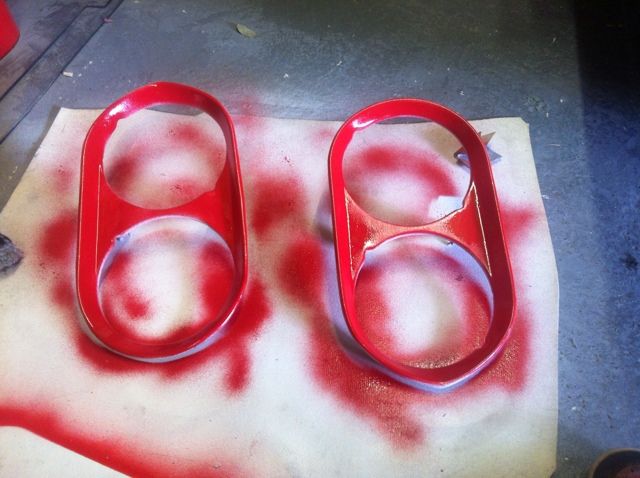
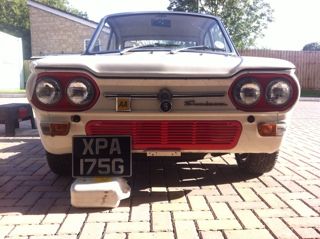
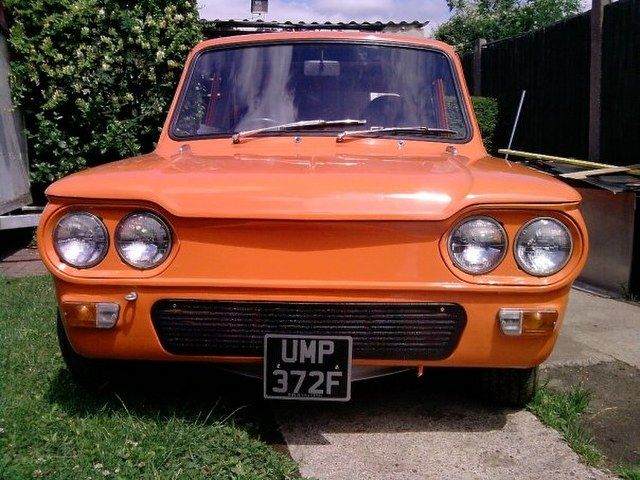
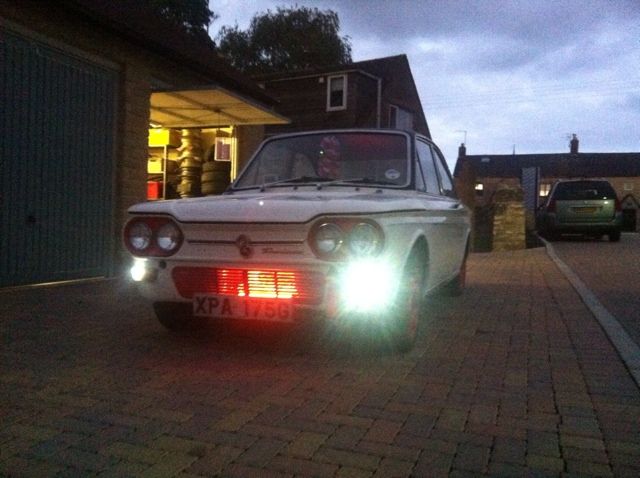
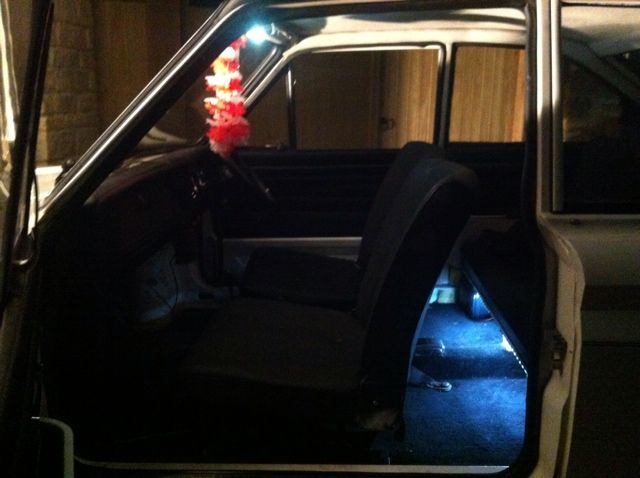
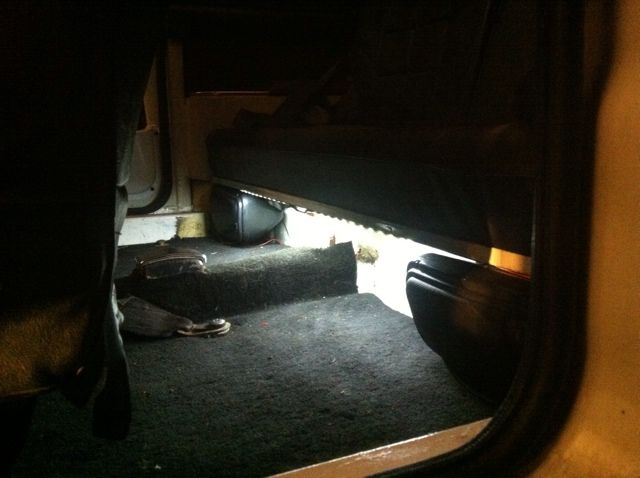
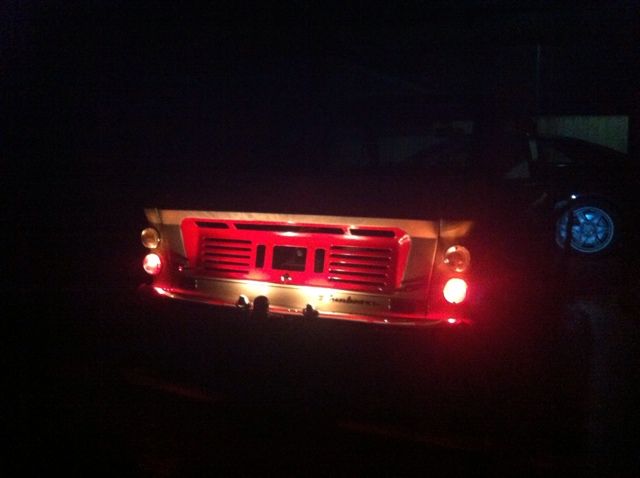
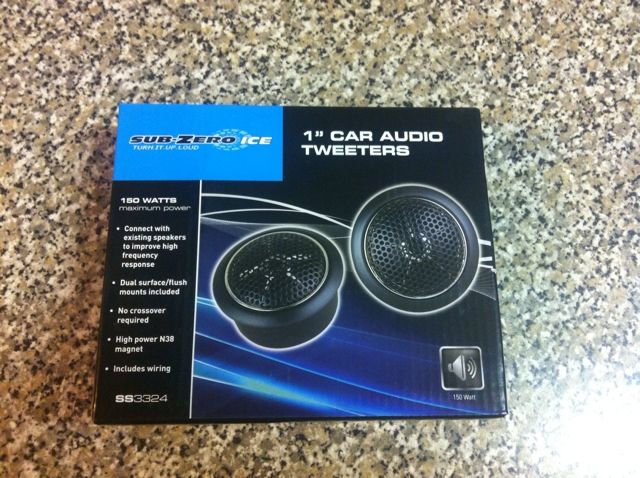
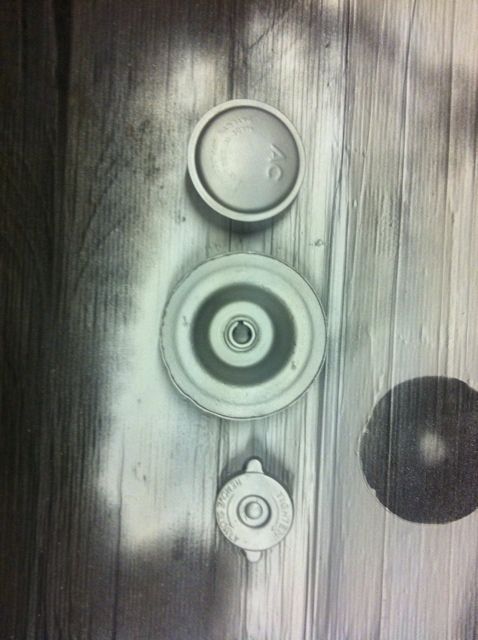
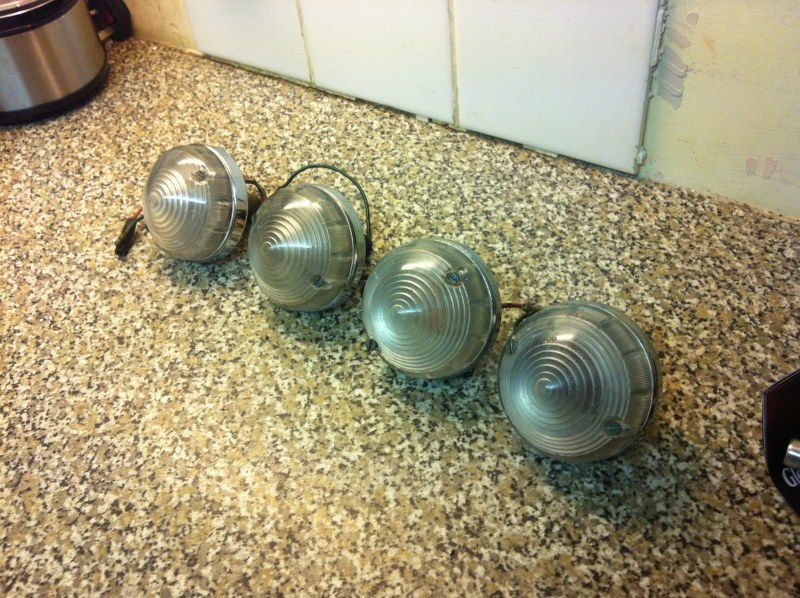
Lights

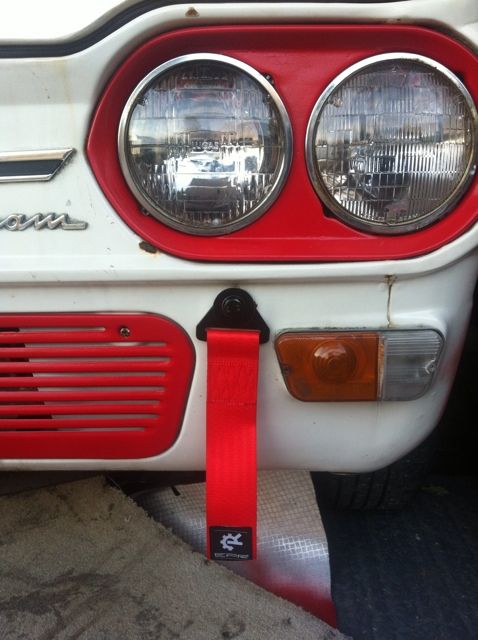
Led Compared to STD
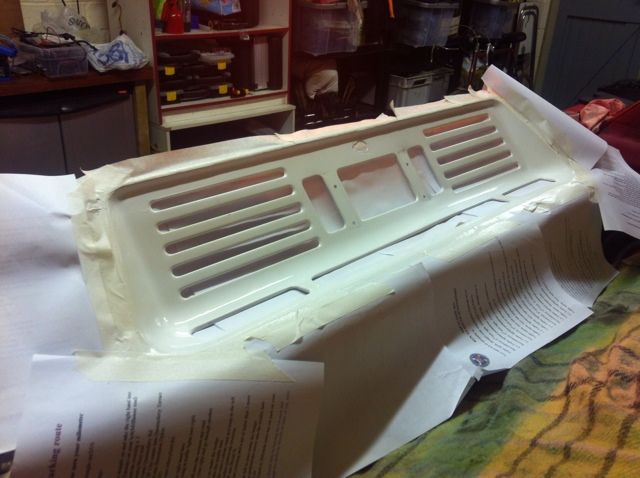
STD
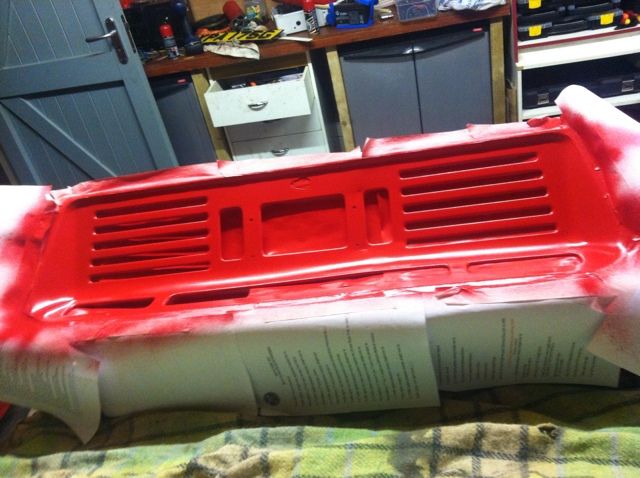
LED
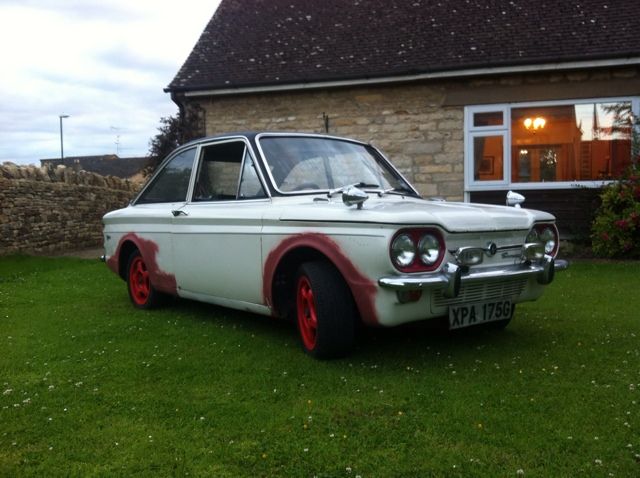
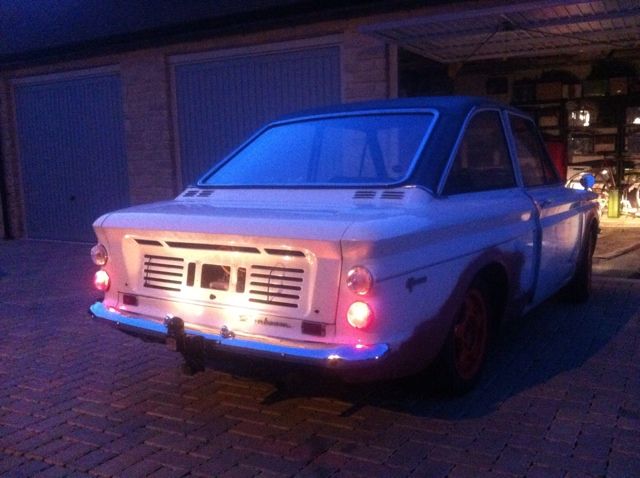
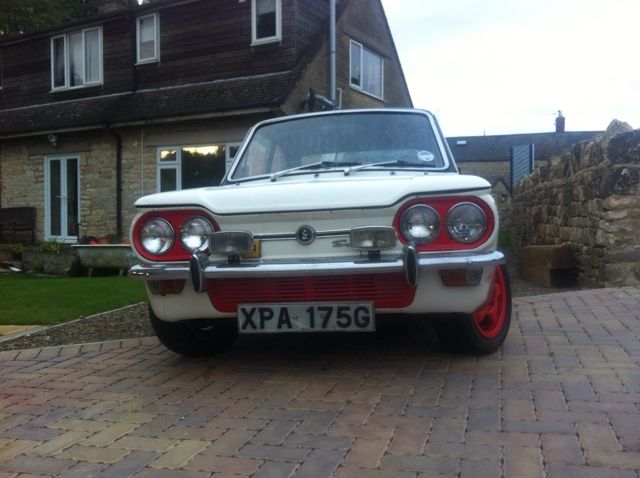
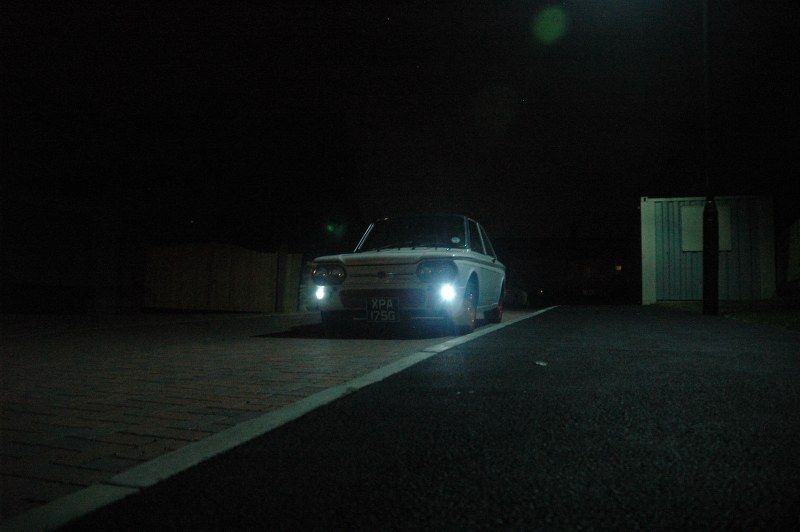
Yooo! i love these lights!
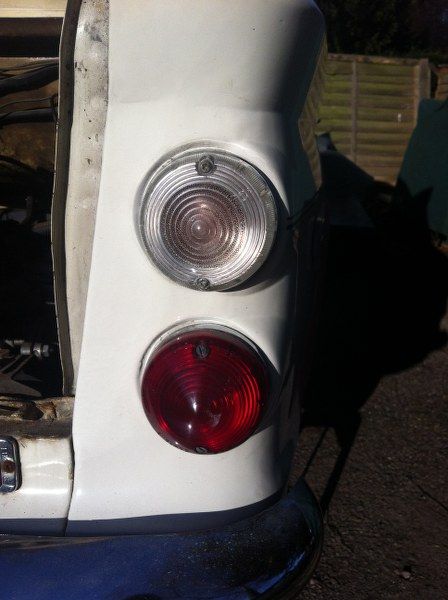
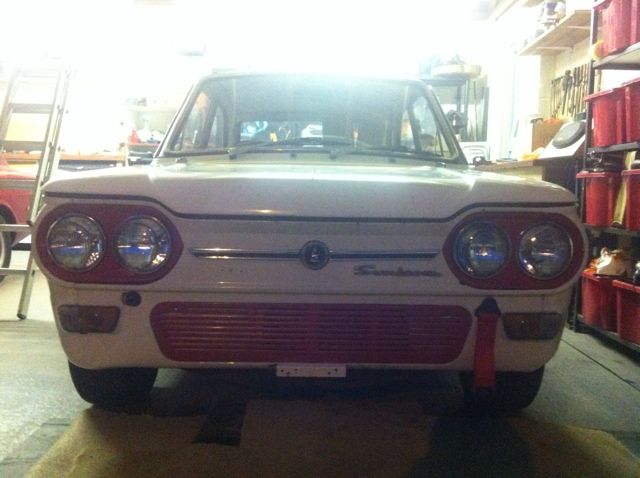
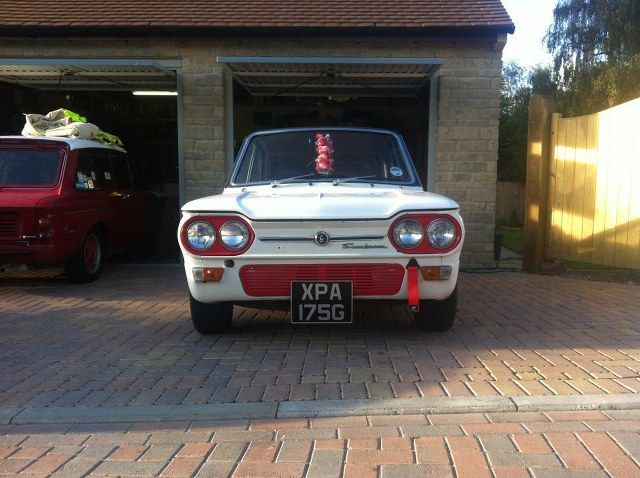
One red one Clear?
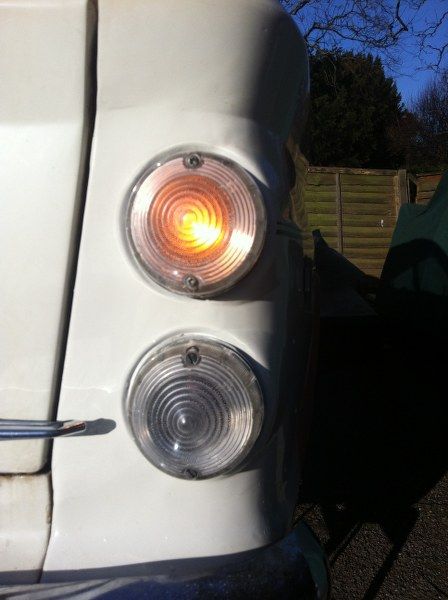
Two clear!
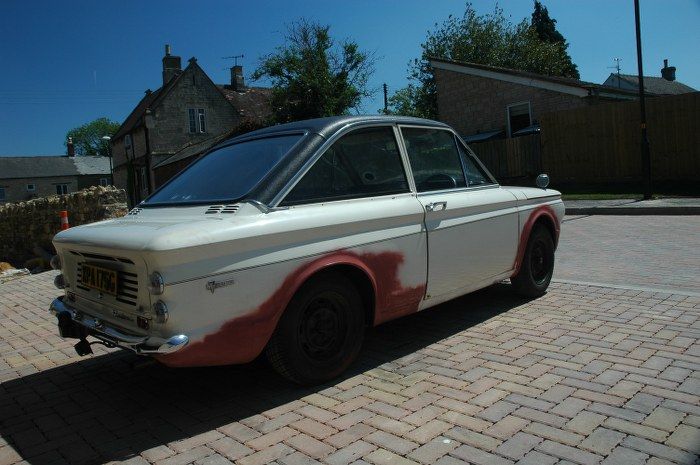
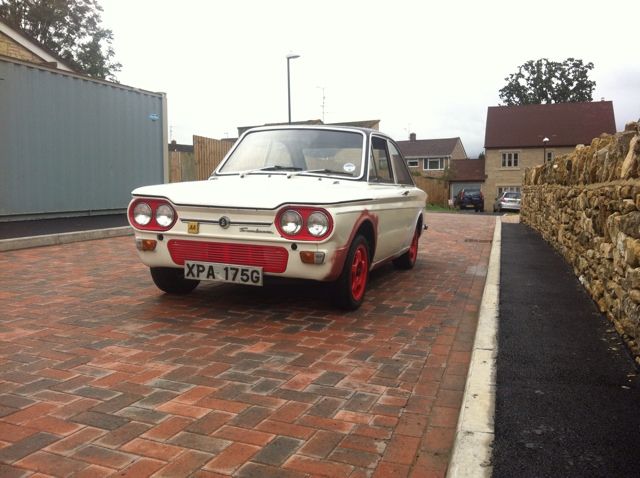
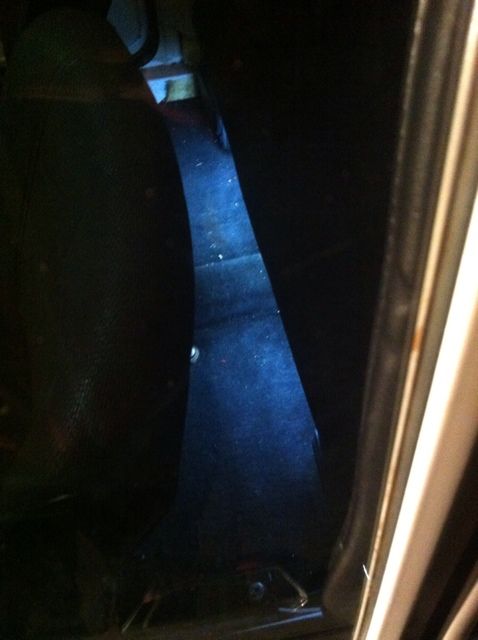
Looks good!
And again
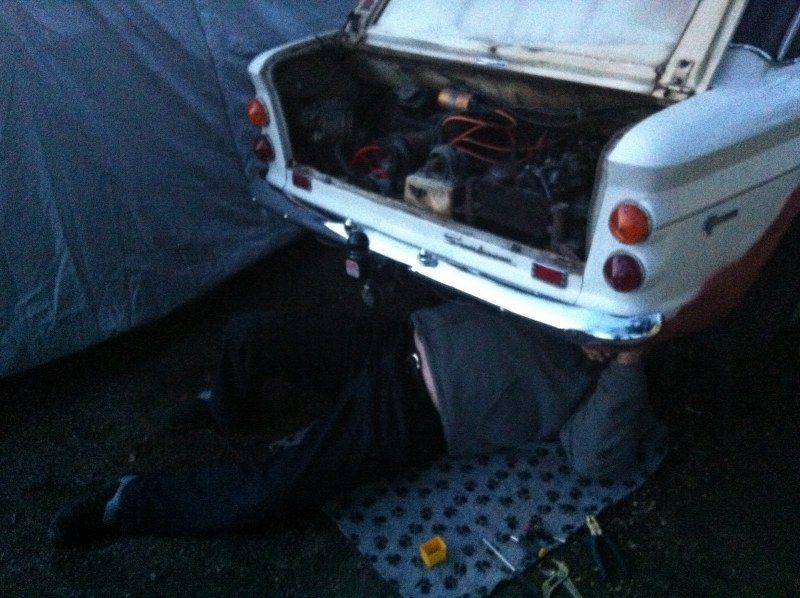
Dad lending a hand
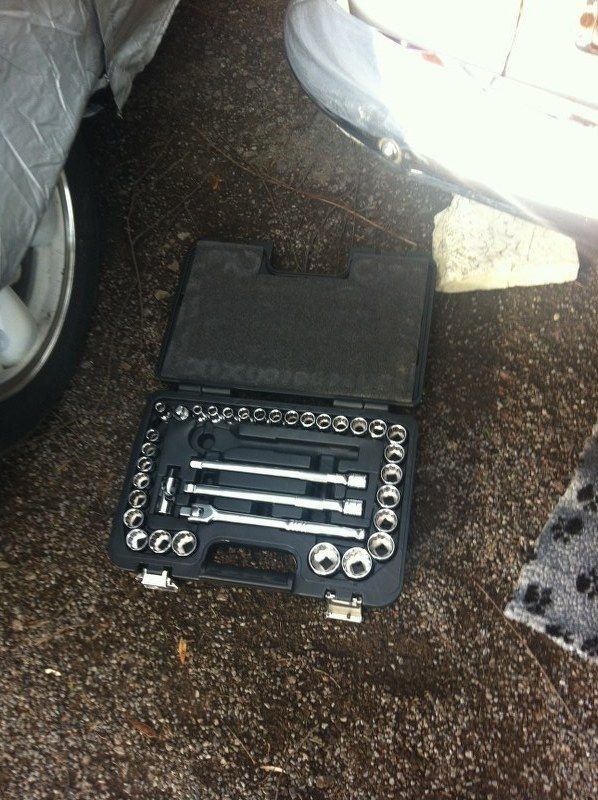
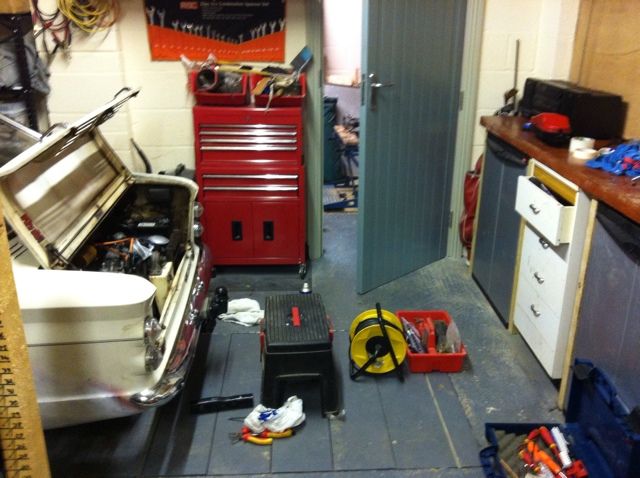
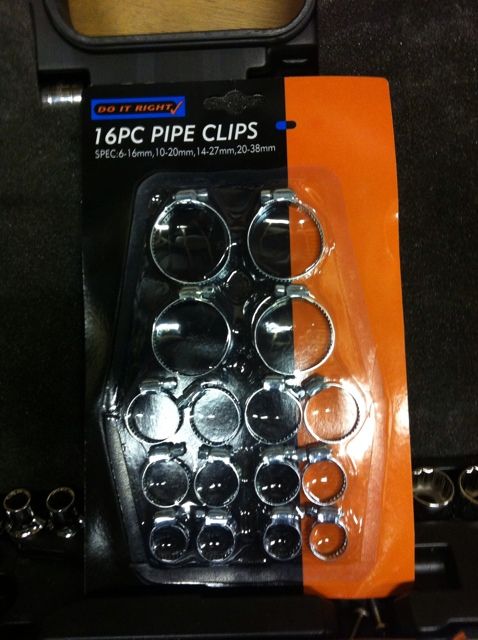
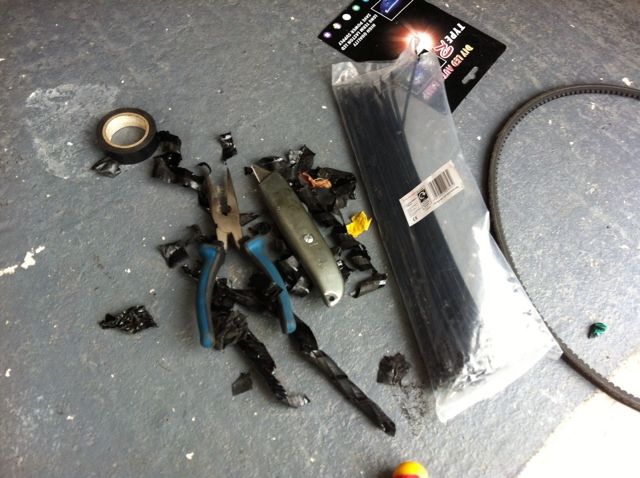
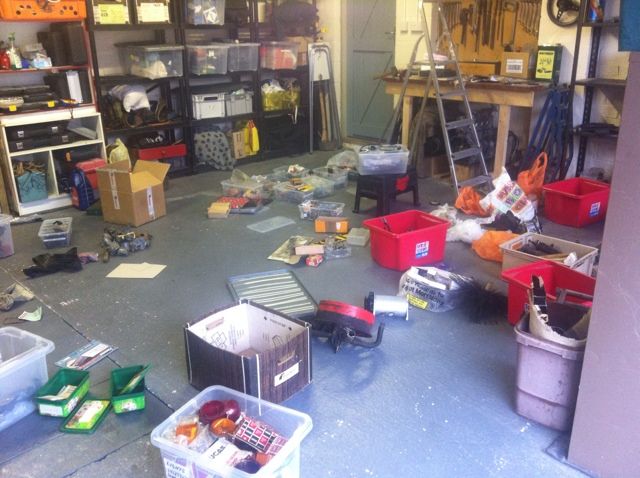
My tool kit i got for my birthday!
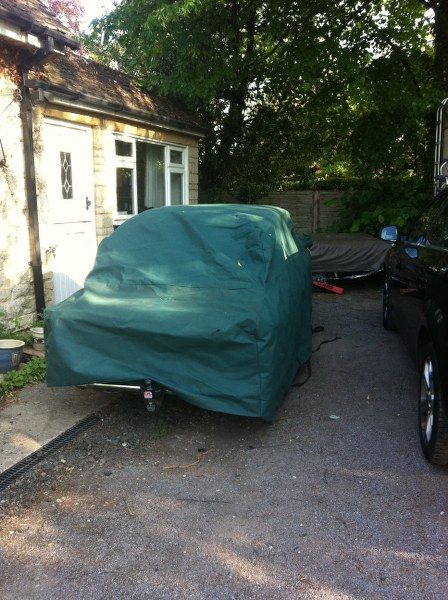
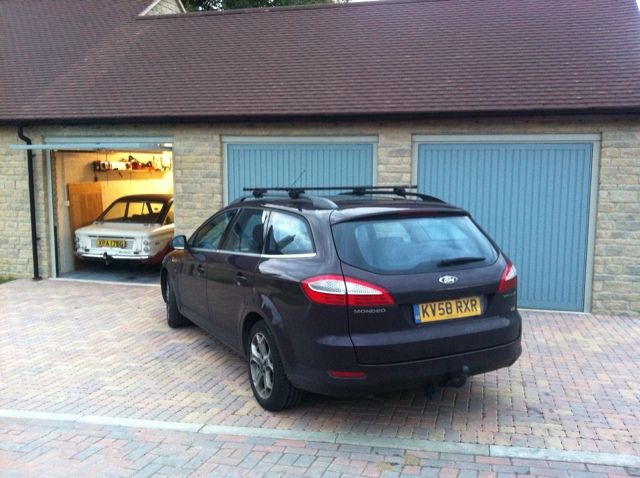
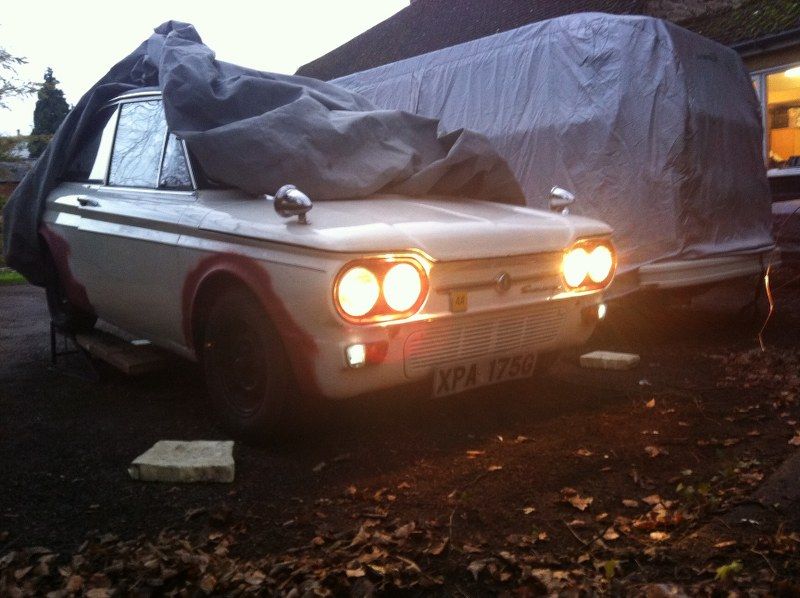
All tucked away for a few months

Once again sorry for all the massive photos guys!
Me and dad are leaving for Holland at 3:15 on Wednesday so i may not get another chance to post any more photos for a while
, I will try and get some more done tomorrow night!
Thanks all for the kind words!